Hobbies are an outlet for curiosity. They let you explore and learn at your own pace, in a forgiving environment.
3D Printing
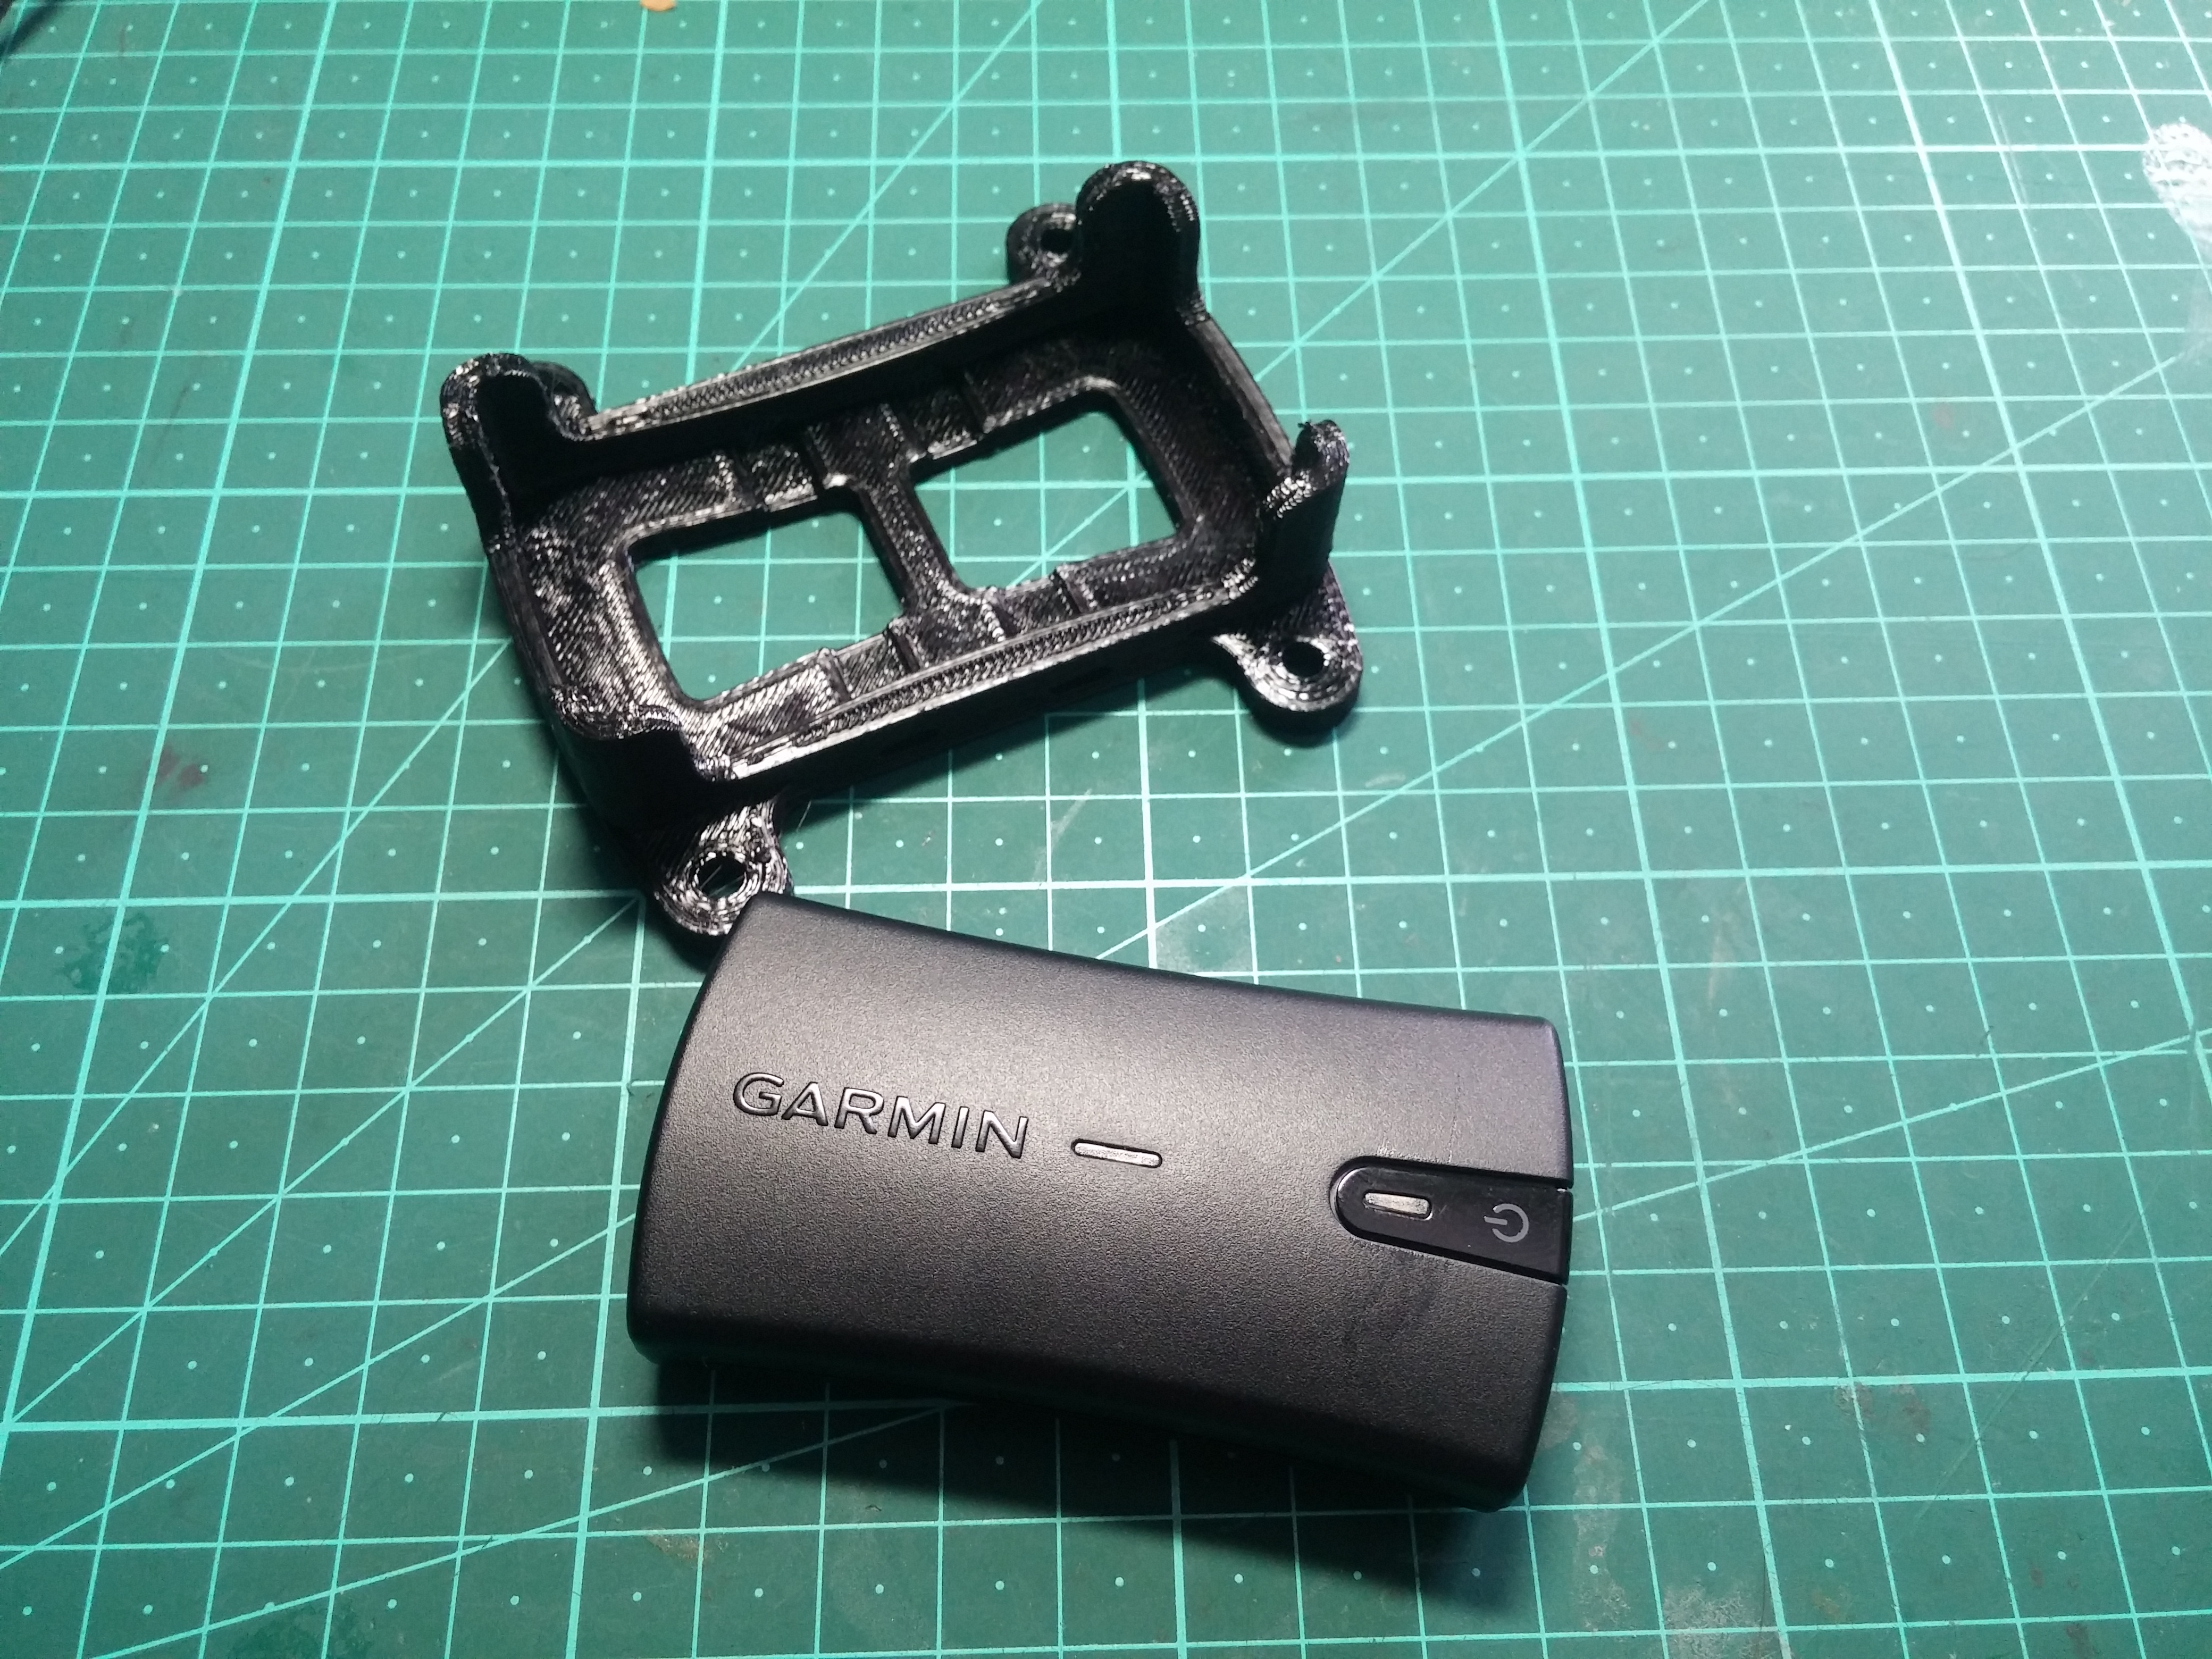
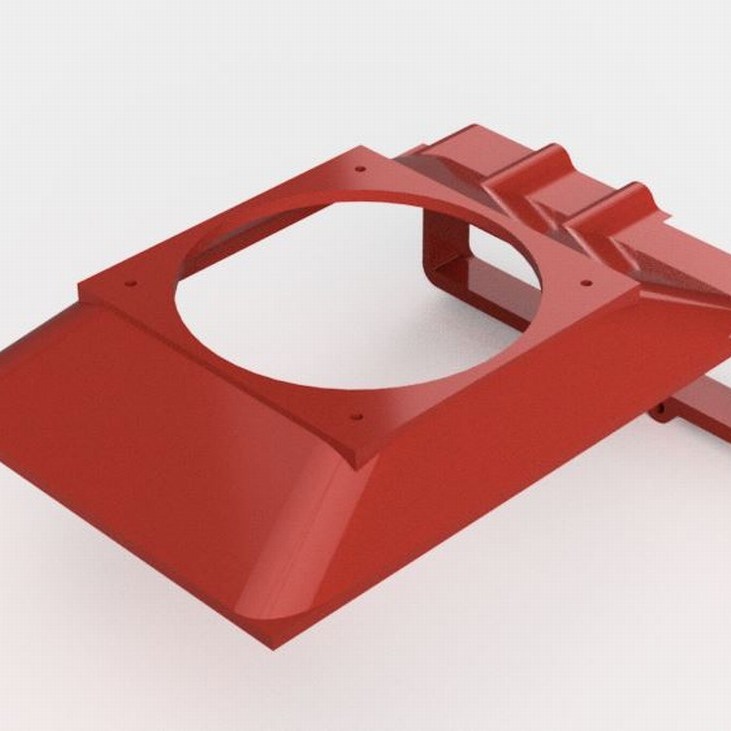
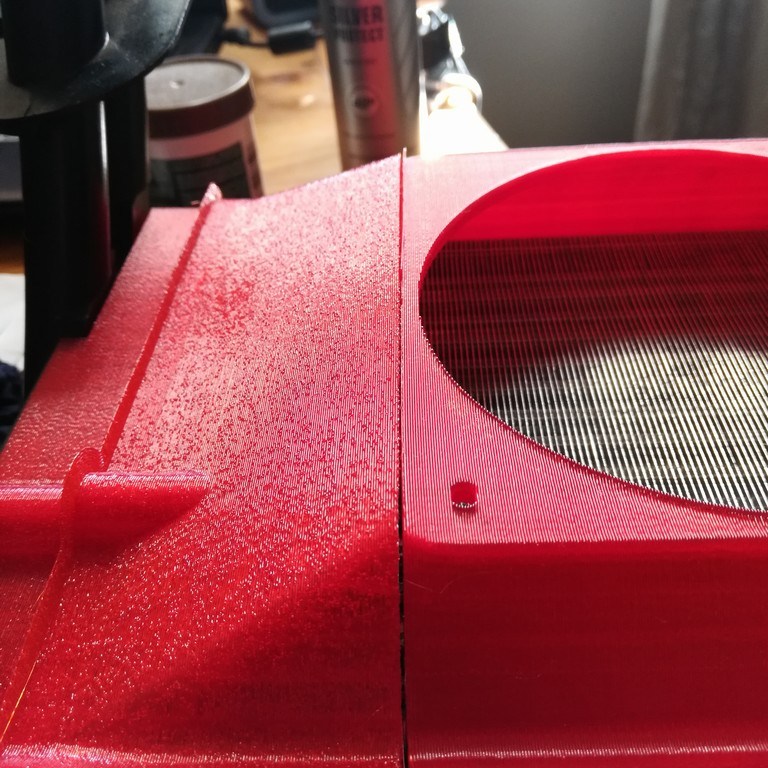
3D printing (or additive manufacturing) has really come of age. It’s affordable and attainable for the average tinkerer, and adds another dimension to projects. Things that were previously not possible are suddenly within grasp, complex geometries straight from your screen into reality. It also lets you solve problems that conventional techniques would not have been able to. 3D printing is just a tool, and need not be the final product. It can be used to make jigs, templates and mounts for anything, and when used as such is only limited by your imagination.
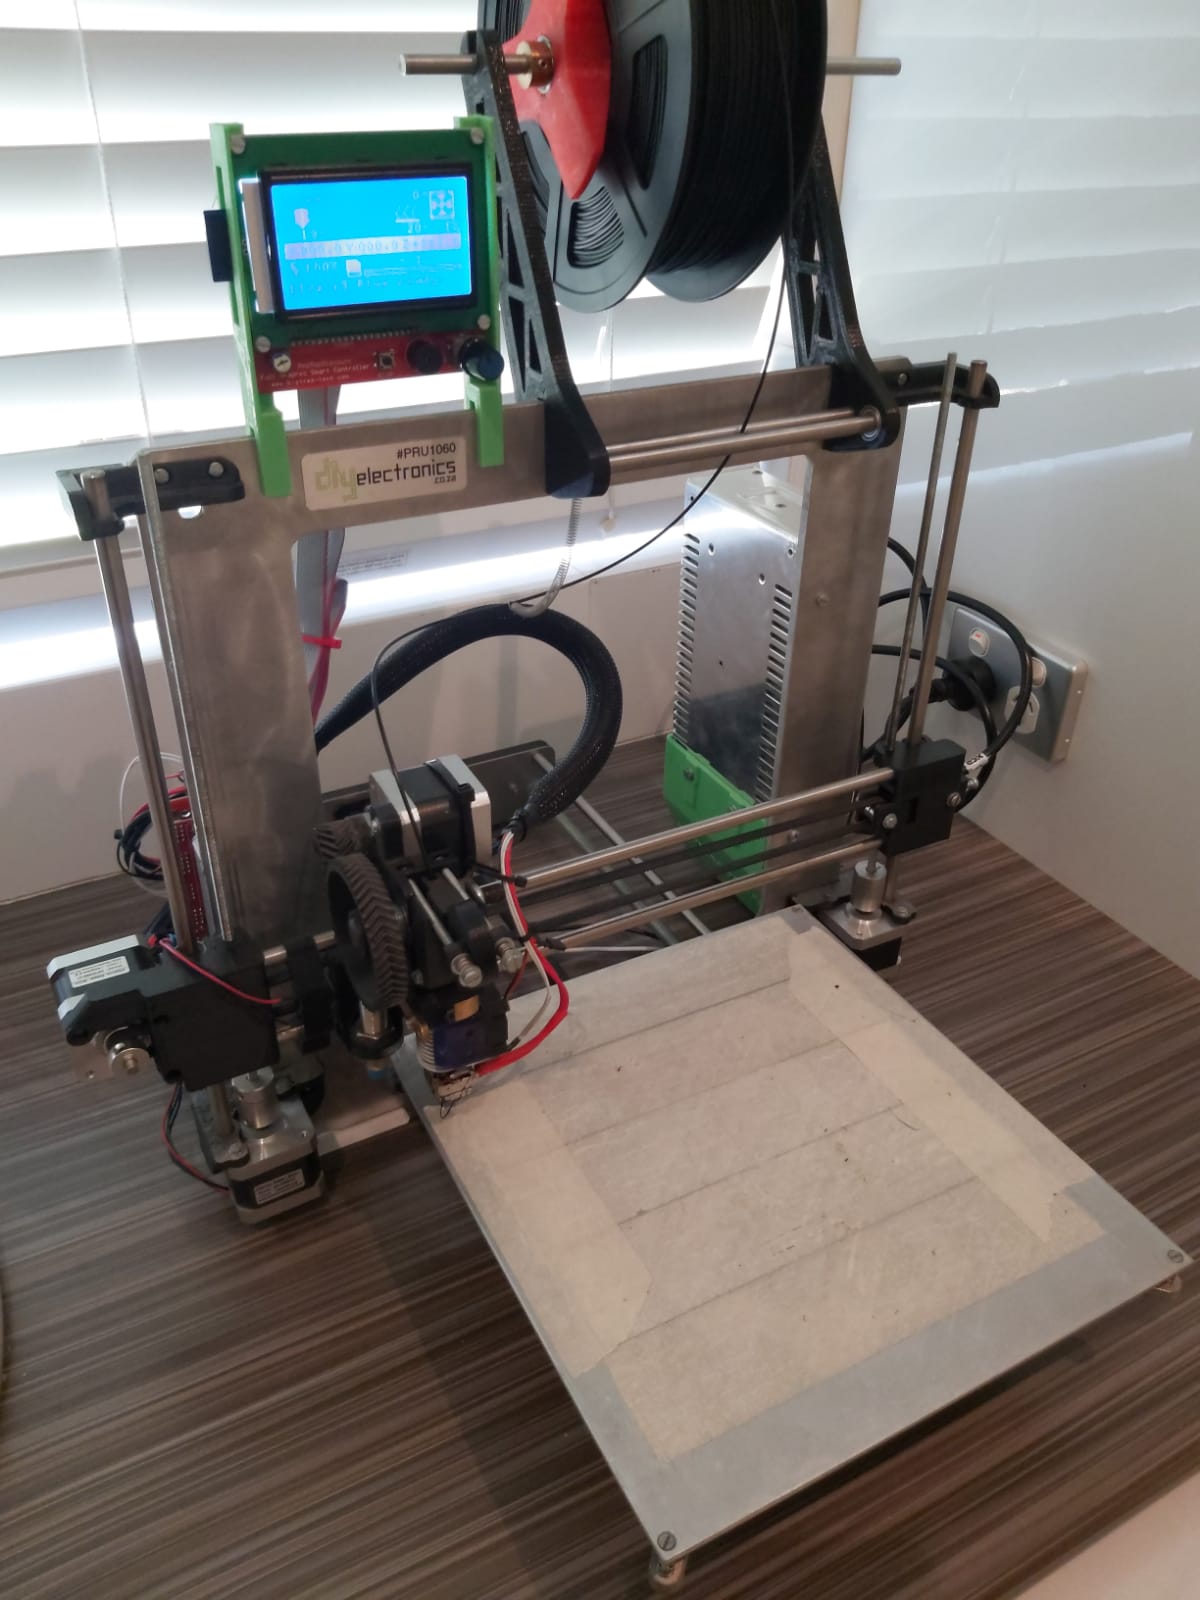
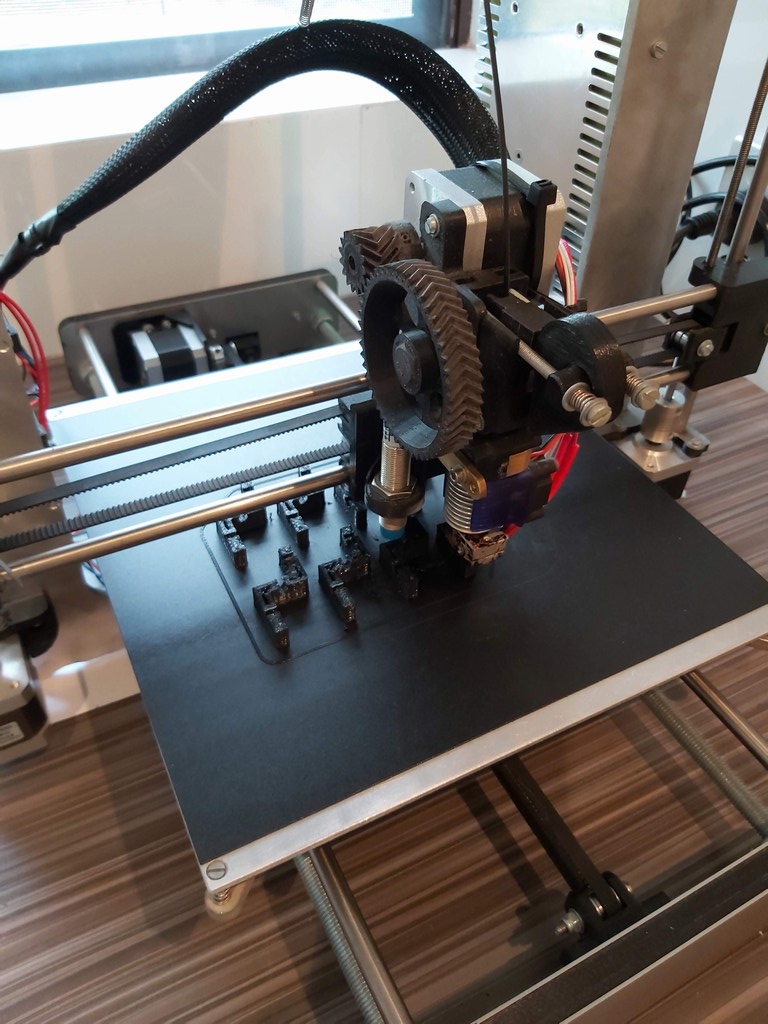
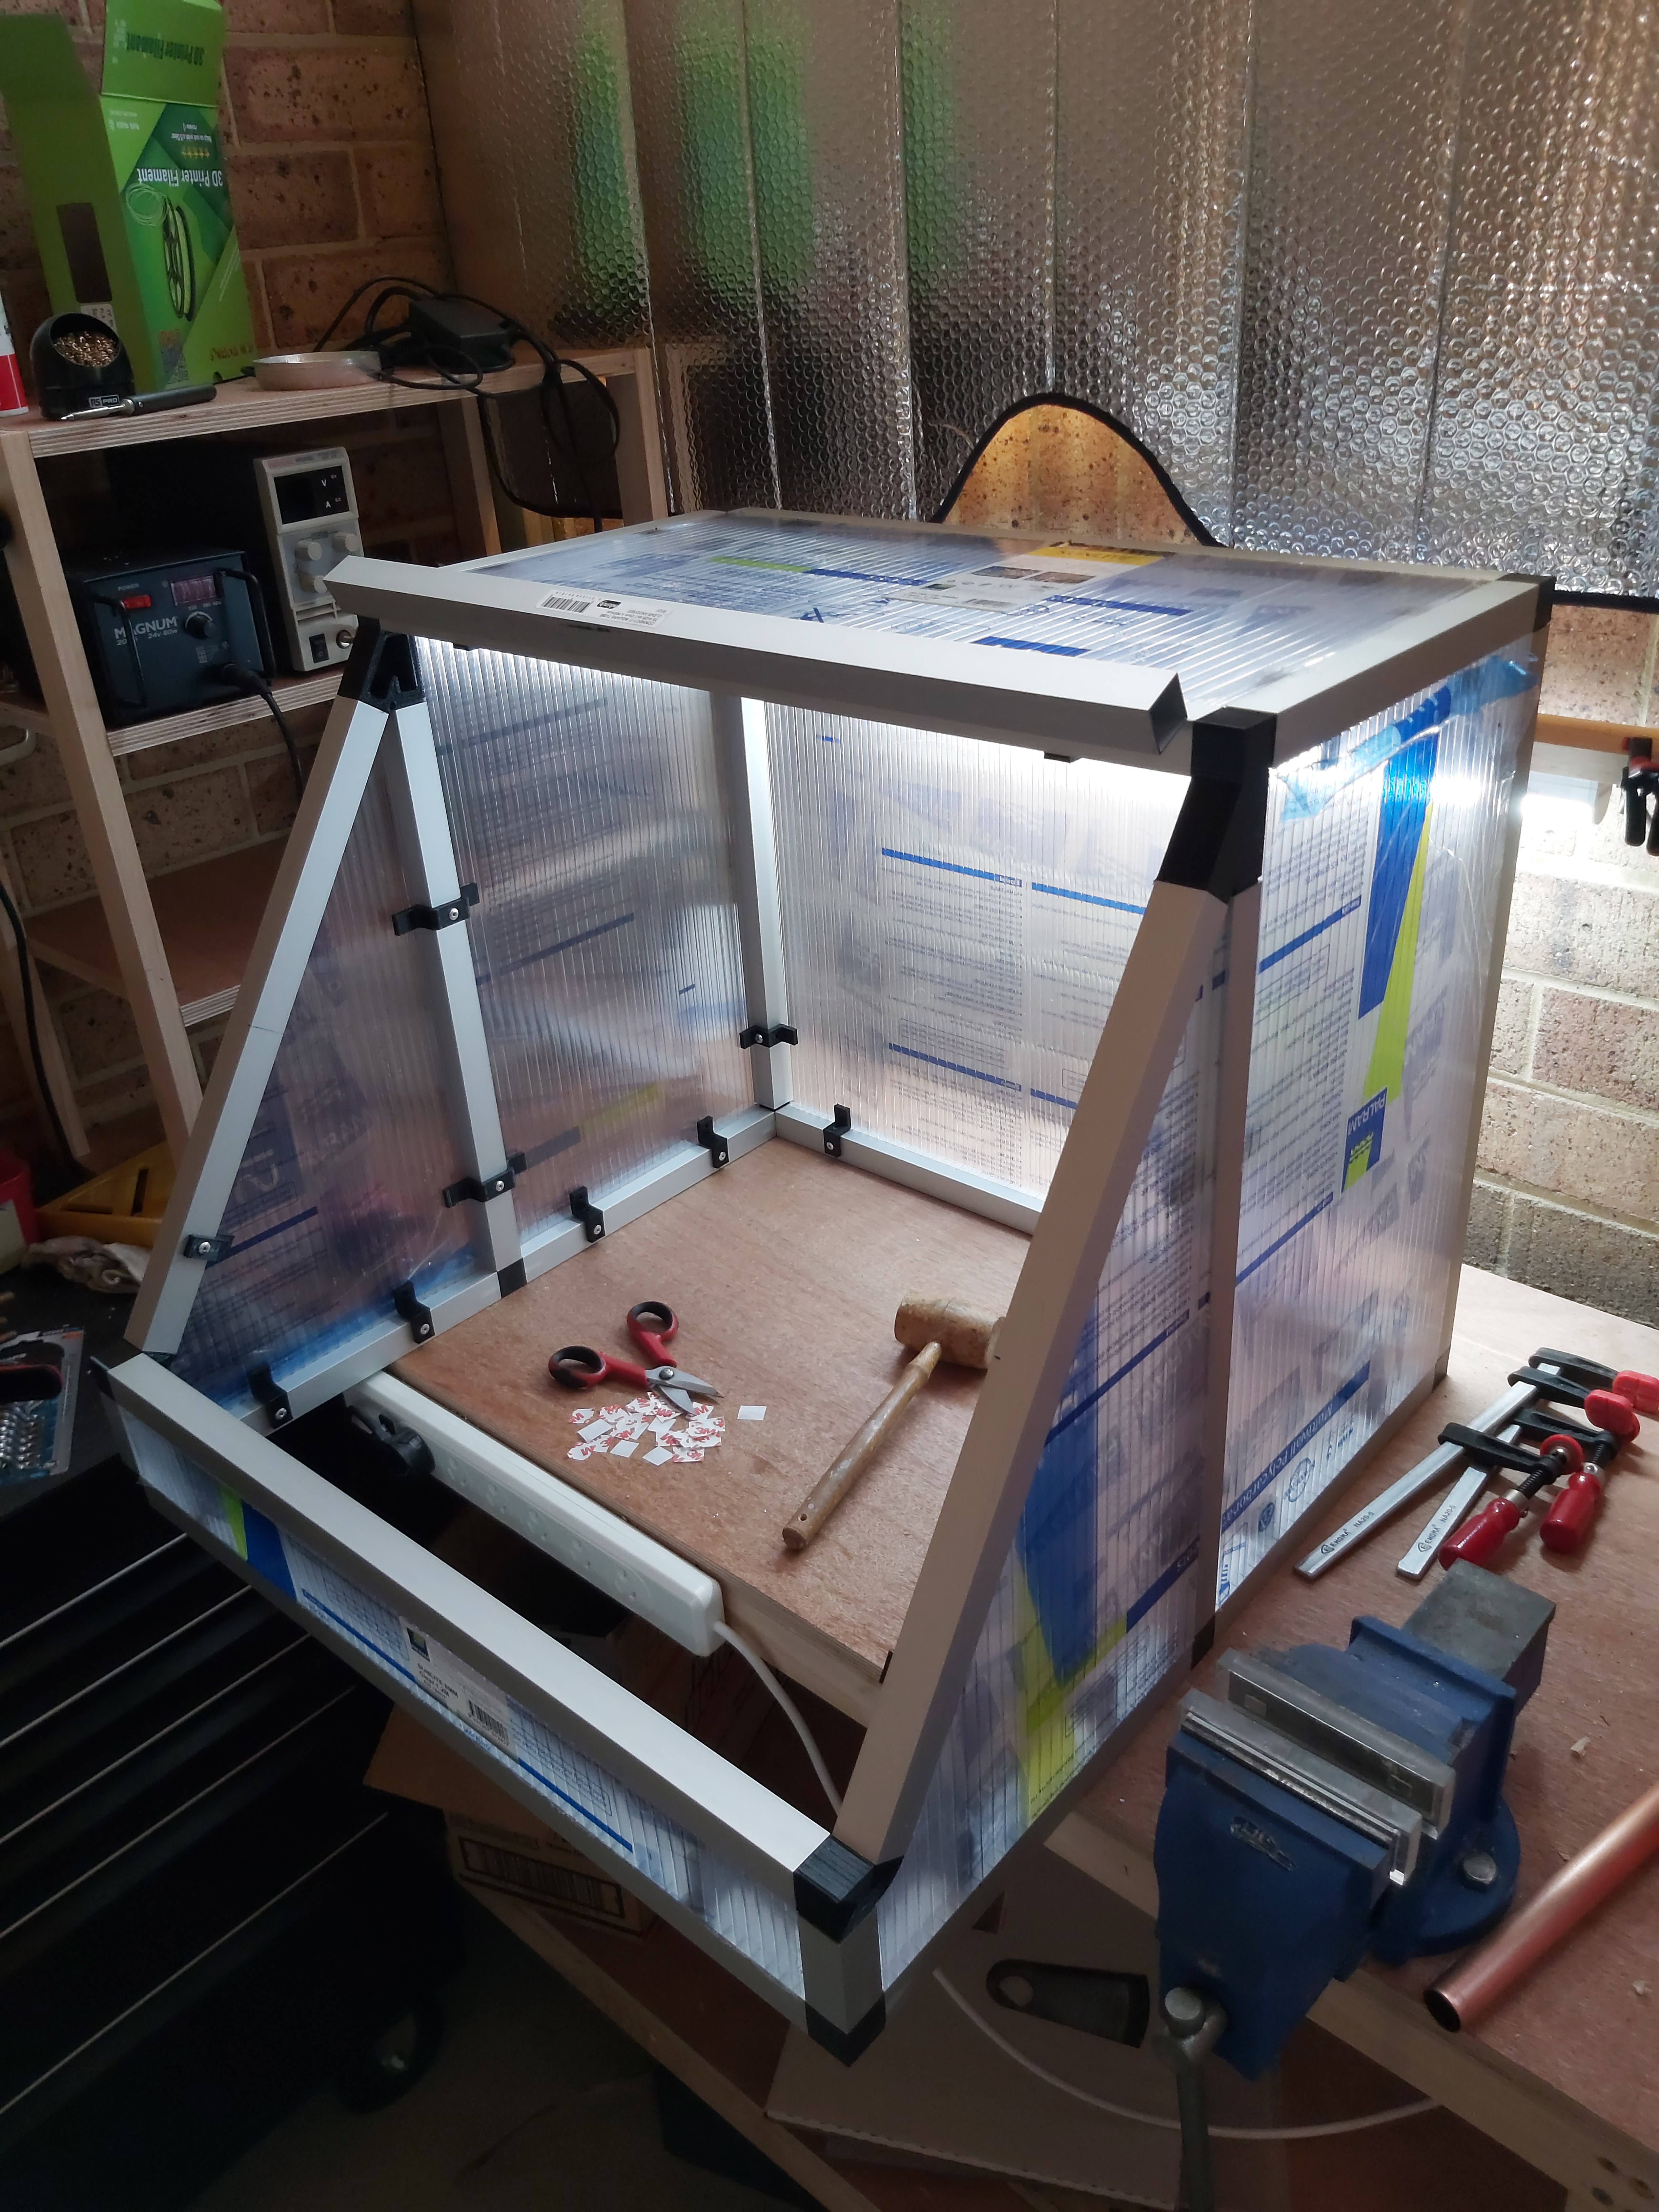
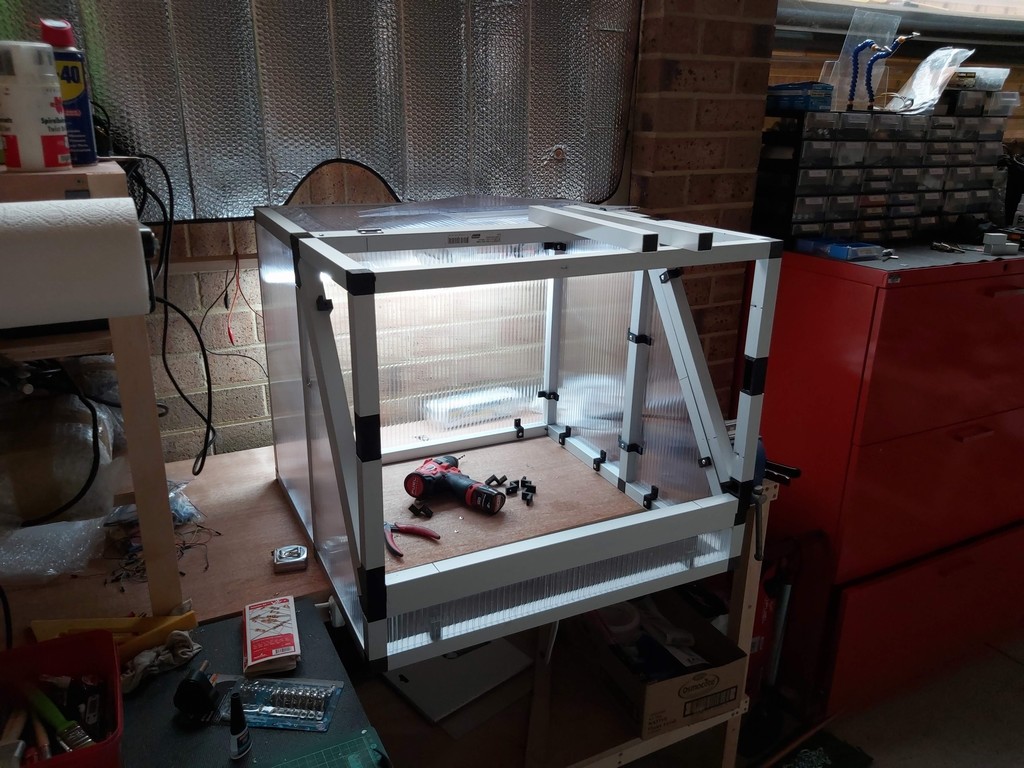
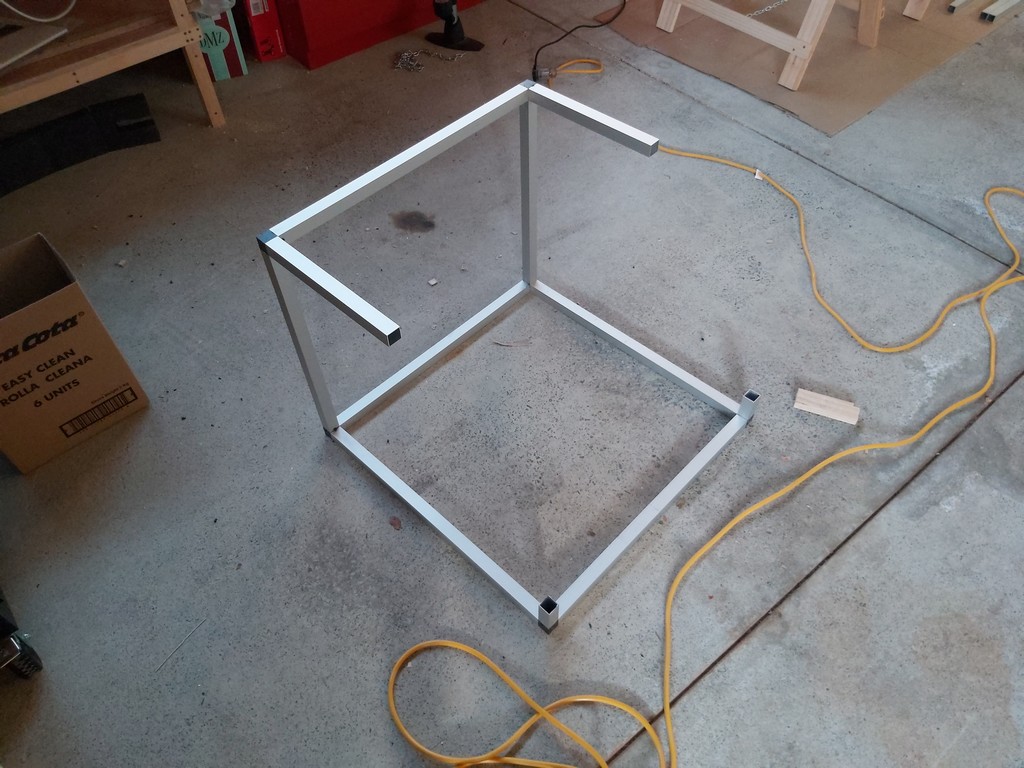
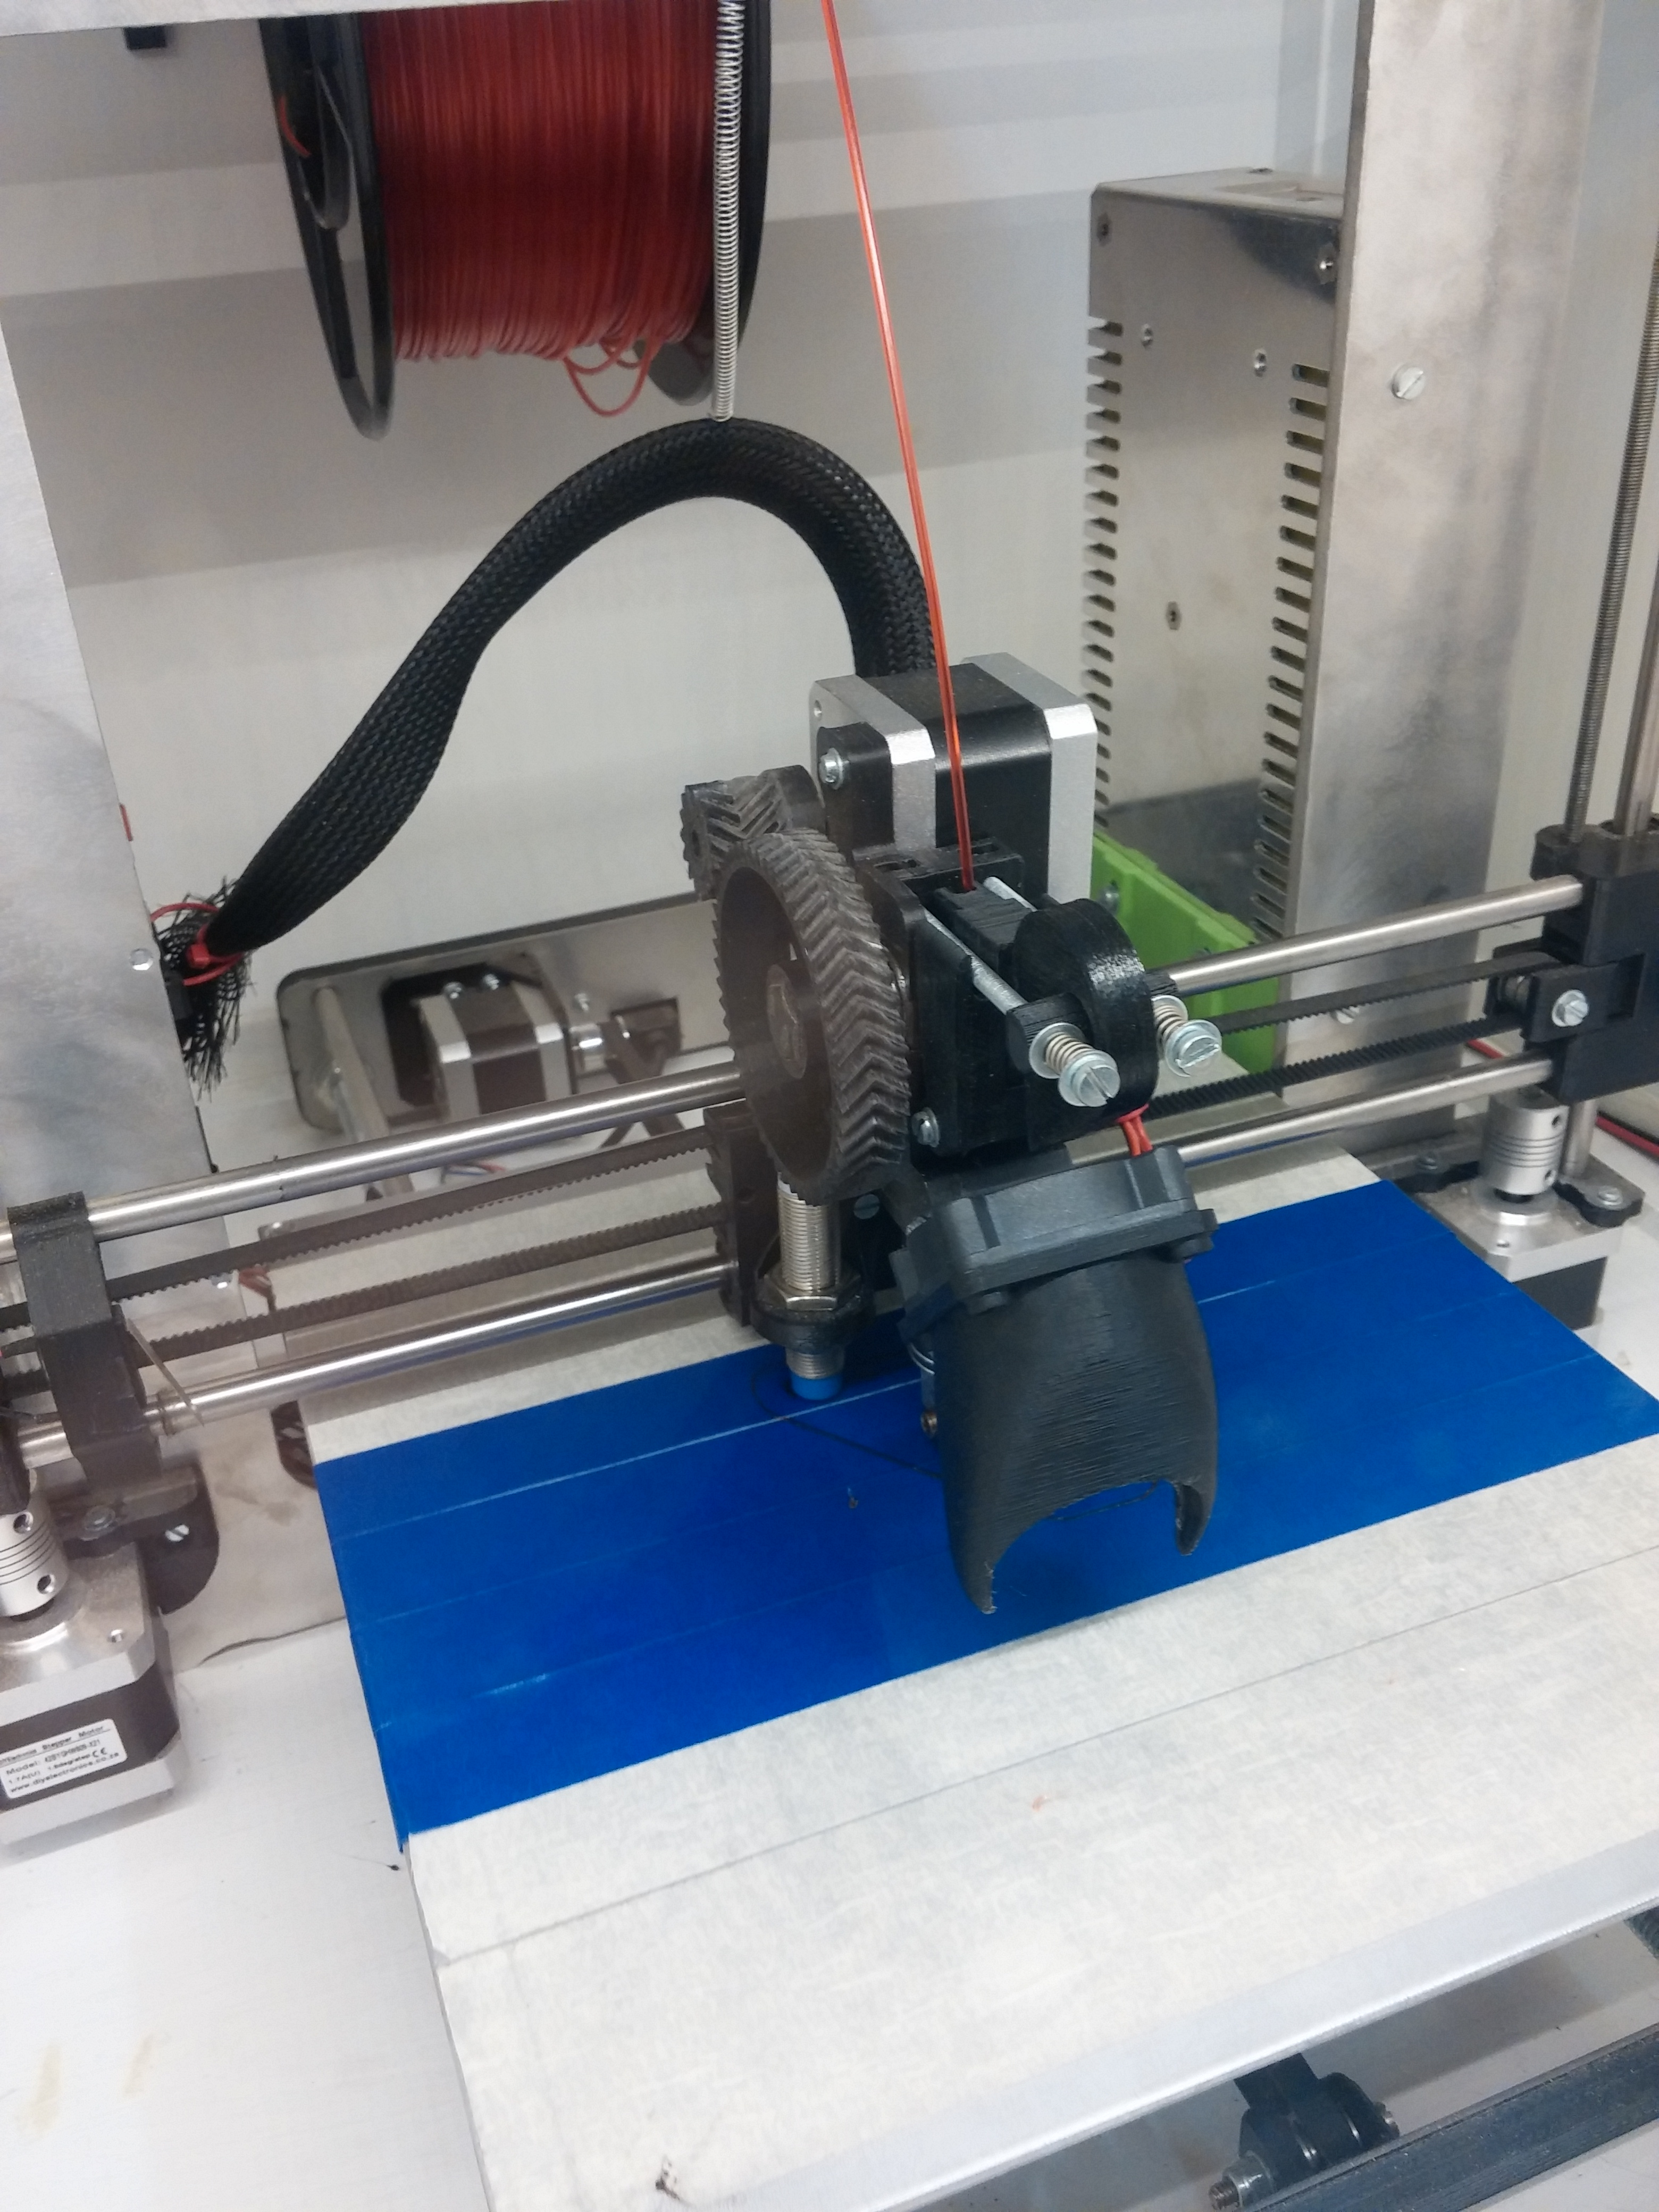
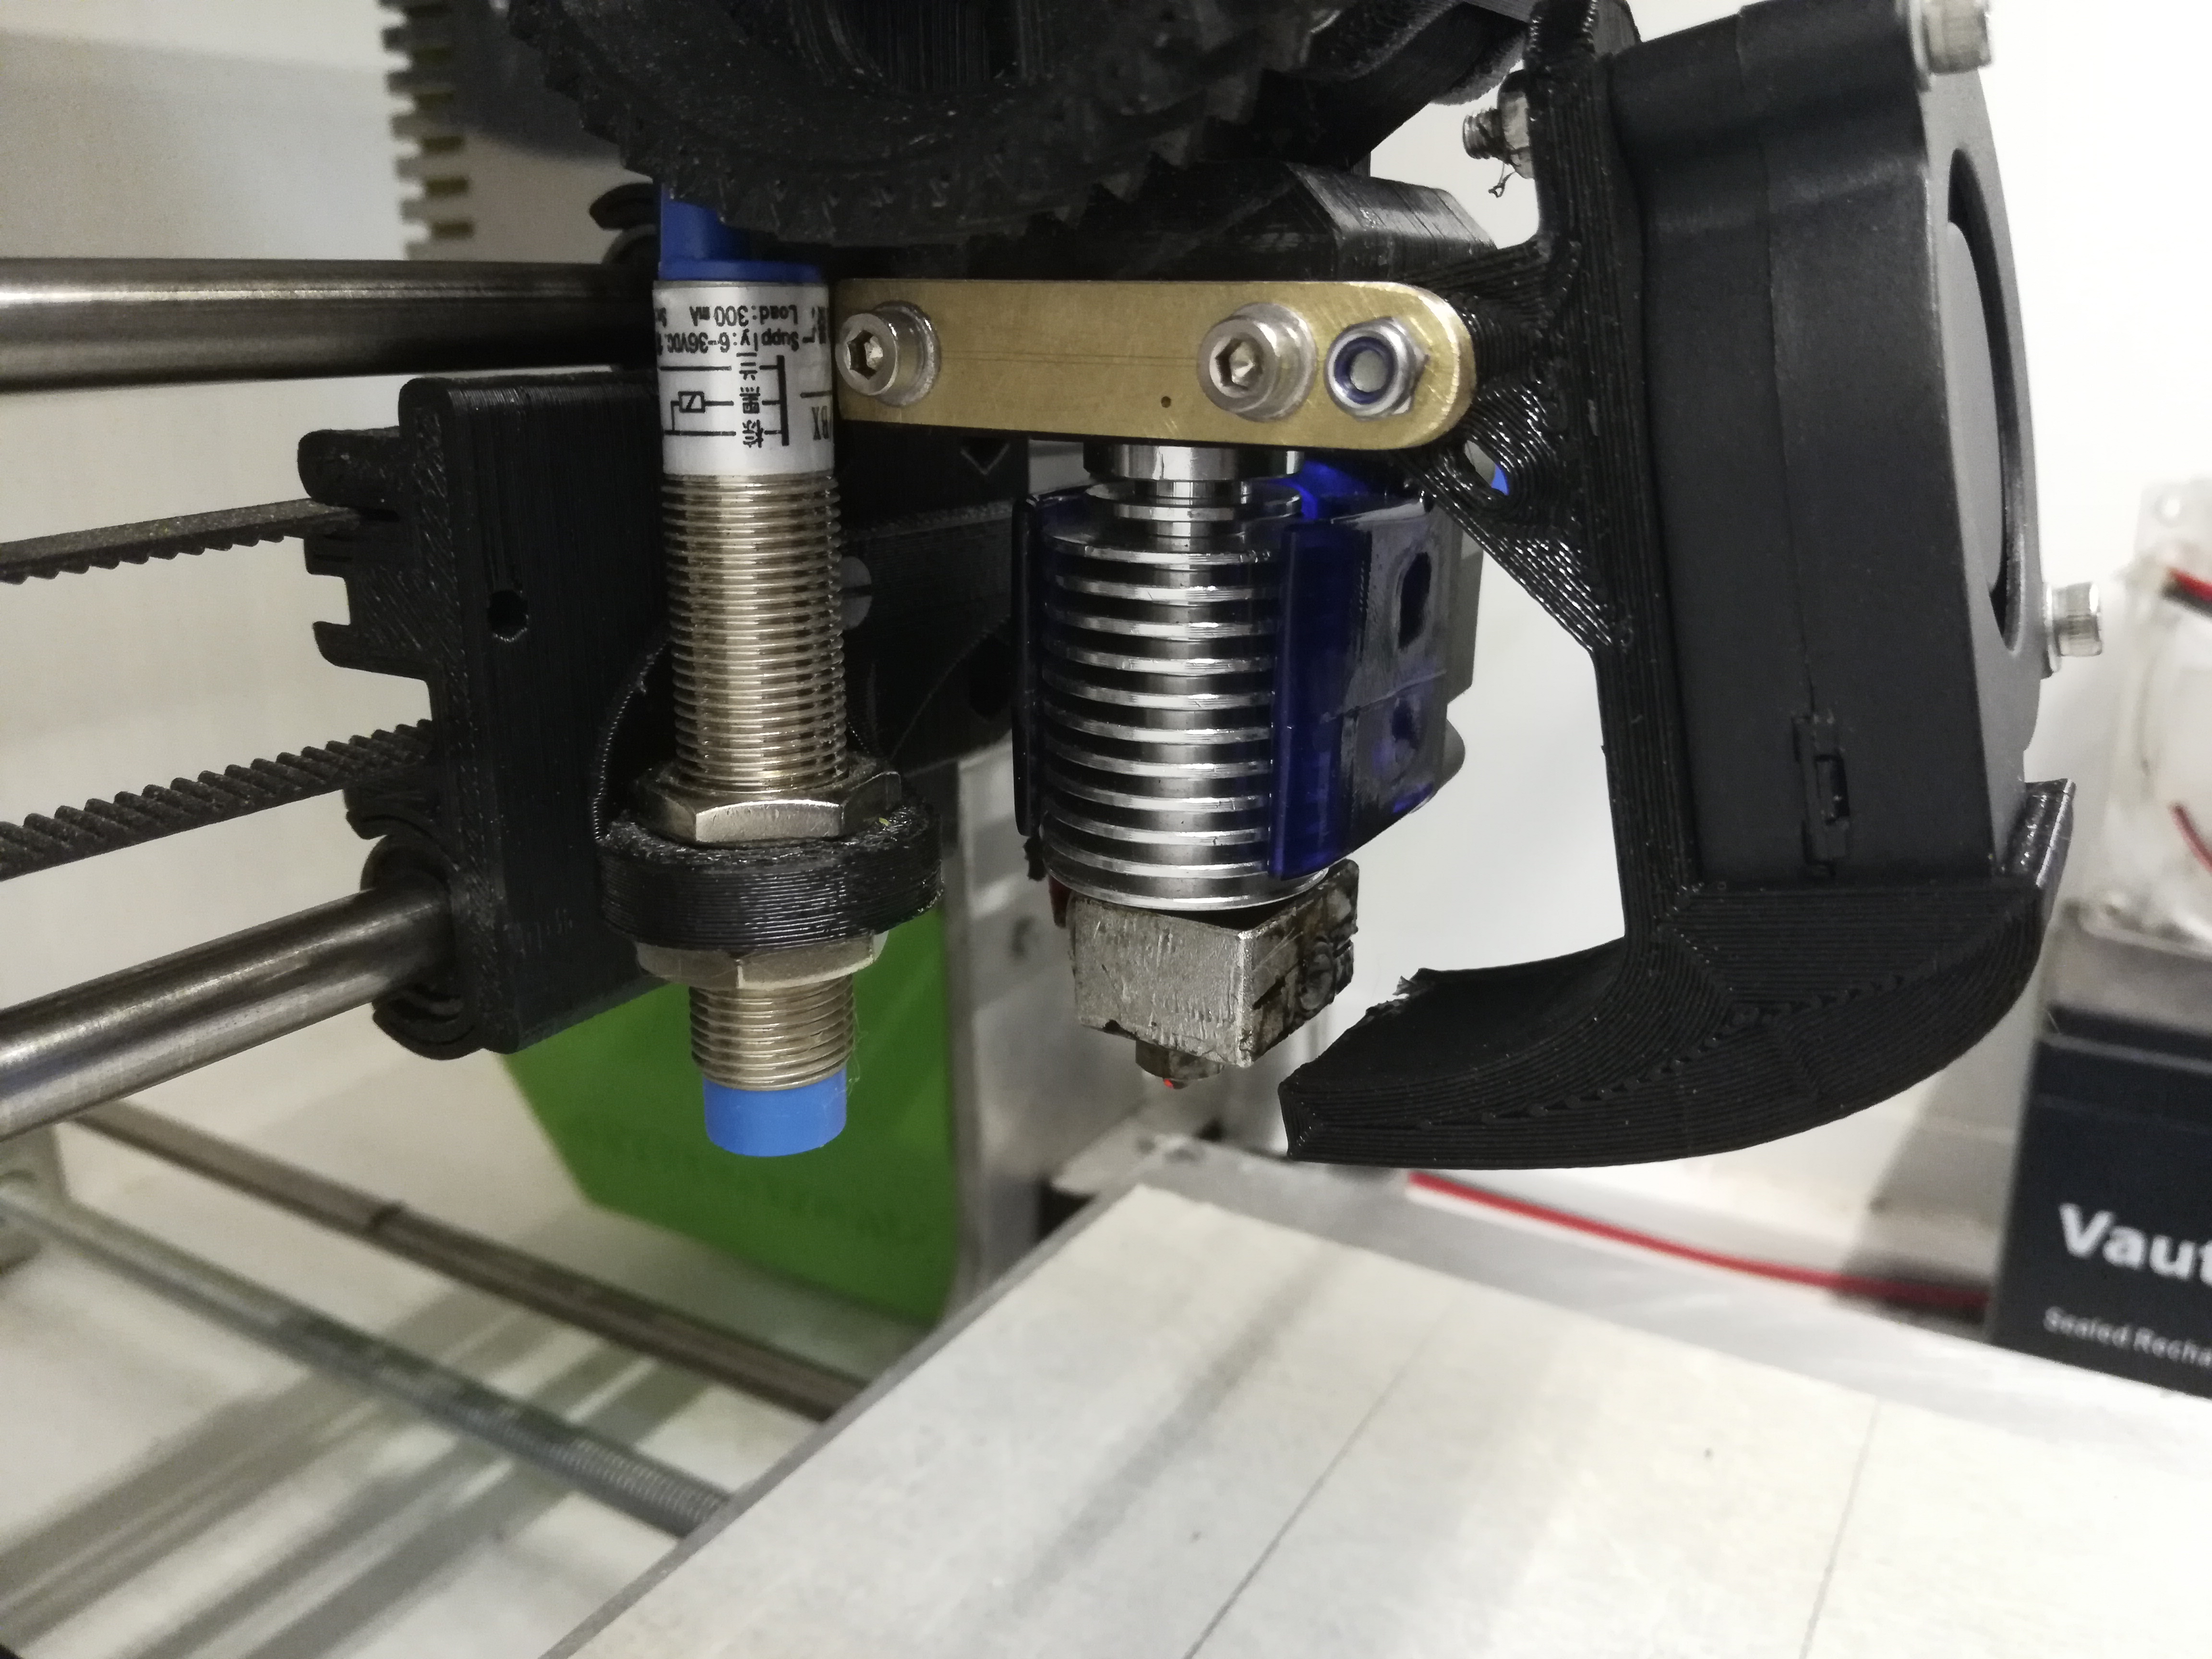
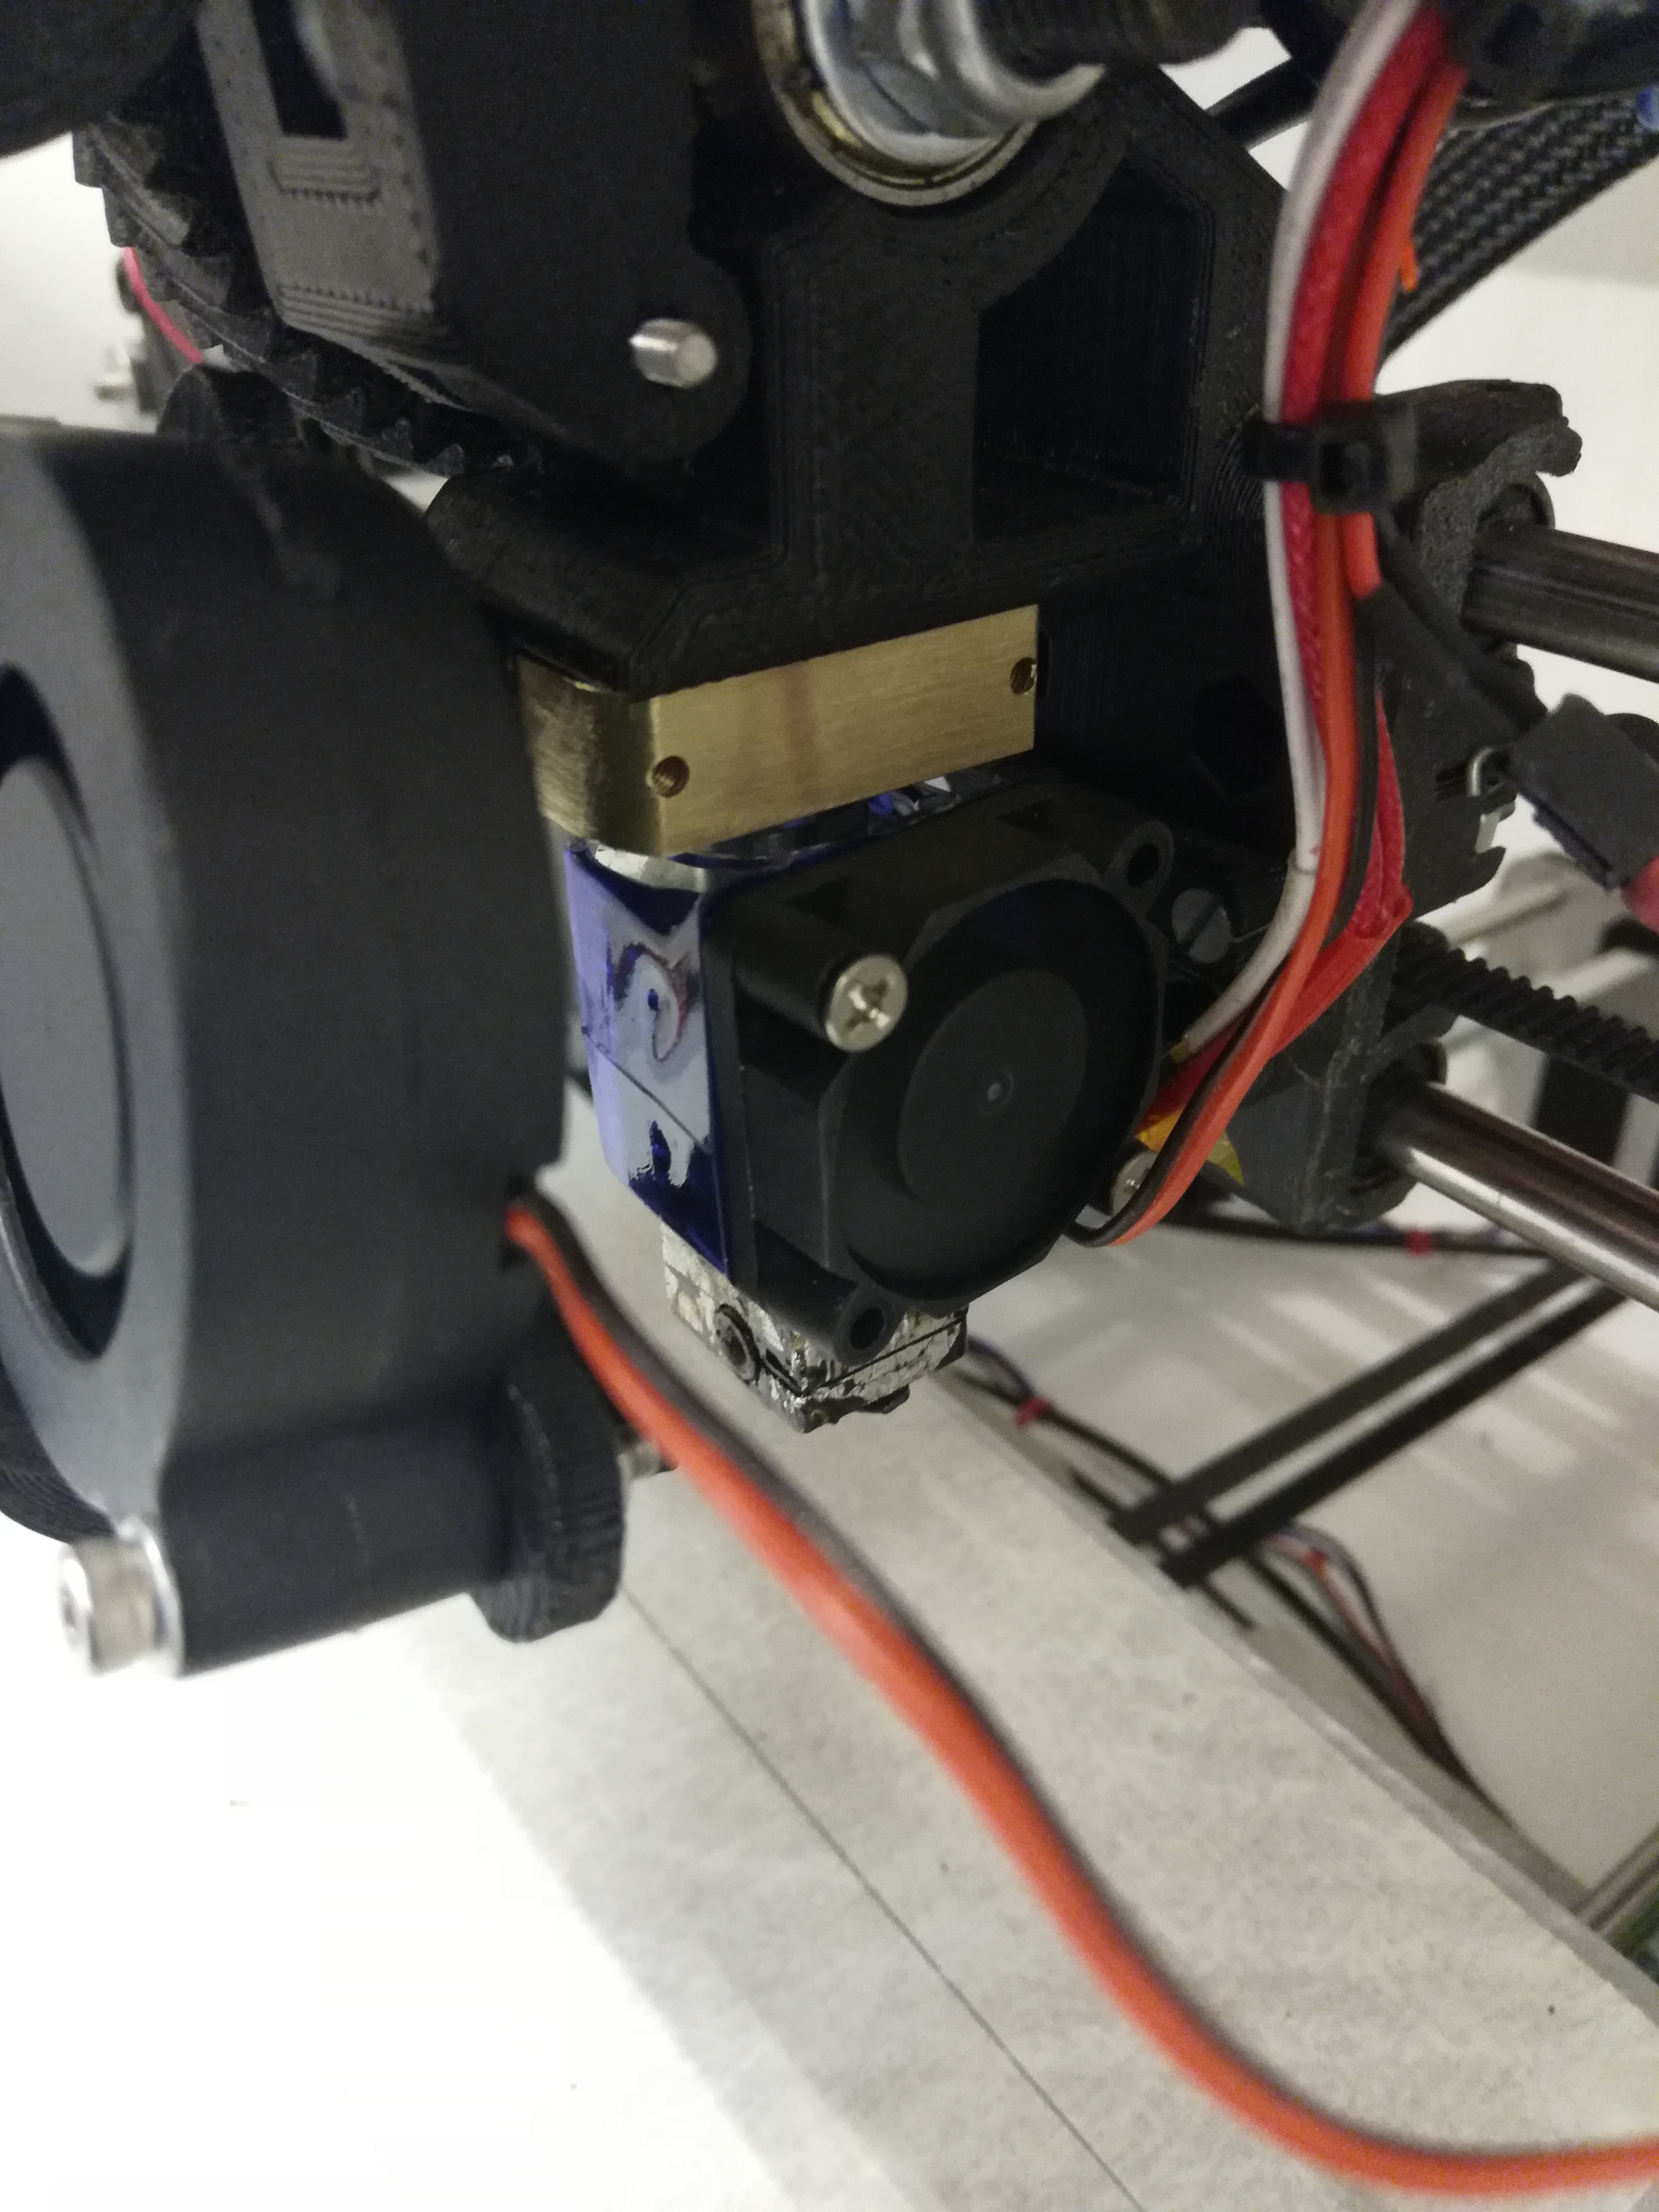
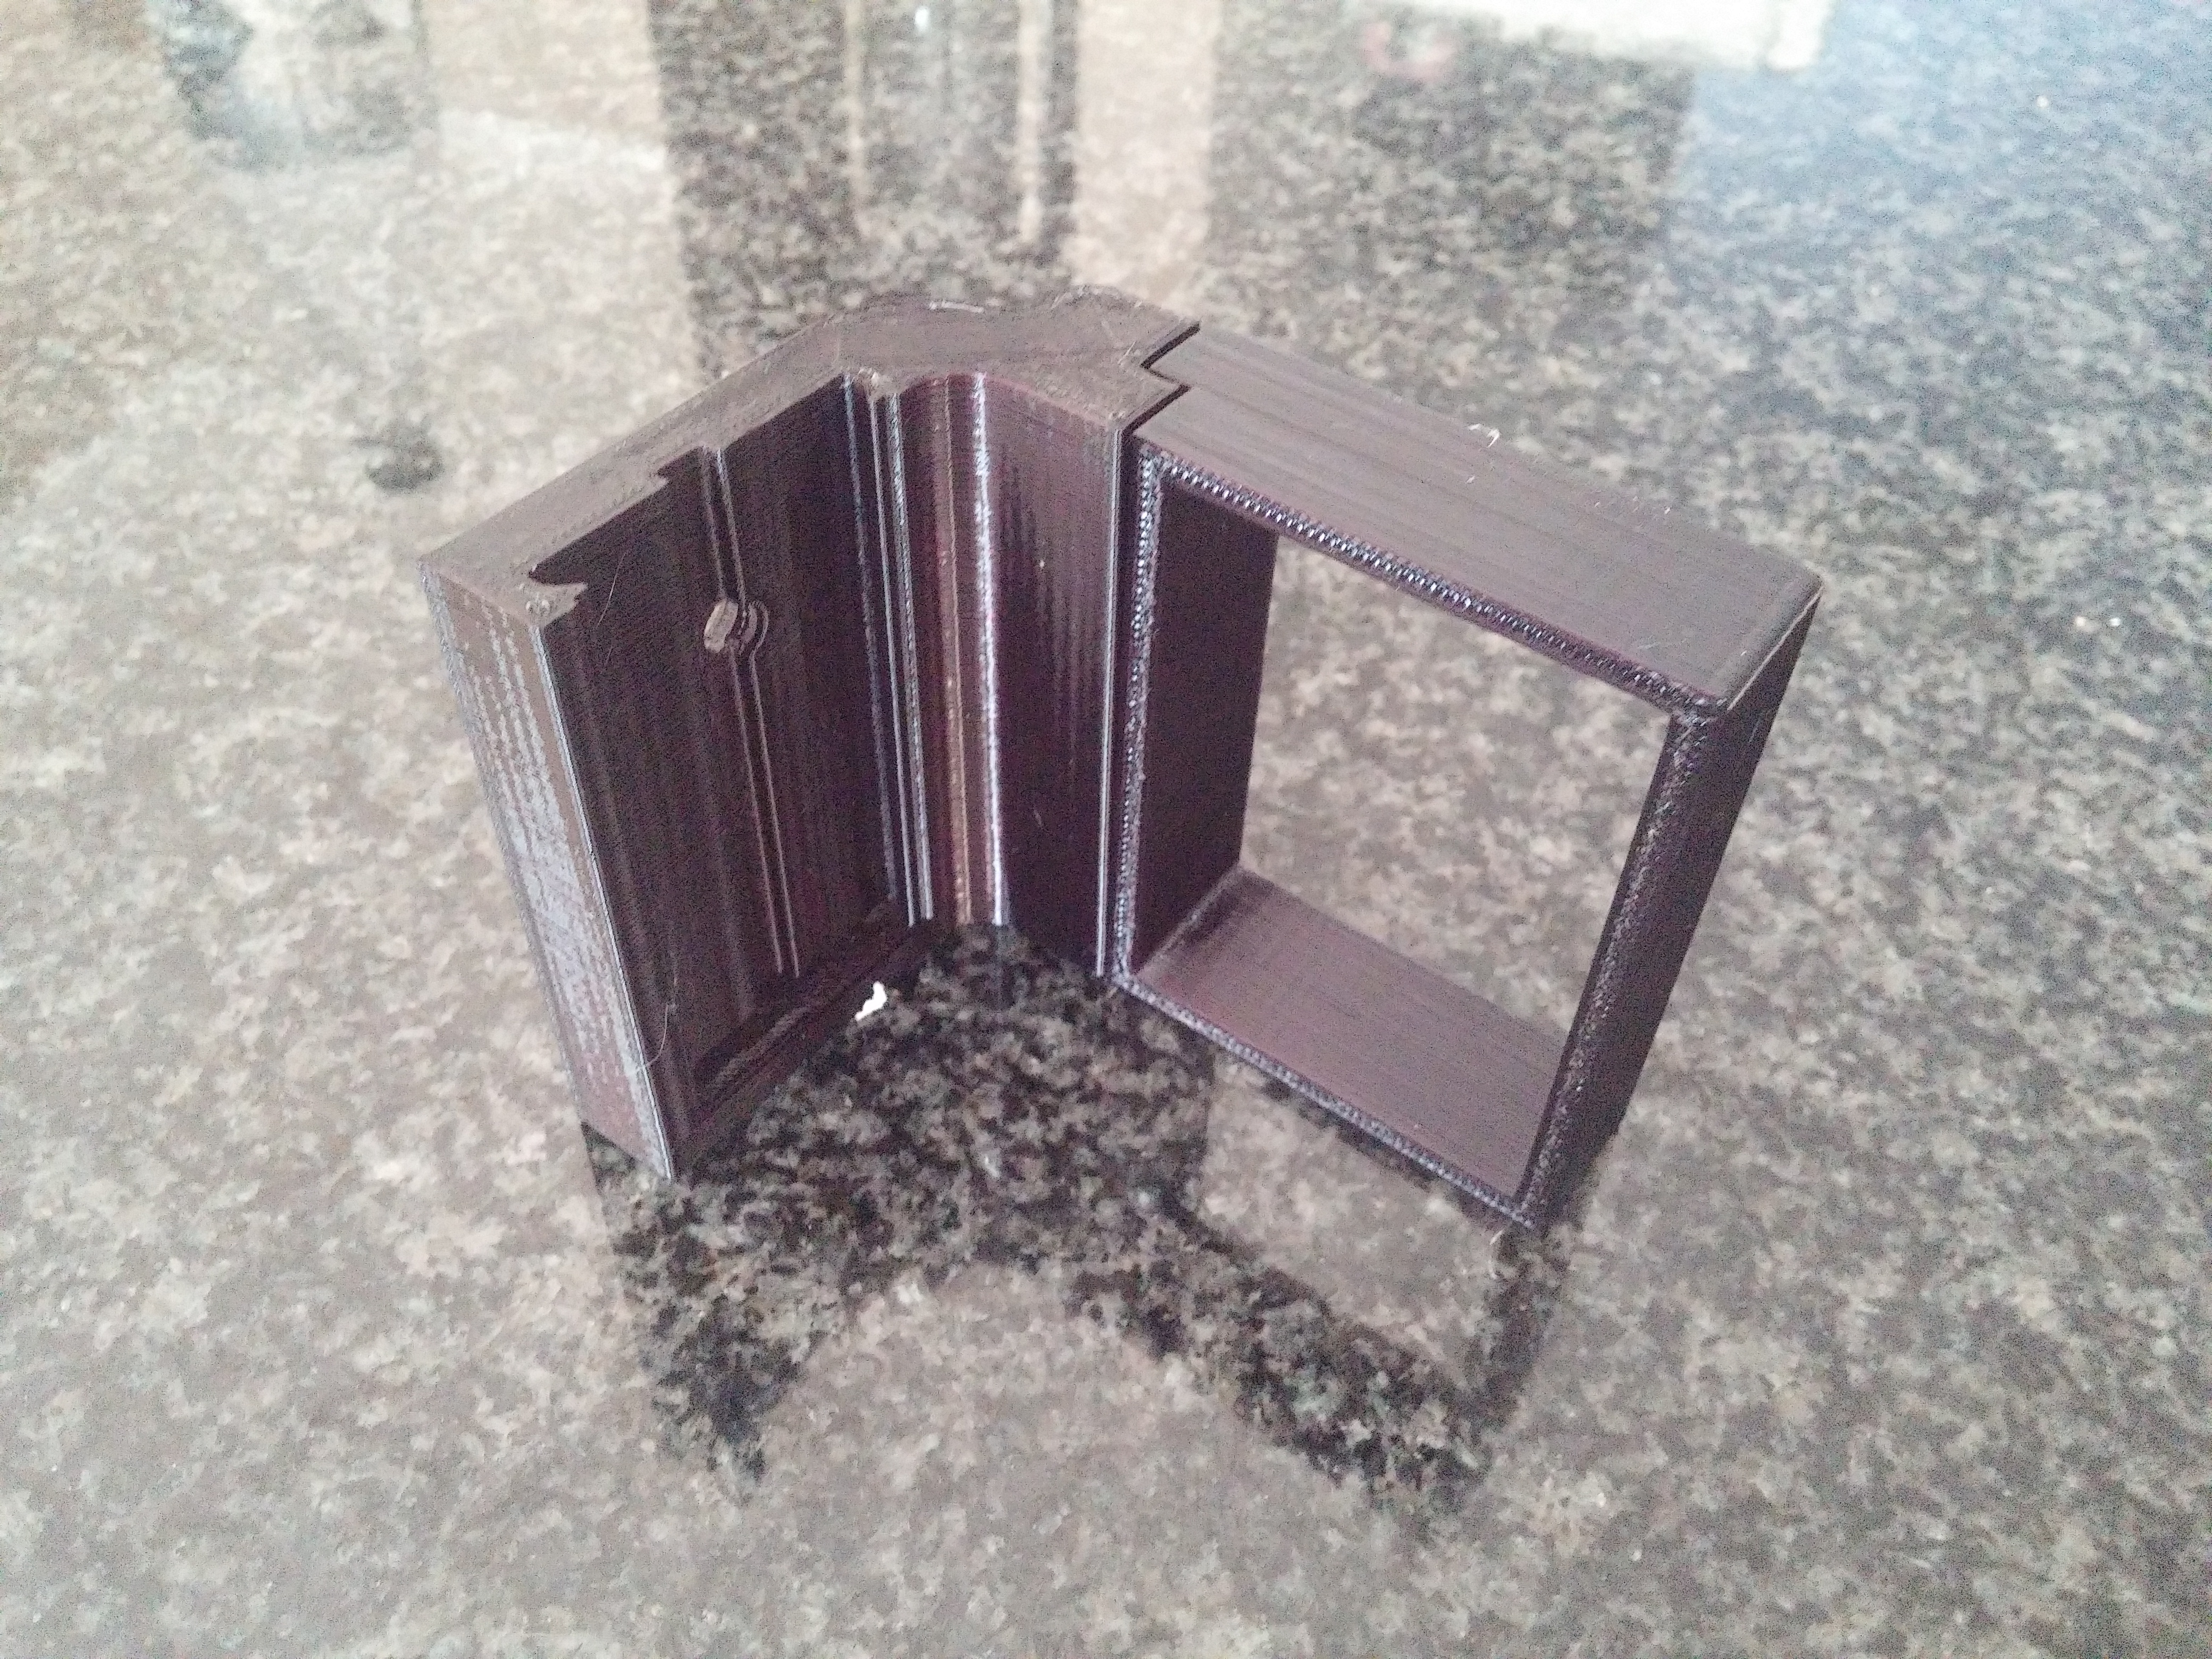
My 3D printer is a Prusa i3-based kit which has been modified over the past 4 years to include a heated bed, automatic bed leveling, part cooling fan and updated Marlin firmware. I have also built an enclosure made from aluminium extrustion, 3D printed corner pieces, and plastic sheeting. The enclosure has dramatically aided with temperature control, and enables the printing of more sensitive filaments.
It has proven very reliable and is a vital tool in my workshop. Next on the upgrade list is a 32-bit controller, and conversion to a plotter for drawing.
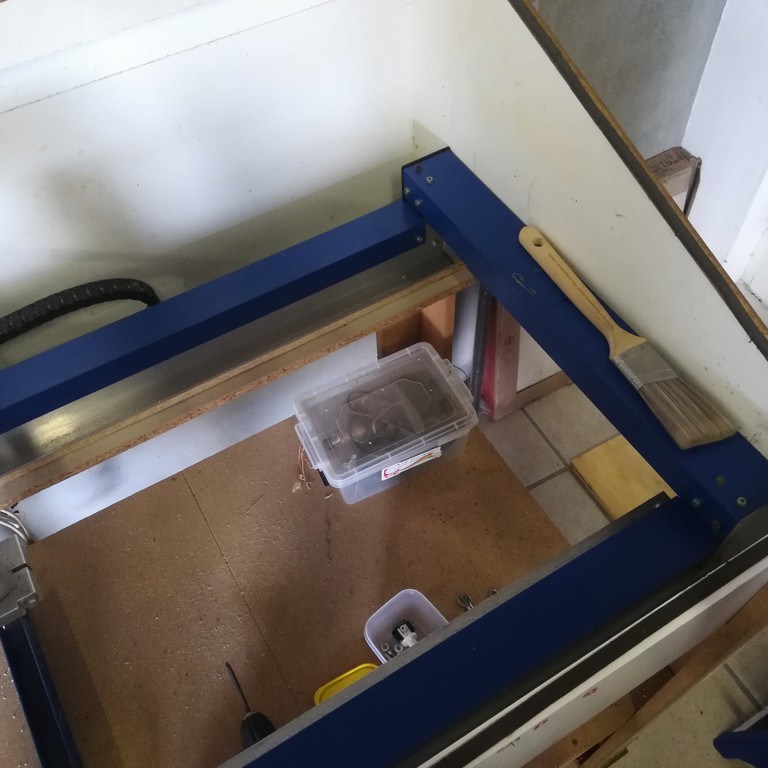
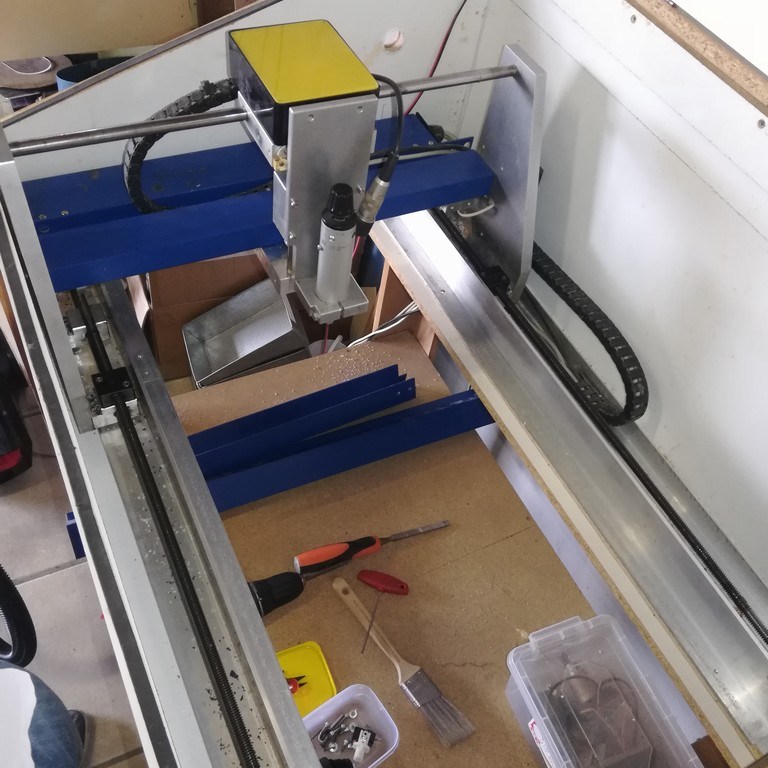
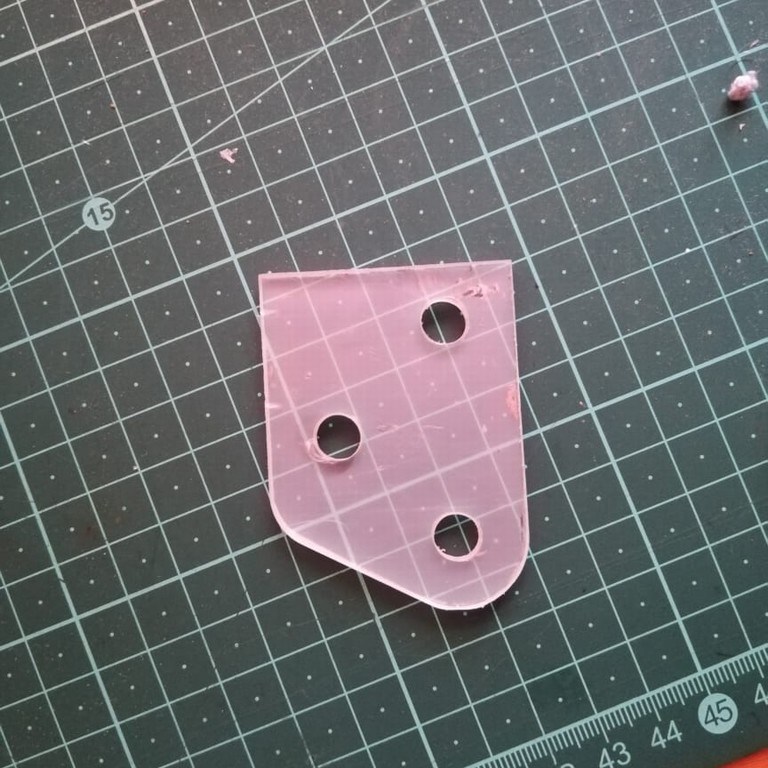
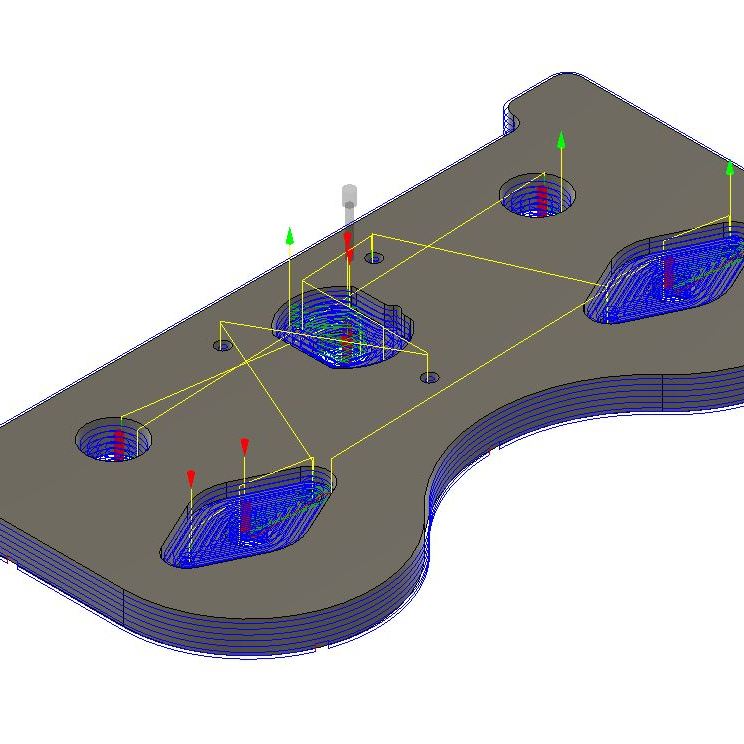
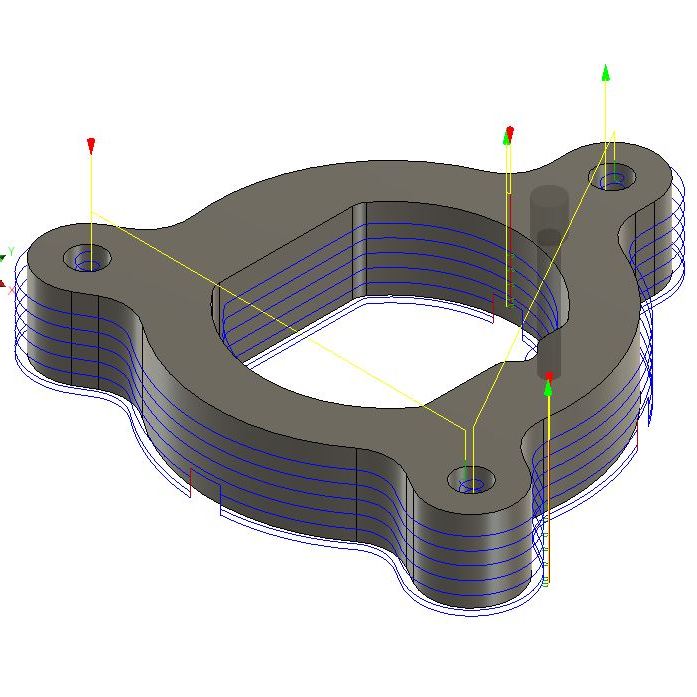
CNC Router
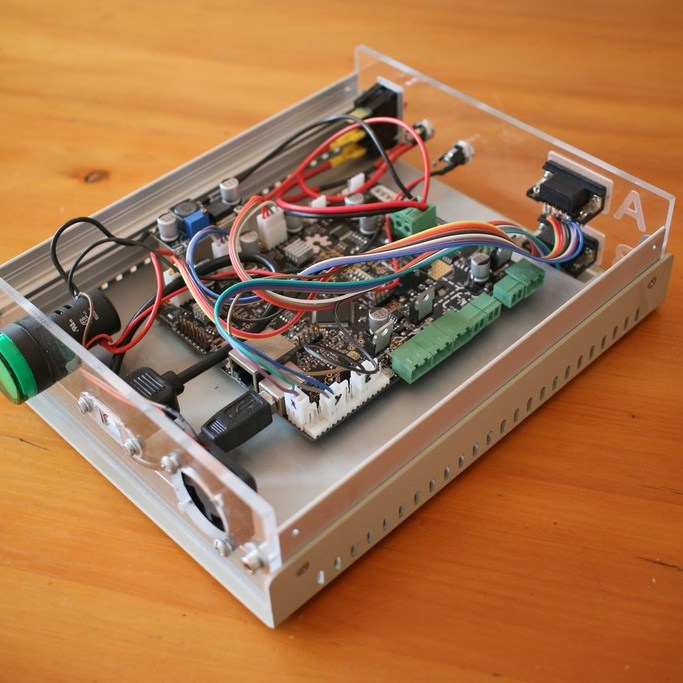
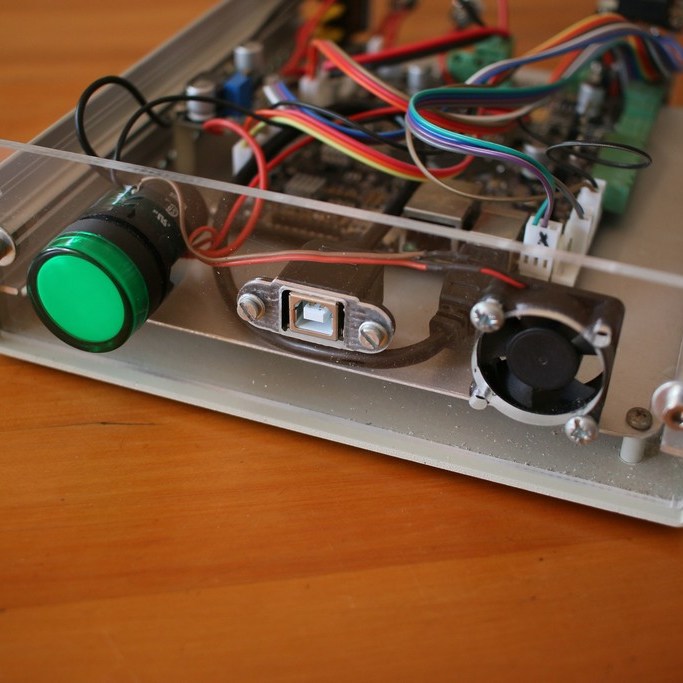
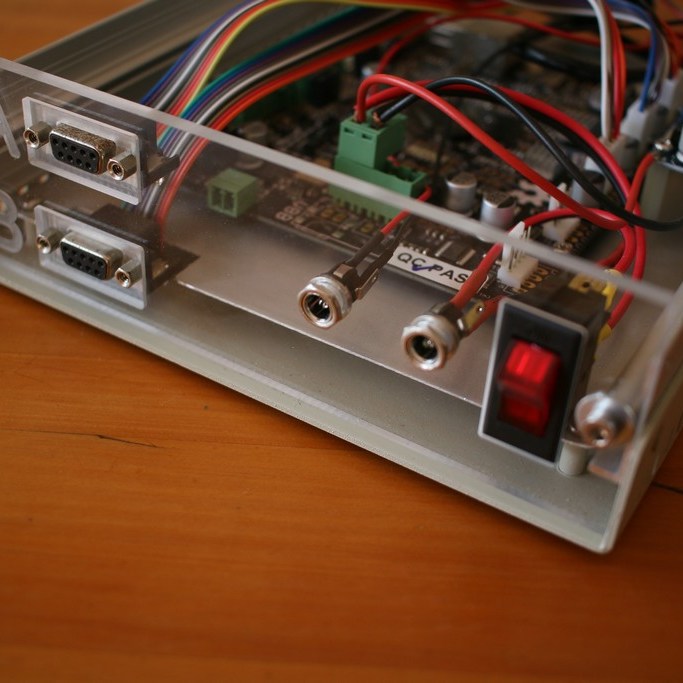
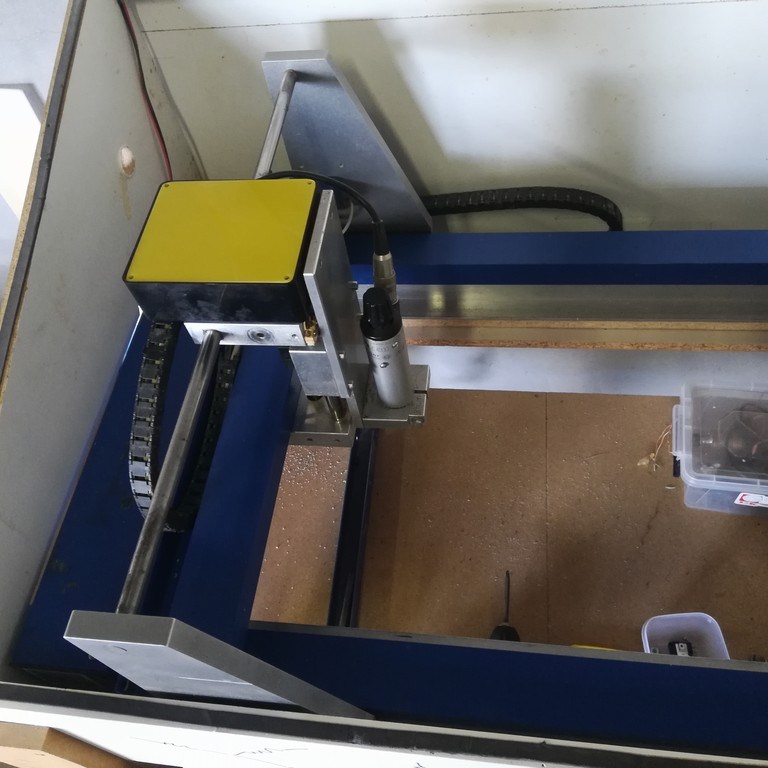
Updating of a 1990s Step4 CNC router with new Nema17 motors and a 32-bit control board (Smoothieboard).
This machine was largely used to cut perspex and MDF panels for building enclosures, making control panels and various other projects, limited only by the imagination. It can also cut brass and aluminium if required.
This machine is currently being refurbished to upgrade the spindle to a 500W DC unit, as well as improved homing and other safety features.
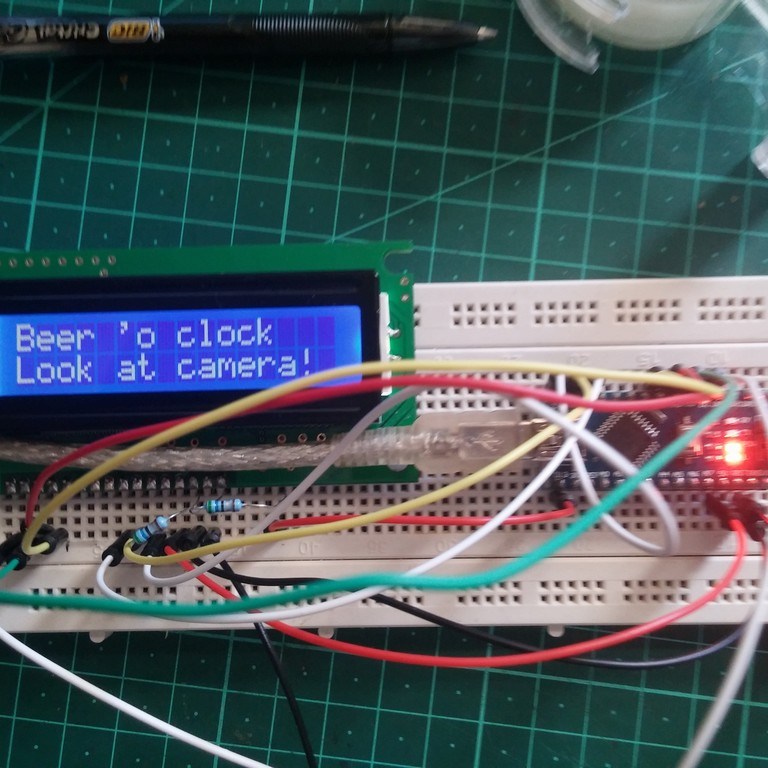
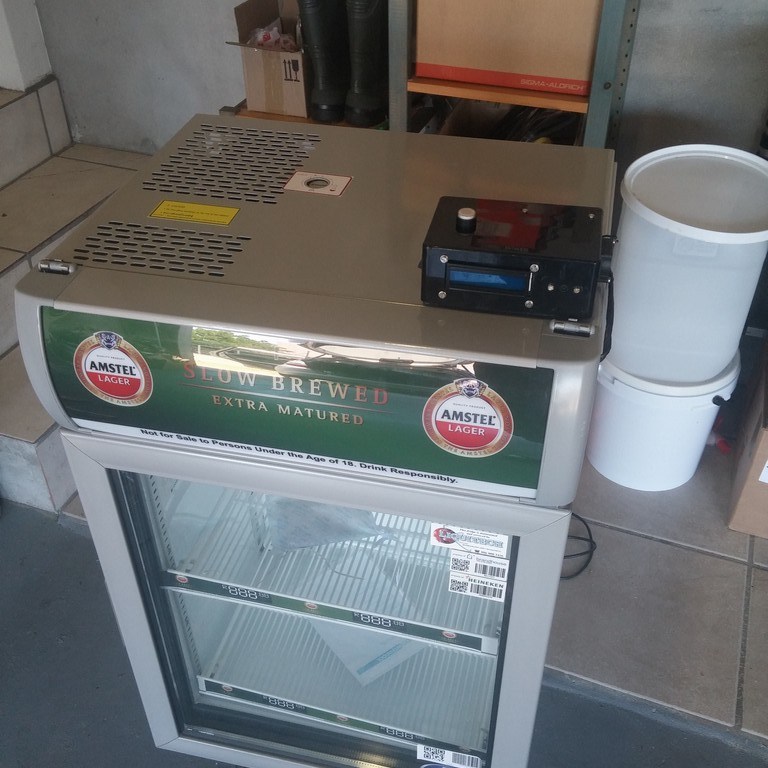
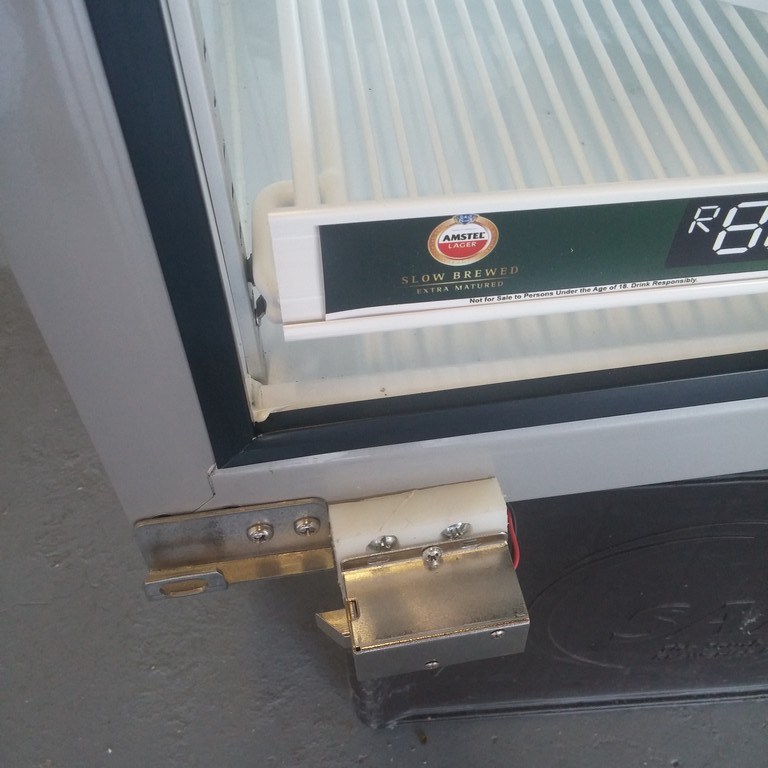
The Beer Fridge and Beer Detector
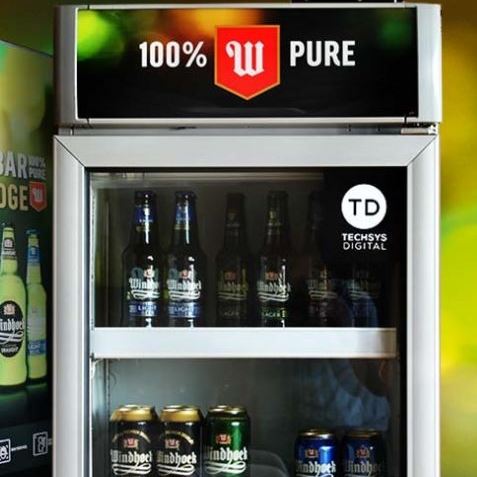
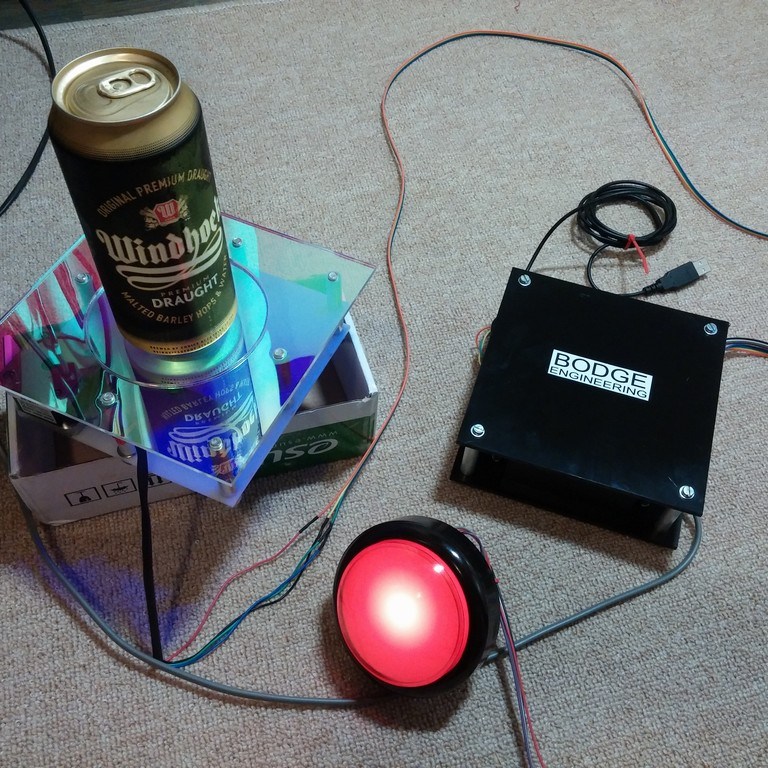
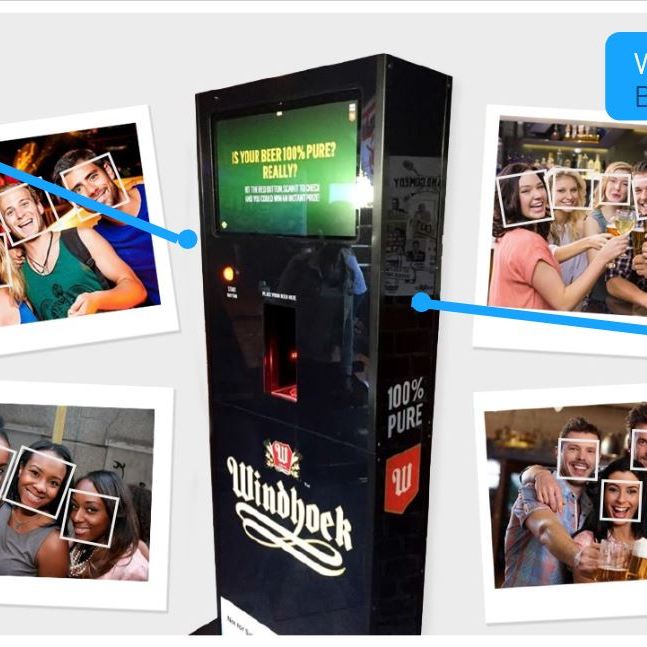
World’s first facial recognition beer fridge! I worked with award-winning Cape Town-based digital marketing agency, Techsys Digital, to bring the Beer Fridge to life. The concept was a fridge which, when approached on a Friday afternoon, recognised your face, checked that your time-sheets were complete, and unlocks to allow you to retrieve an ice-cold beer.
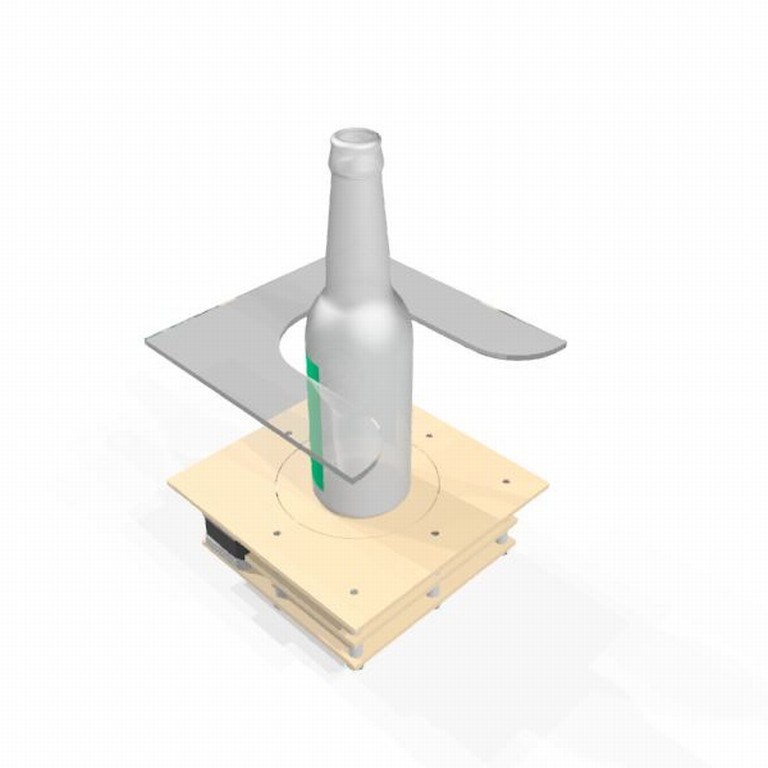
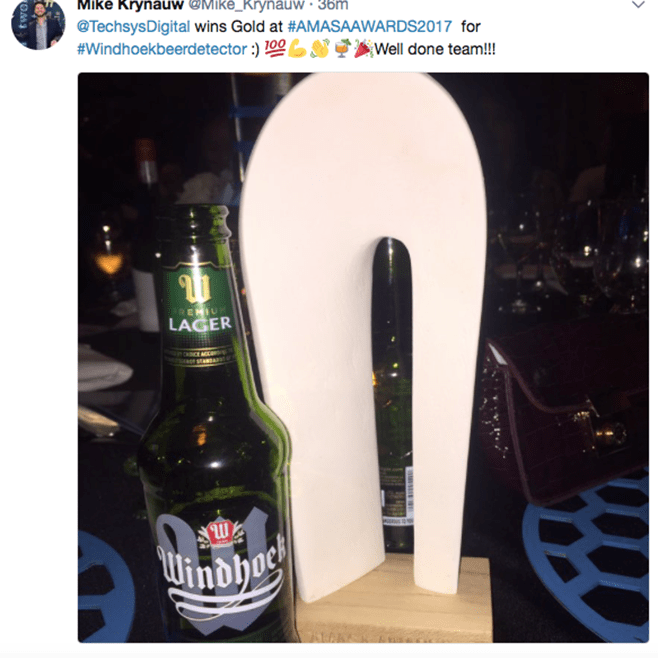
This project paved the way for the award-winning Windhoek Beer Detector – a Point Of Sale promotional tool that scanned the barcode of any Windhoek beer purchased, and entered it into a lucky drawer for a prize. This campaign won Gold at the 2017 Advertising Media Association of South Africa (AMASA) awards for “Best Use of Technology & Data”. It was a thrilling and rewarding experience to work with Techsys Digital, and the results spoke for themselves!
Aluminium Furnace
While 3D printing is a fantastic stand-alone tool, it is limited by the fact that it can only produce parts in plastic. However, while this is a limitation, it also presents a fantastic opportunity to use 3D printing for pattern making. This allows prints to be converted to aluminium or brass using either ‘lost-PLA’ or sand casting.
Lost-PLA is an adaptation of lost-wax casting, where a positive pattern is made out of the most common 3D printing filament: polylactic acid (PLA). This is then cast into a mixture of sand and plaster of Paris. The PLA is then burnt out in the furnace, leaving a negative mould into which anything can be cast. In this case, I chose to cast in aluminium.
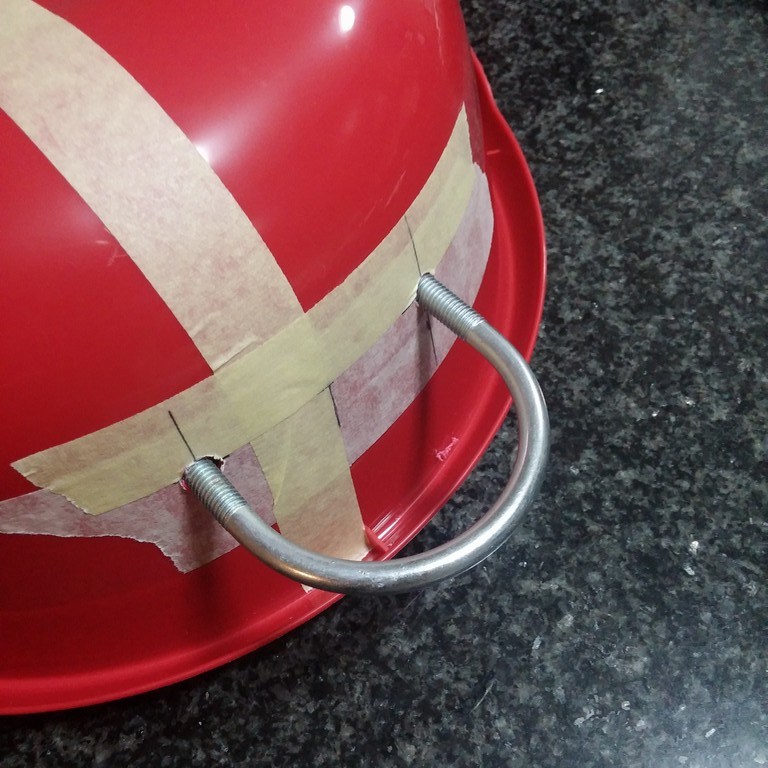
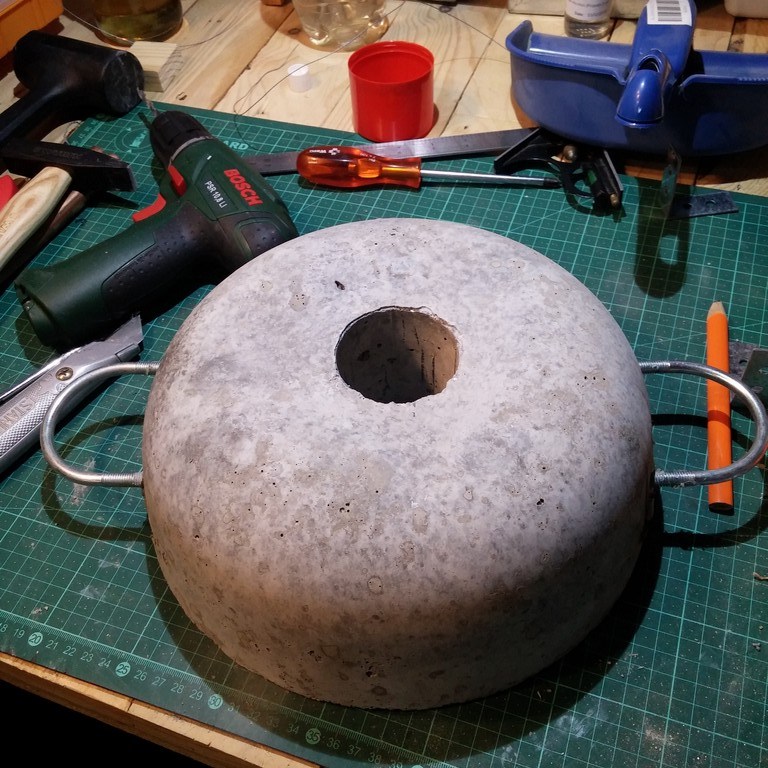
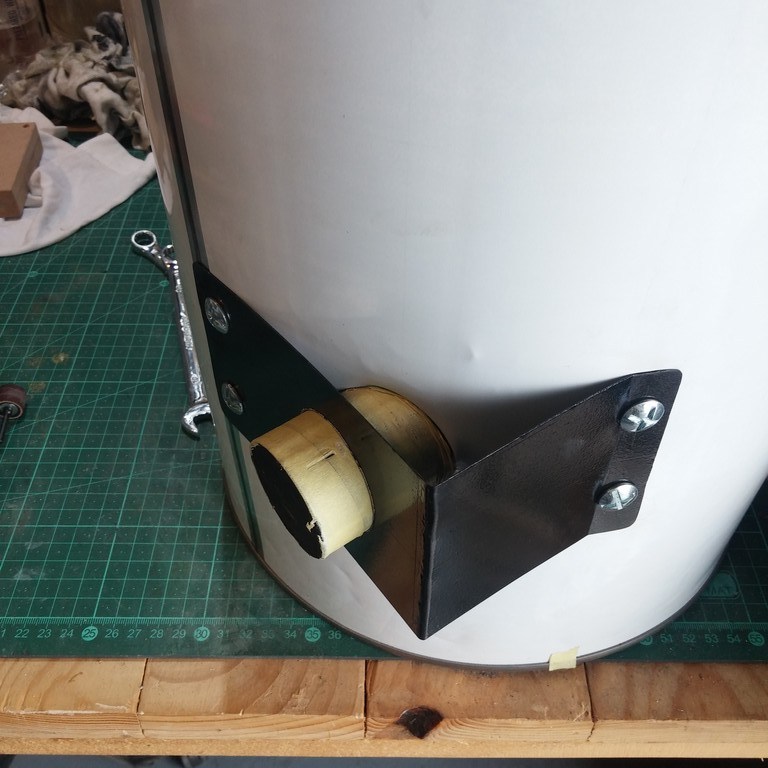
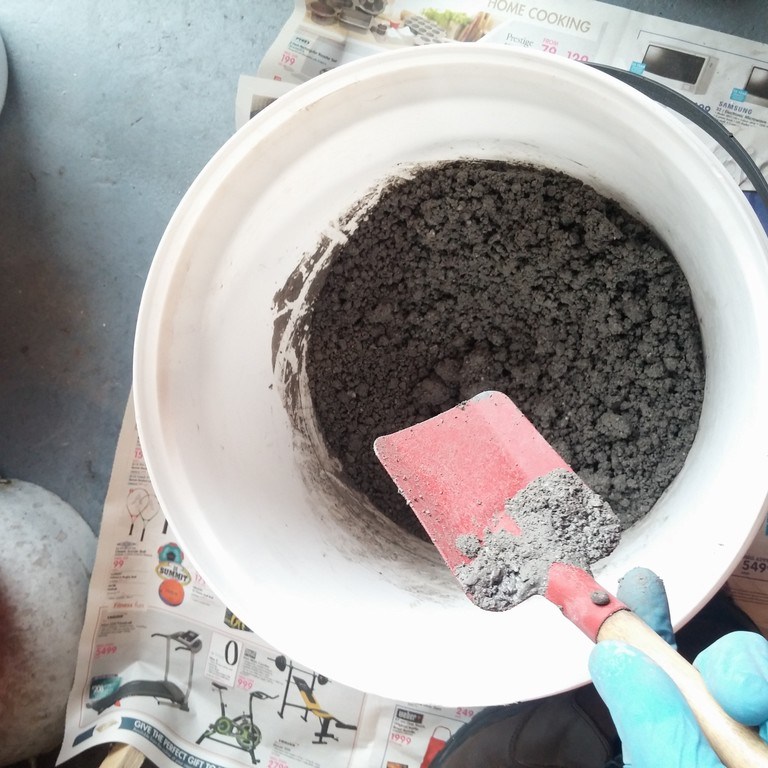
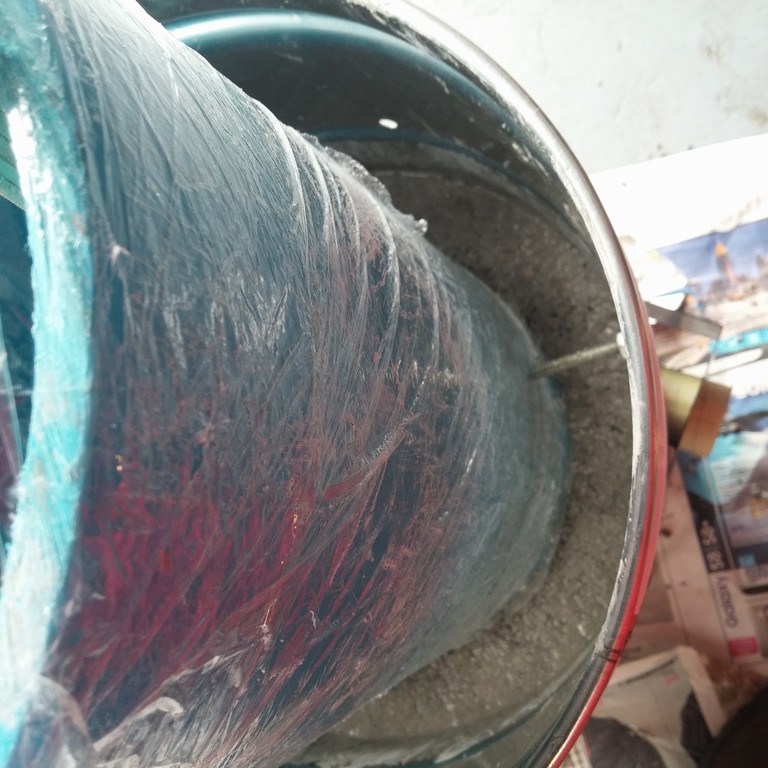
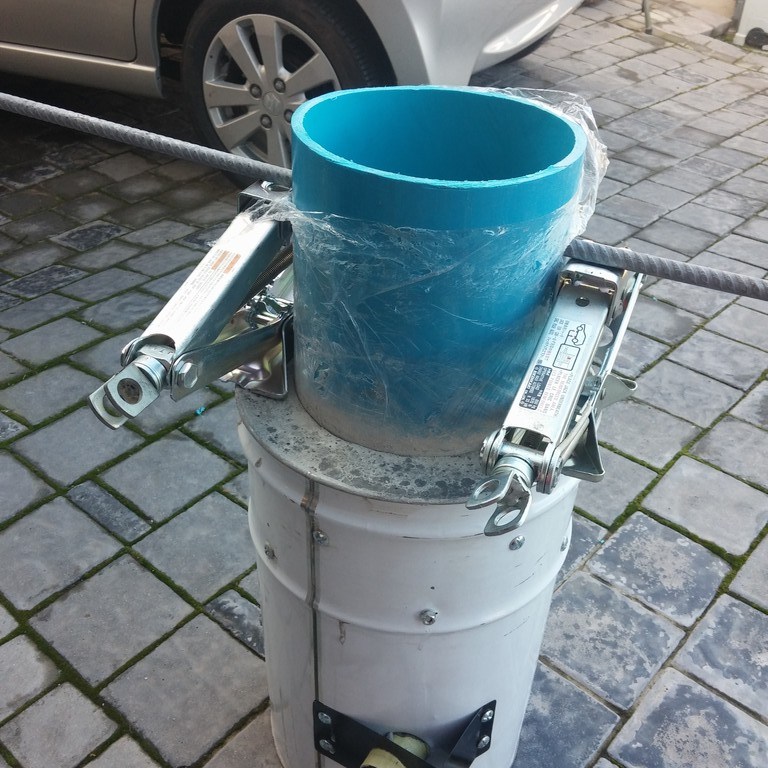
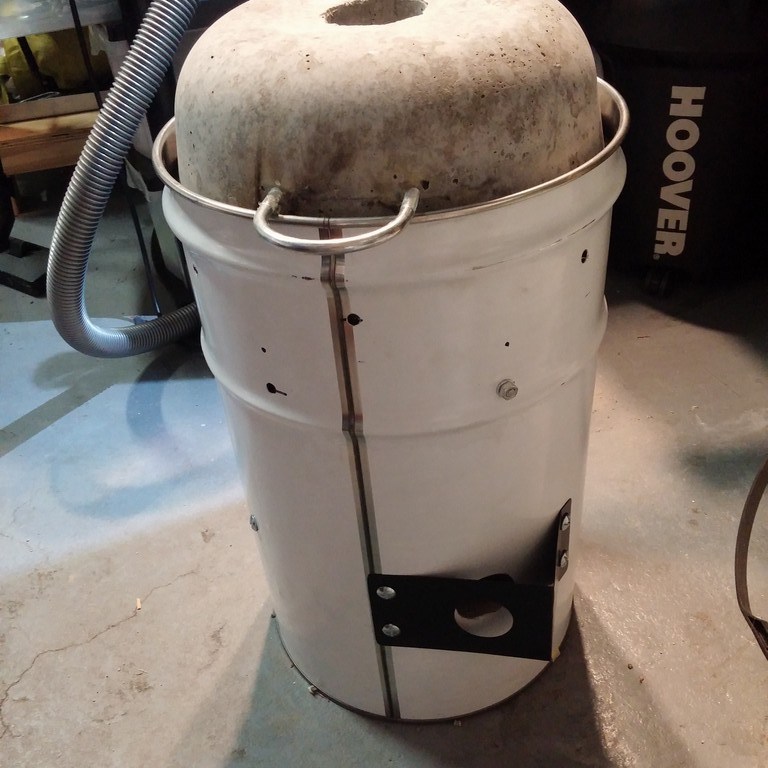
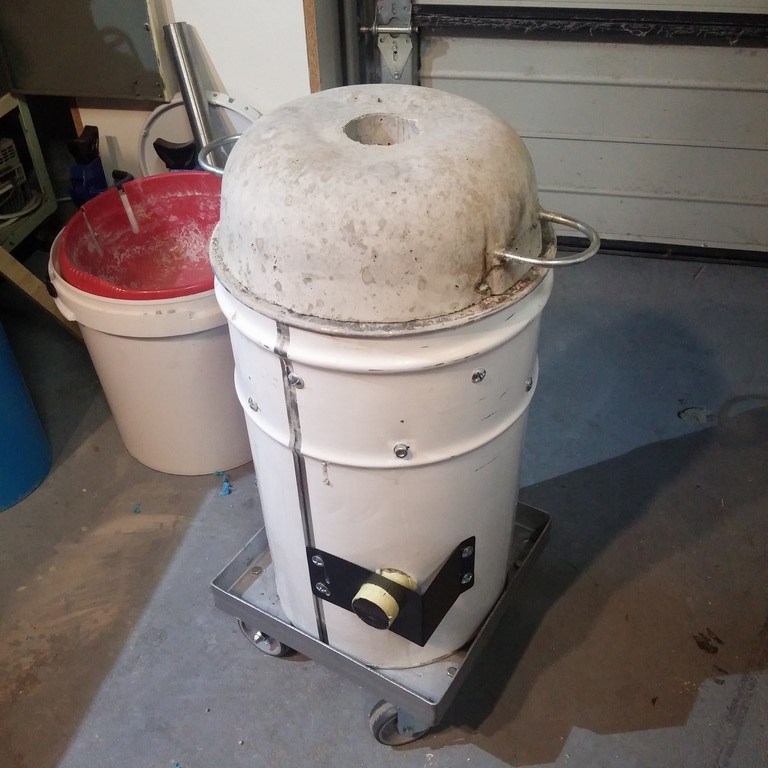
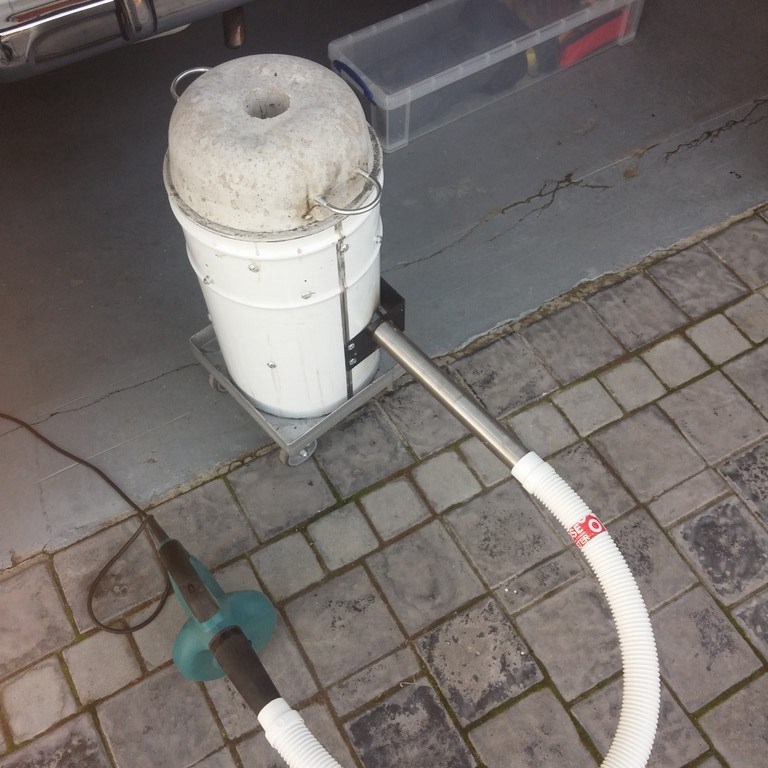
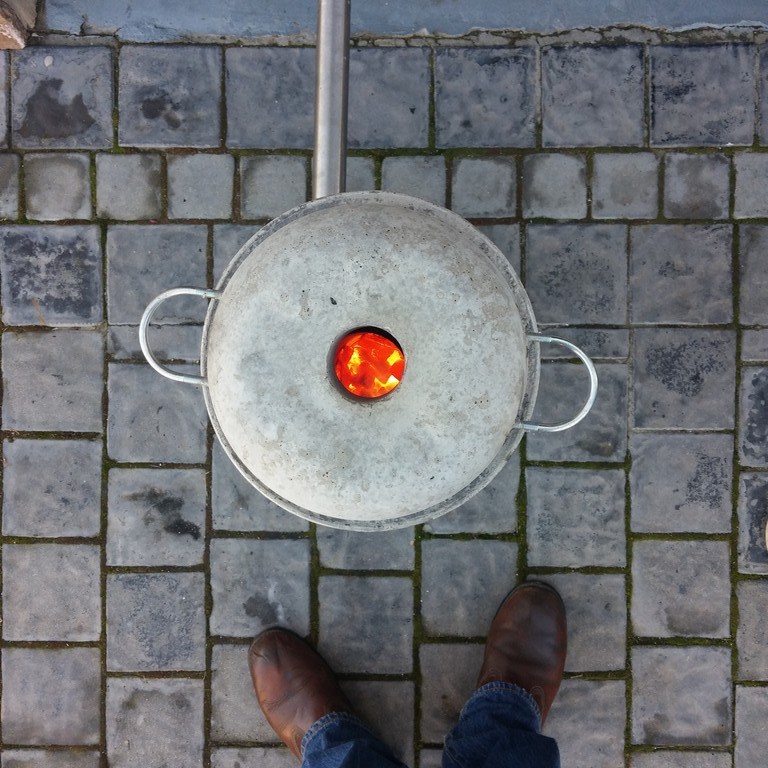
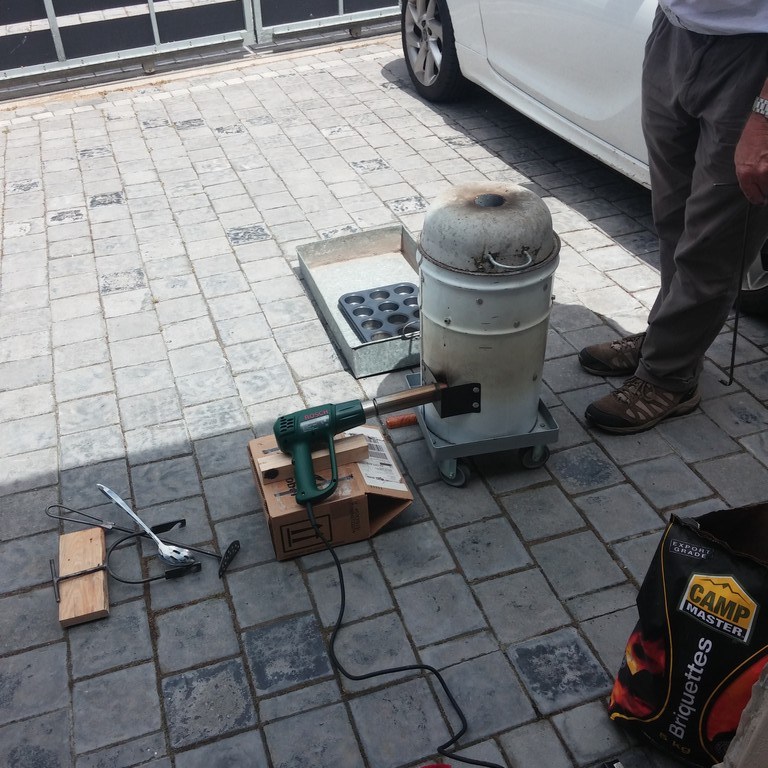
To enable this, I needed a safe and effective method to heat aluminium to over 1000°C to melt it and pour into the mould. I settled on a charcoal-fired furnace as the simplest method to achieve this. The furnace was cast out of suitable refractory cement using appropriate forms.
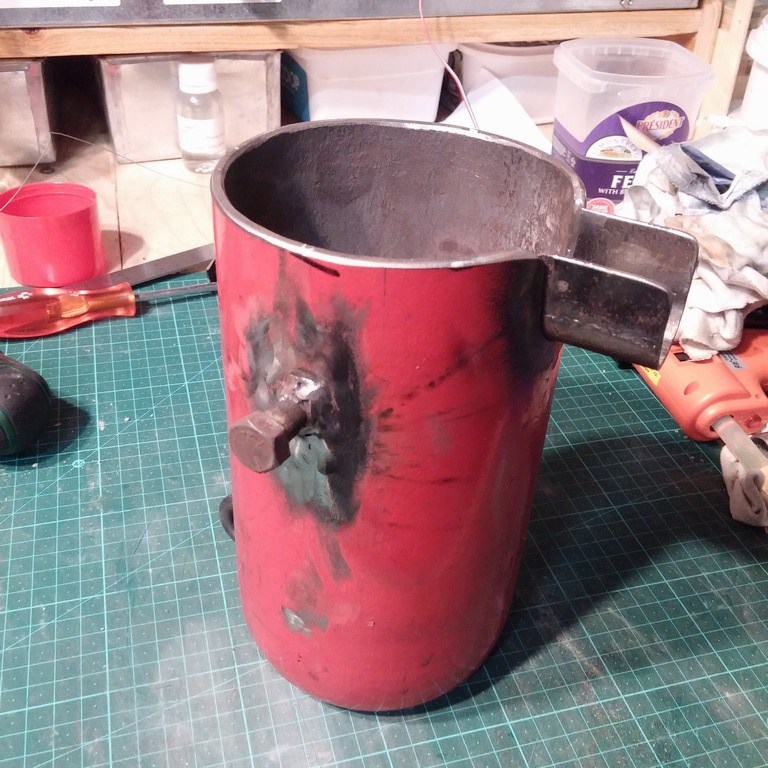
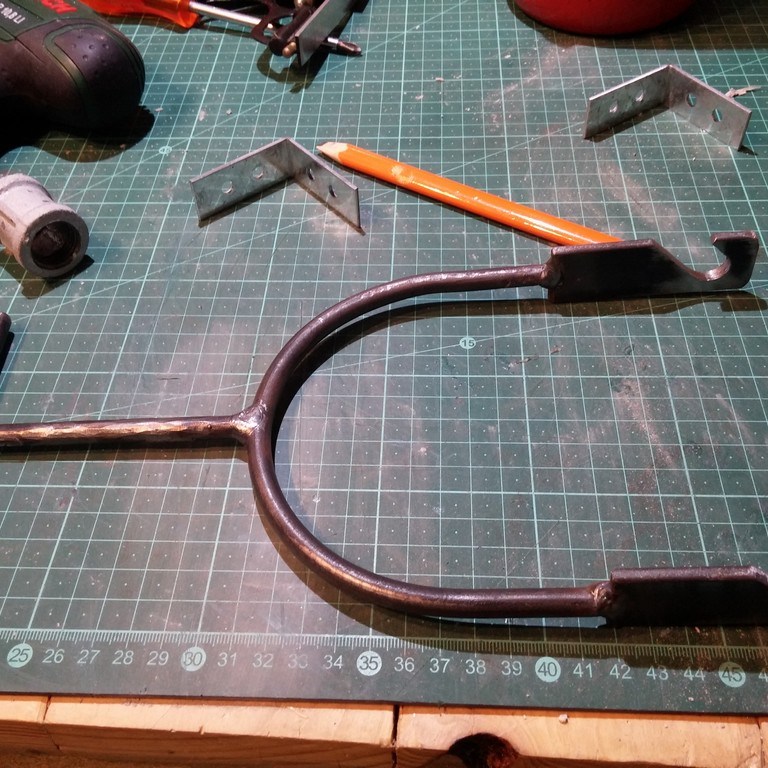
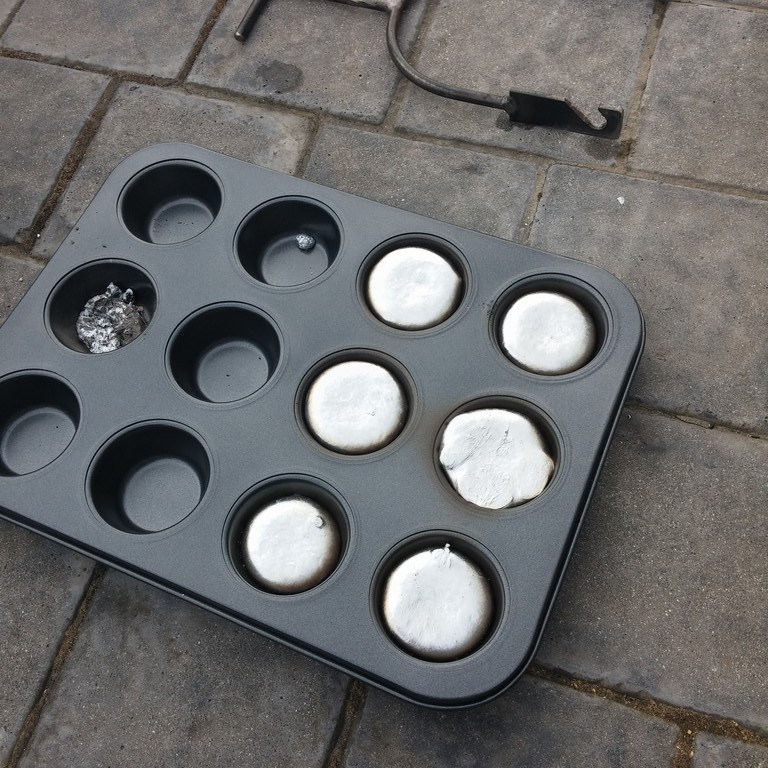
An old thick-walled fire extinguisher was adapted to make a suitable crucible, and some custom tools were made to lift the crucible out of the furnace, as well as mix and scrape off the dross prior to casting. An old muffin pan was used as a form for casting ingots, and for any left-over aluminium after a pour.
An alternative to lost-PLA is to use the printed part as a pattern and make a sand mould around that. This necessitated a flask consisting of a cope and drag. I made these out of plywood. Green sand was not readily available, so I made it from a mixture of damp, fine sand and milled bentonite. The most readily available source of bentonite was kitty litter, which needed to be milled to a suitably fine particle size.
To achieve this, I made a prototype ball mill using a set of rollers and a plastic container. Stainless steel nuts in a variety of sizes were used as grinding media. This system worked well, but was limited by the plastic container. A second version is in the works!


Low Volume, Low Cost Dispensing Pump
A frequent challenge faced in a laboratory environment is the need to accurately dispense small volumes of chemicals over a set period of time. This is frequently complicated by the need to have high levels of chemical resistance when dispensing corrosive materials such as acids.
There are commercial solutions available, but these are typically extremely expensive and not always attainable. The need to dispense a number of chemicals at once also means more than one pump is required.
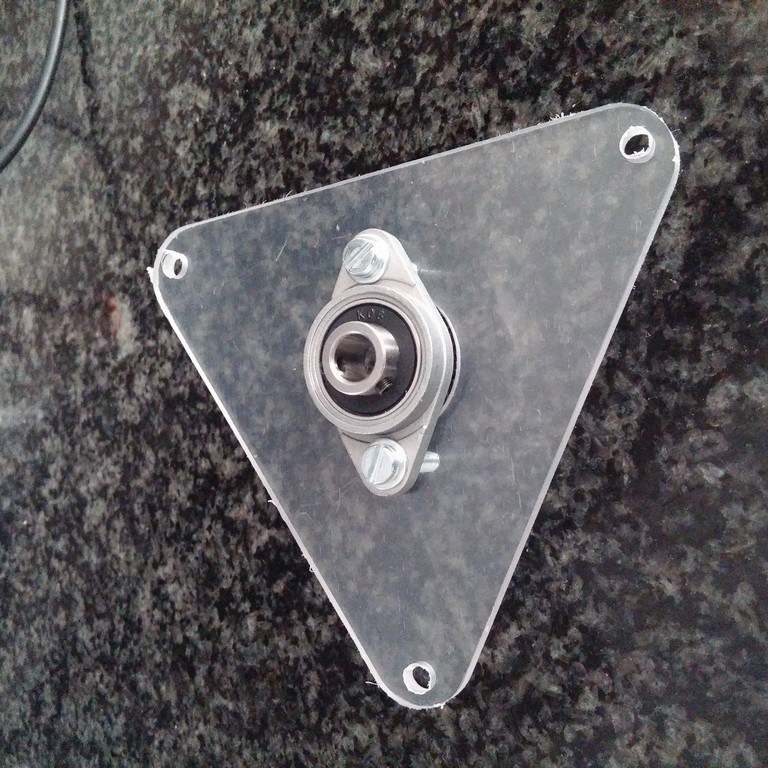
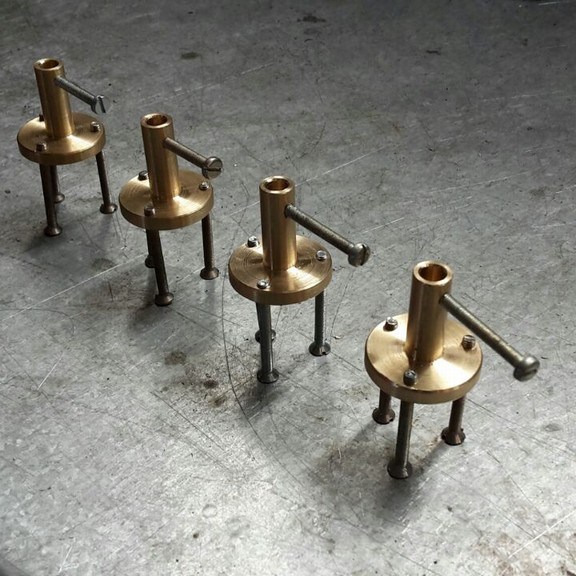
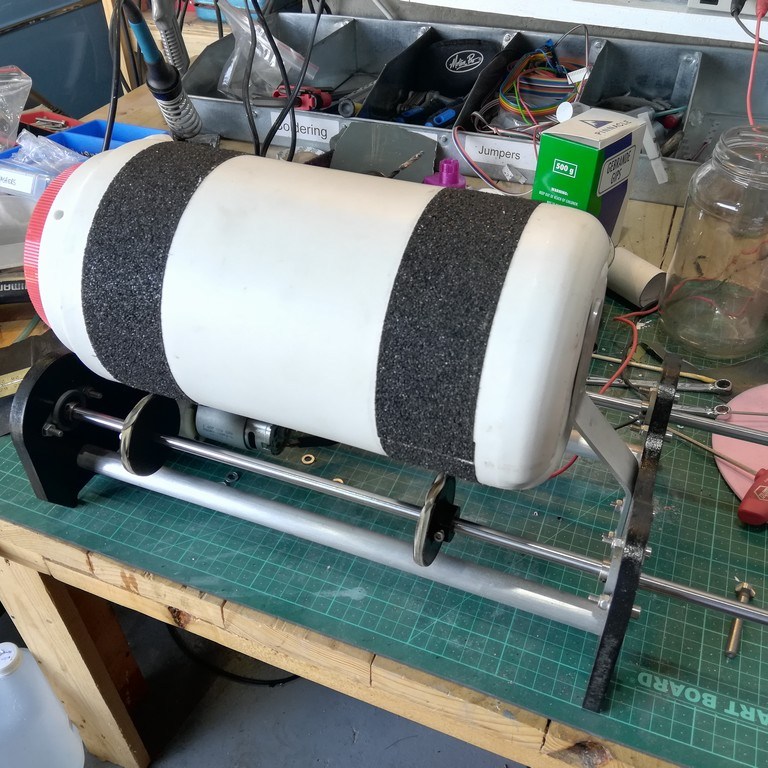
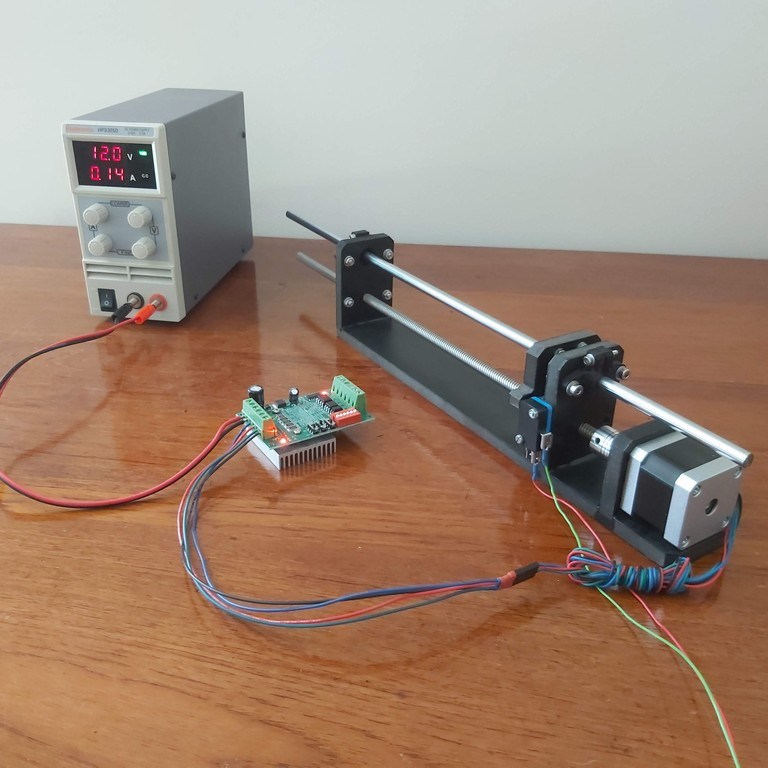
The purpose of this project was to build a low-cost but accurate pump, capable of handling corrosive liquids. I approached this challenge using the basis of a piston pump, using freely available syringes for handling the materials. The size and material of the syringe can be adapted for the application.
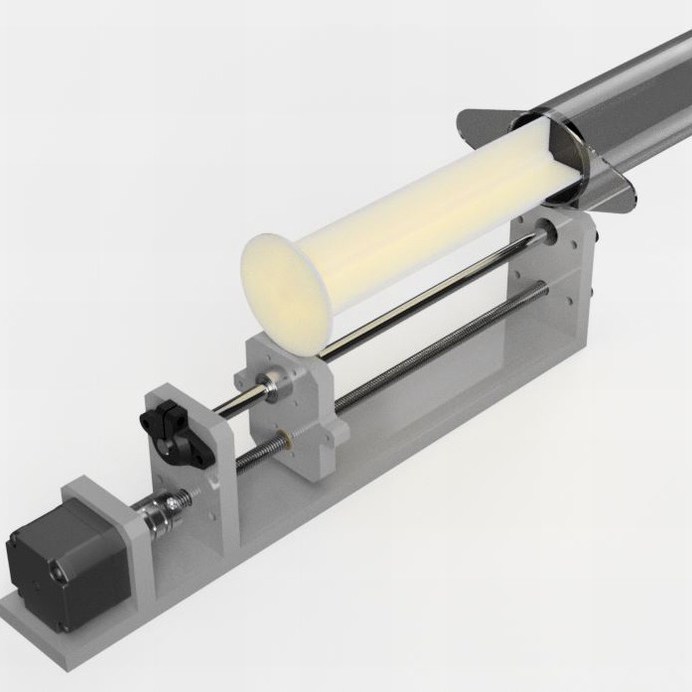
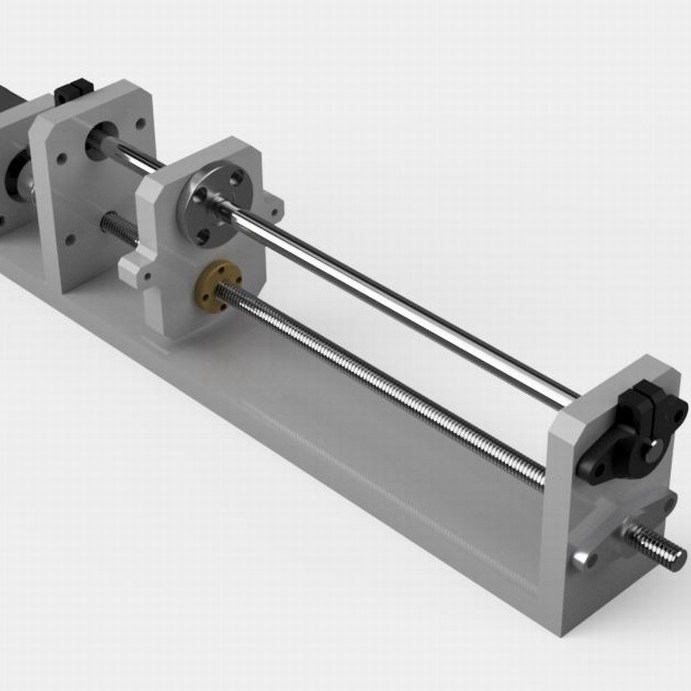
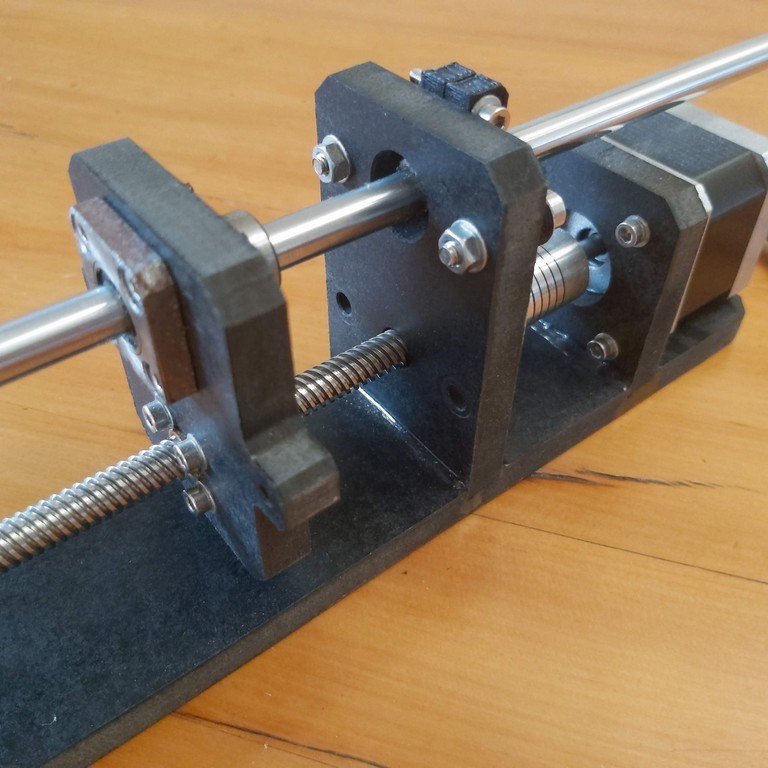

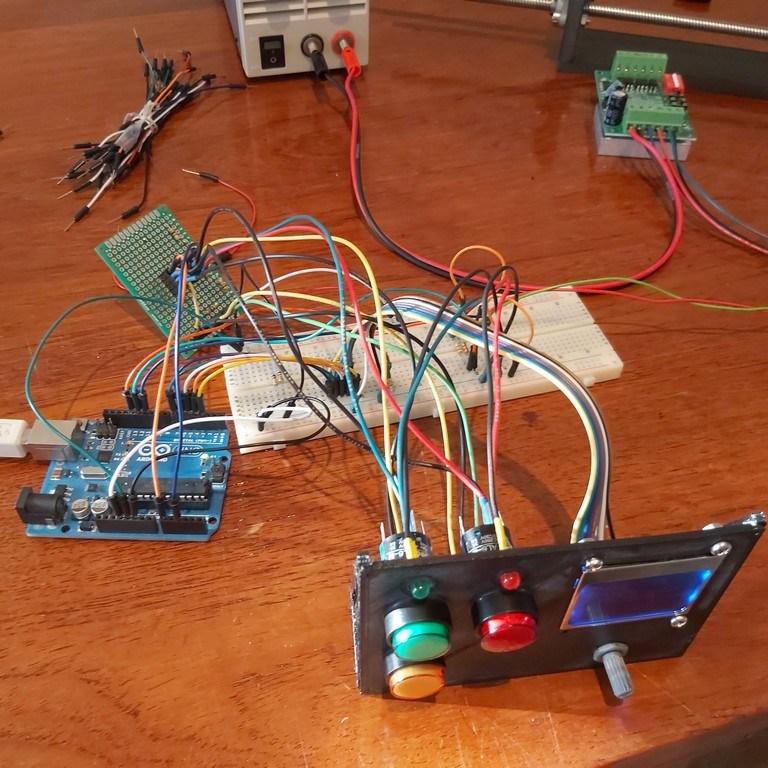
The user interface has a number of modes:
- Full manual mode: mm of travel per minute. This would require calibration prior to use.
- Semi – automated: A defined volume is dispensed over a predetermined time period. This also requires calibration beforehand.
- Fully – automated: Multiple pumps are used to be double acting, using check valves to alternate between filling and dispensing. In theory, this only requires knowledge of the syringe volume.
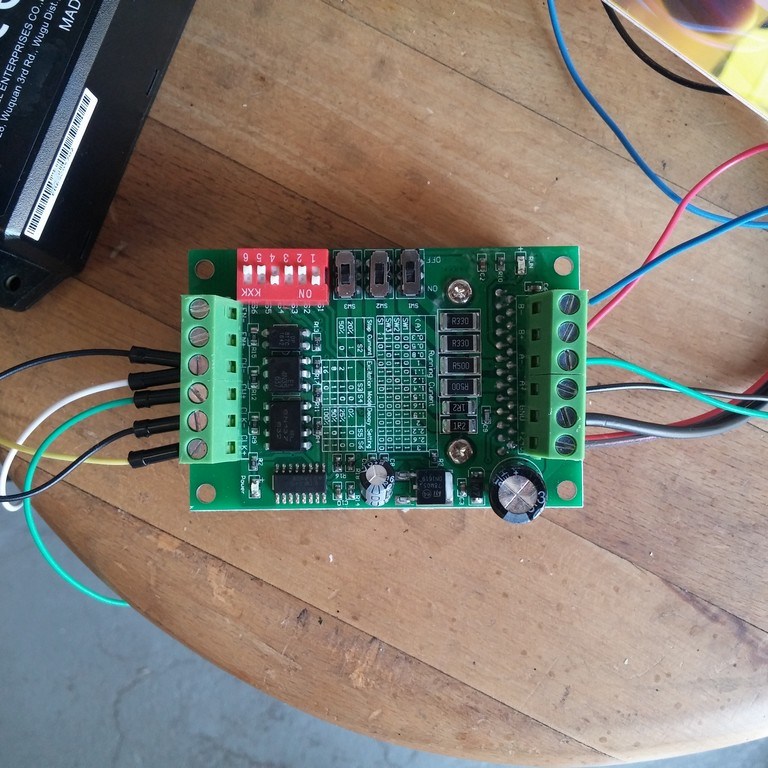
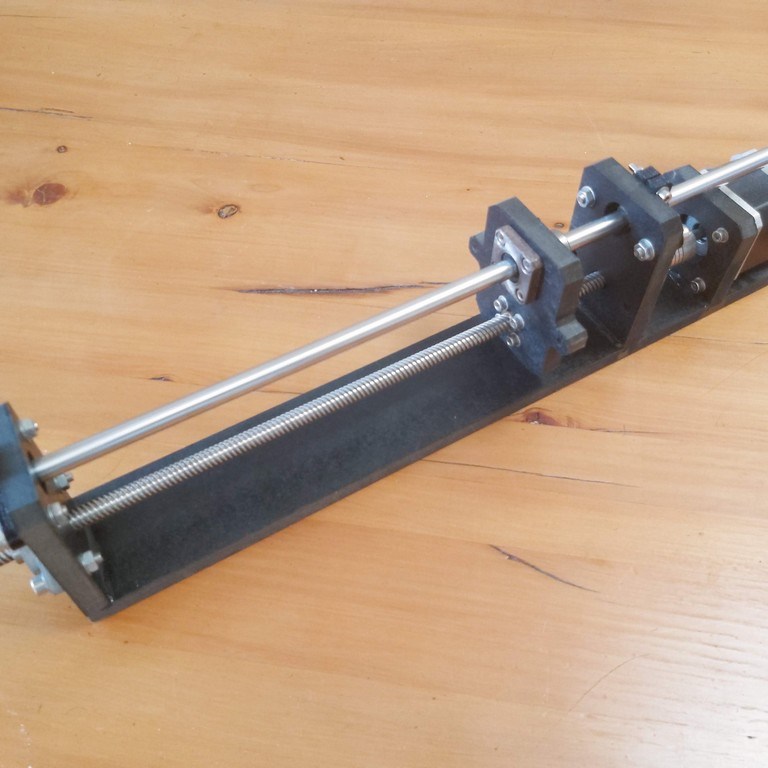
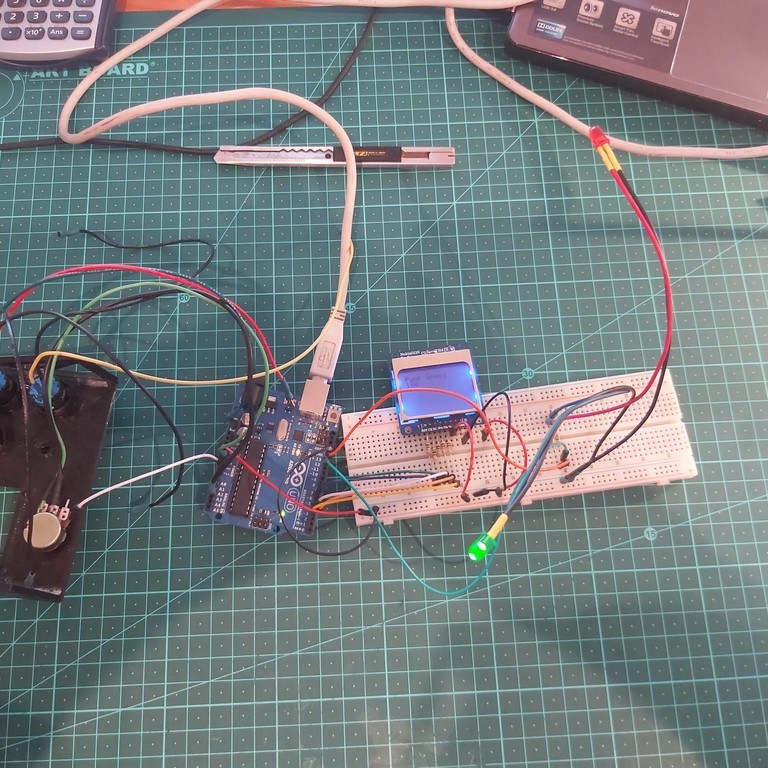
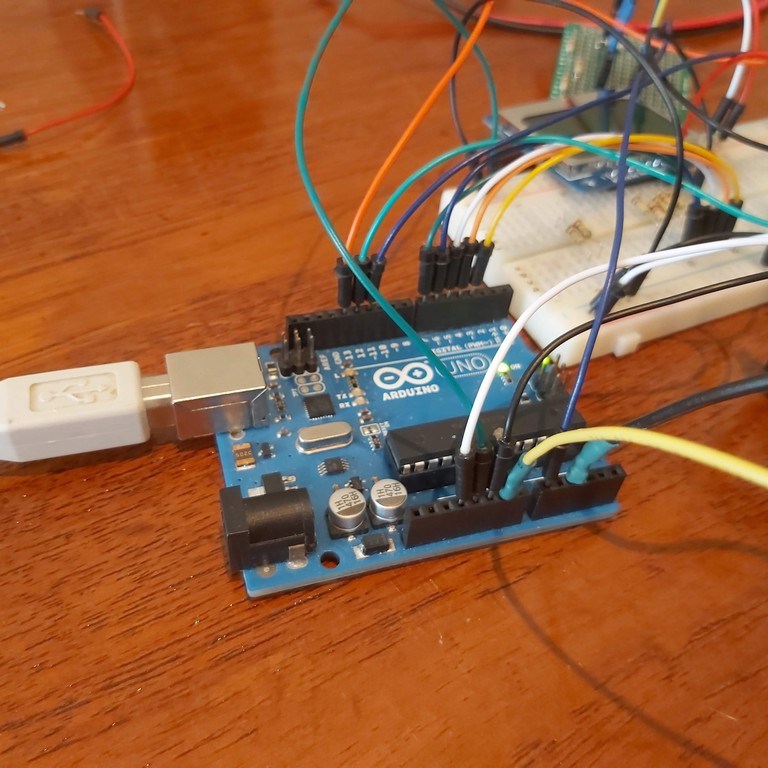
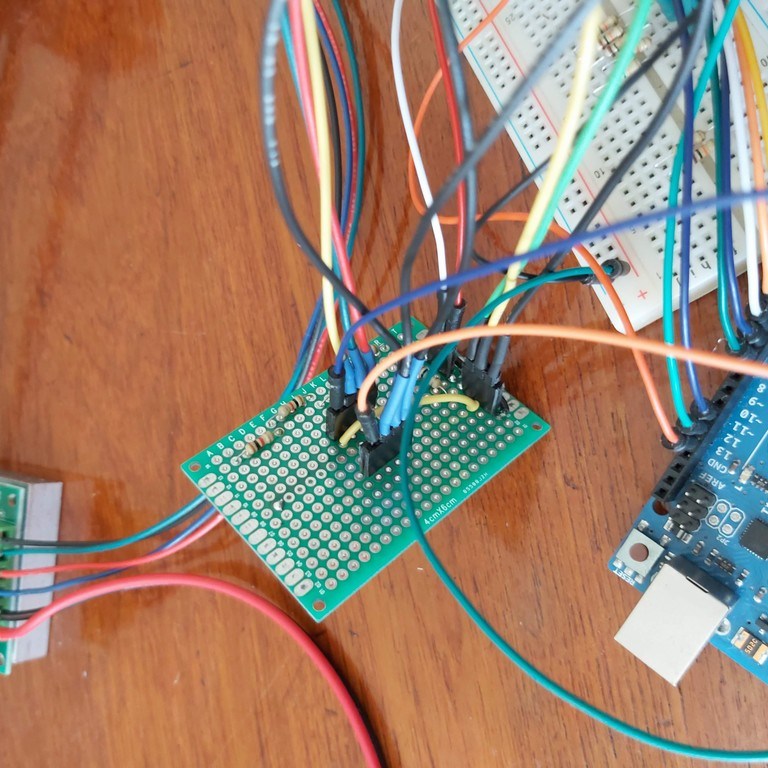
I am currently busy with refining the hardware and early prototype stages for the electronics and software. Challenges include the daisy-chaining of the pumps, and how to easily enter calibration data. It is currently powered by an Arduino Uno, which will be swapped for an Arduino Nano once I refine the electronics. I would like to interface the Arudiunos with a Raspberry Pi to enable development of a graphical user interface.
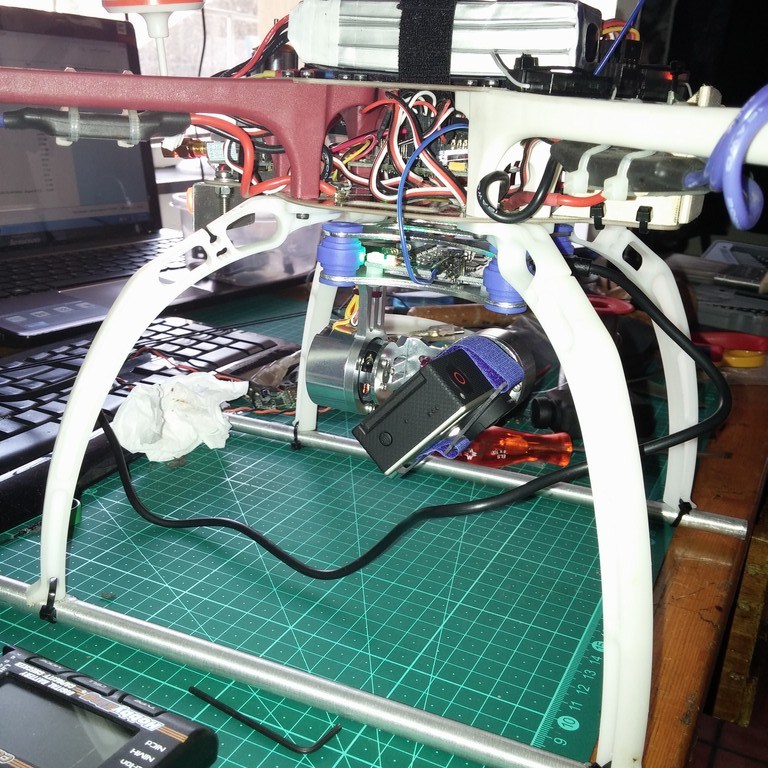
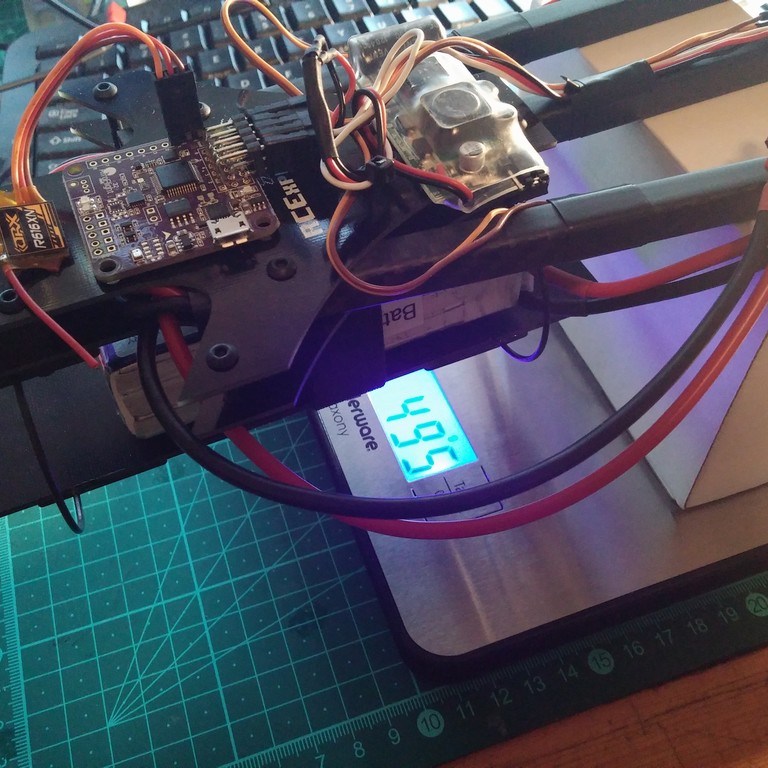
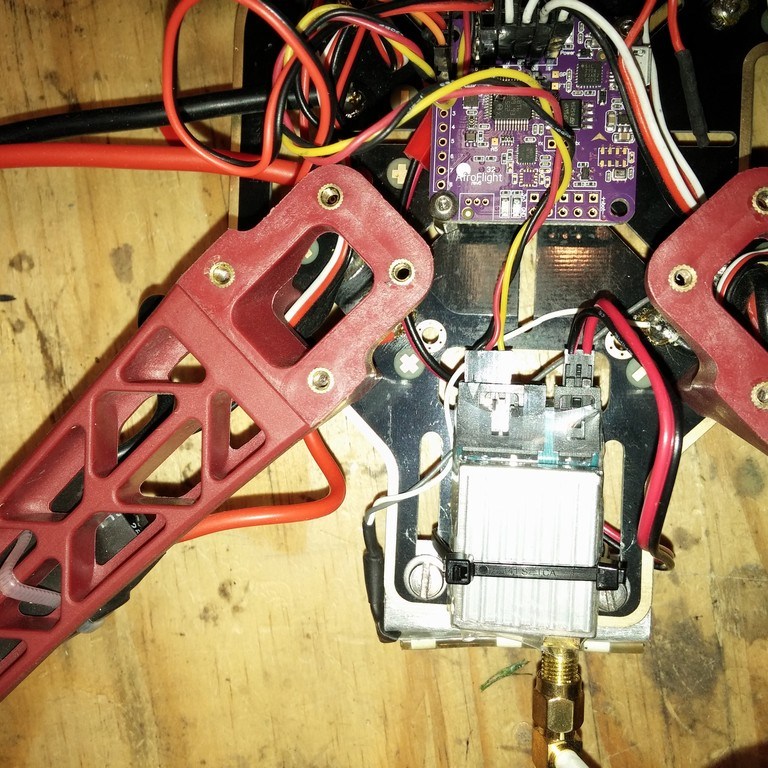
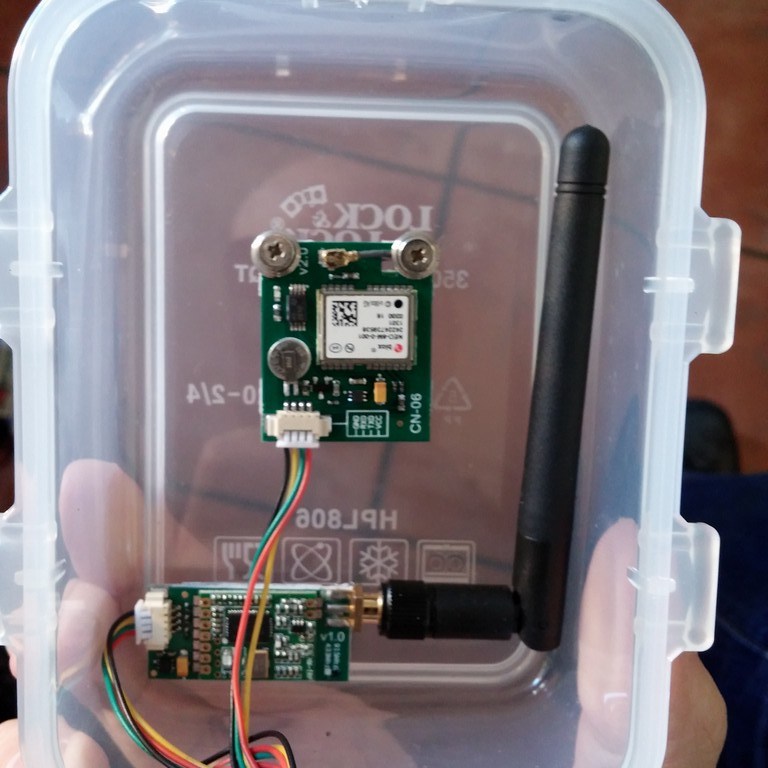
Drones and Radio Control Aircraft
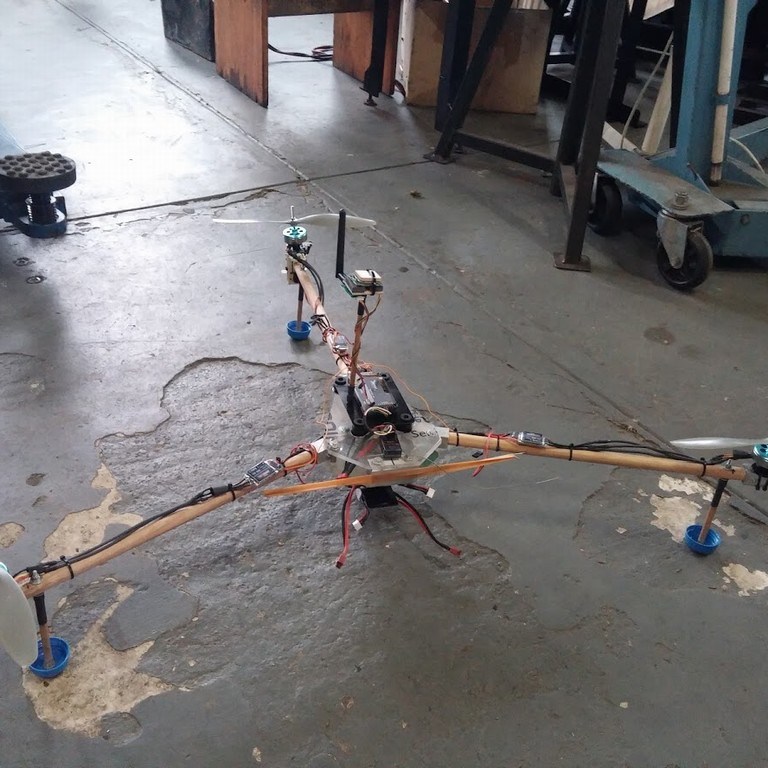
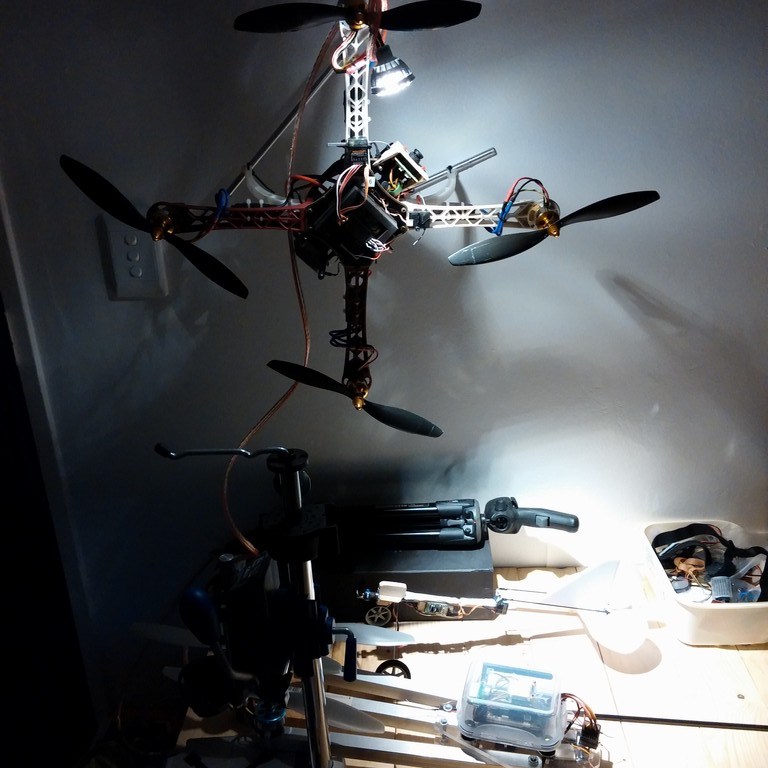
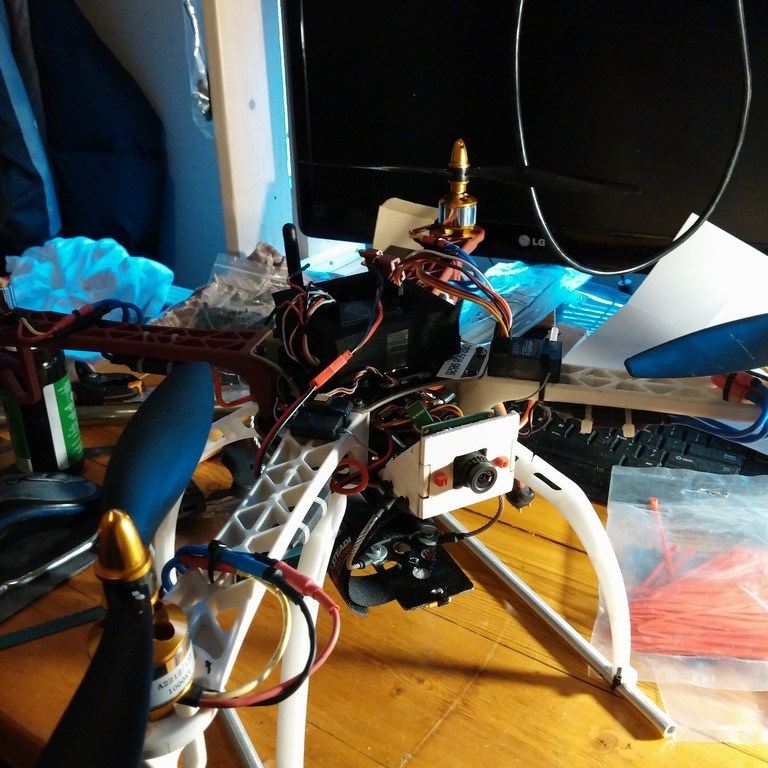
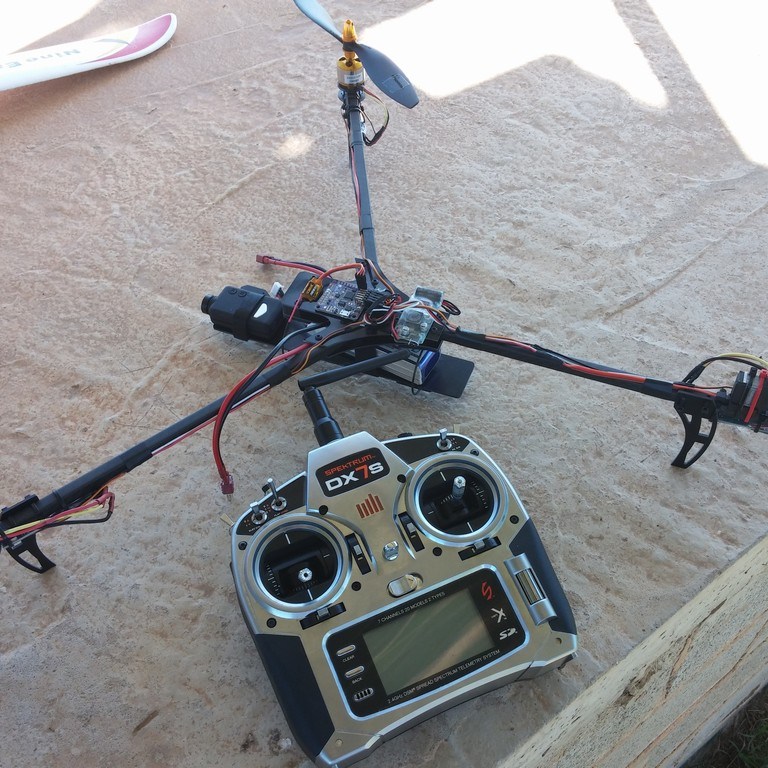
Radio controlled vehicles have always been a hobby of mine, progressing from Lego to kits to scratch-building cars, boats, and fixed and rotary winged aircraft. Most recent has been tri- and quad-copters, mostly for use as aerial photography platforms.
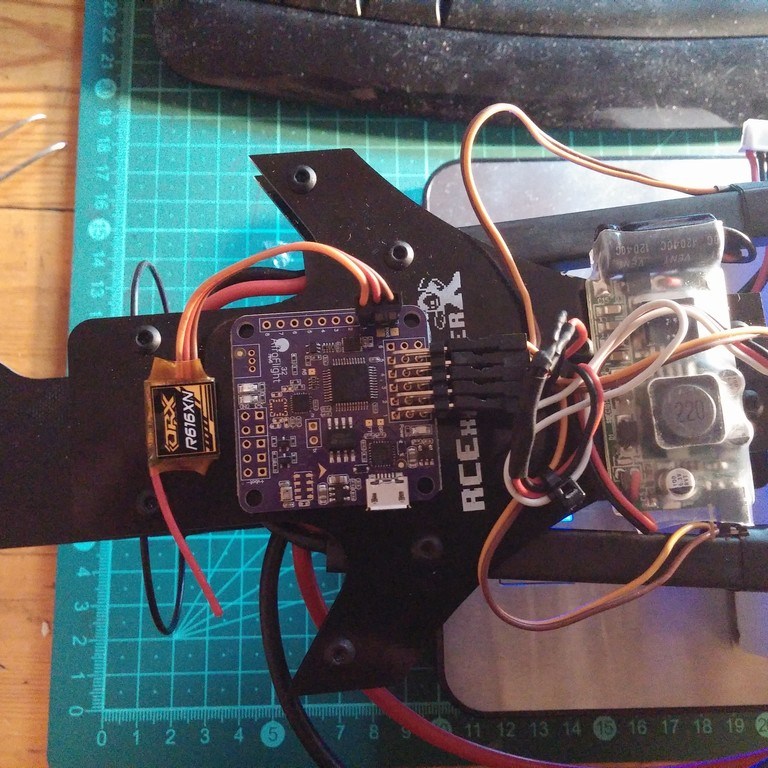
Projects have included numerous iterations of the Flite-Test inspired tri-copter, where I started using old helicopter gyros, and progressing to control boards with incorporated IMUs, including KK2.0 and later the F3 32-bit controllers, and finally progressing to the GPS enabled Ardupilot.
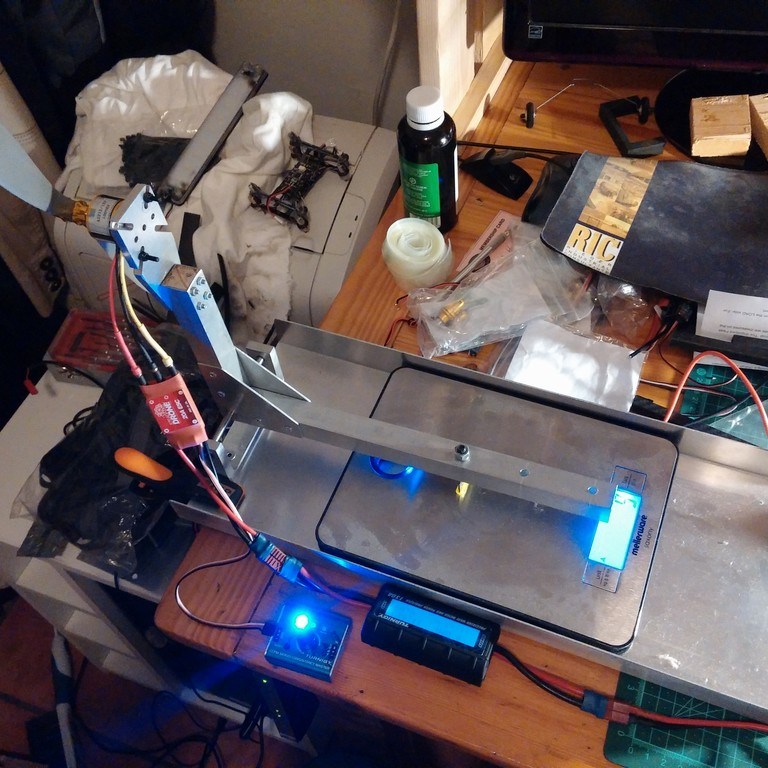
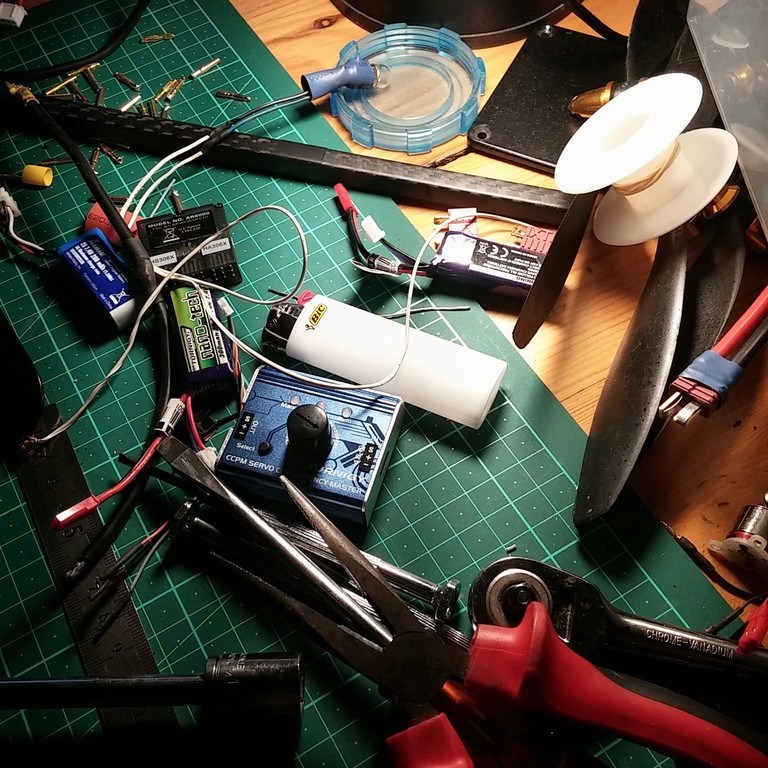
I also did extensive testing of motor and propeller combinations using a home built static thrust tester. This testing created a stepchange in efficiency and concomitantly the flight times I was able to achieve.
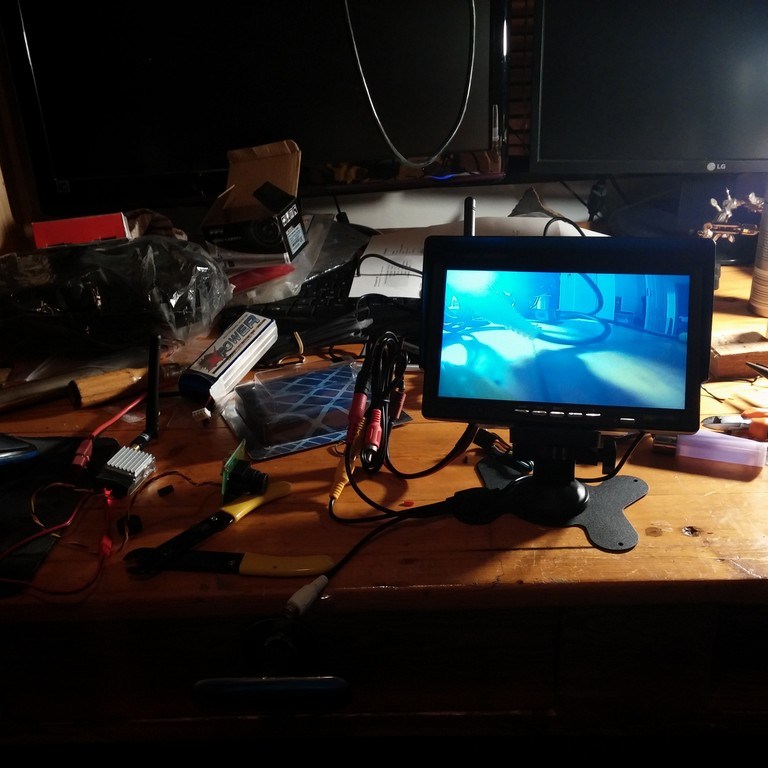
Also of interest was First Person View (FPV) which necessitated mounting appropriate cameras, transmitters and on-screen displays on the drones. I have also experimented with ground units consisting of receivers (both for video and data), screens and goggles.
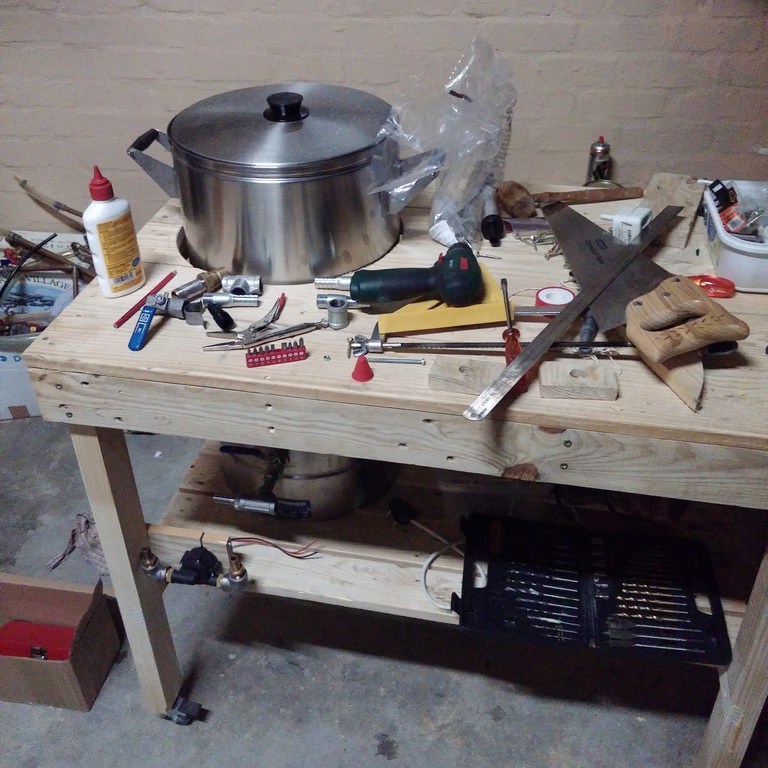
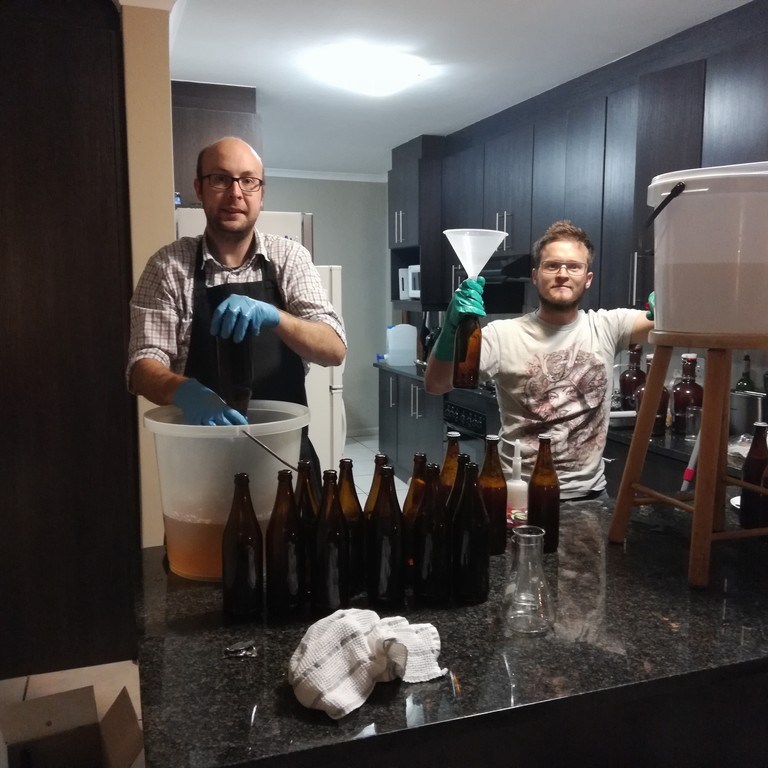
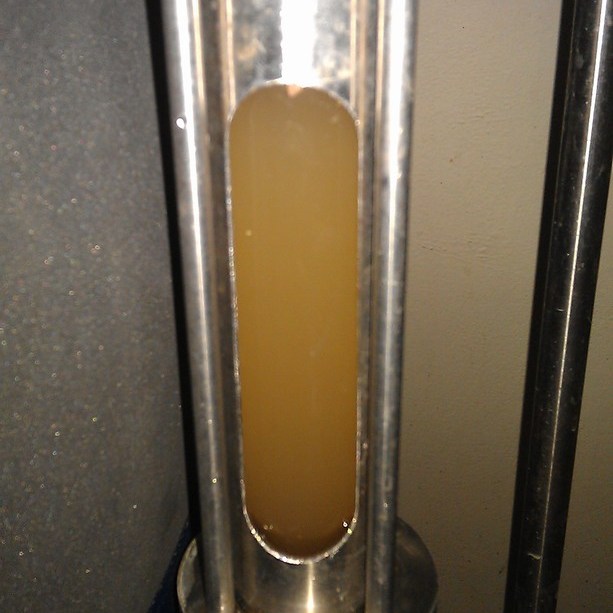
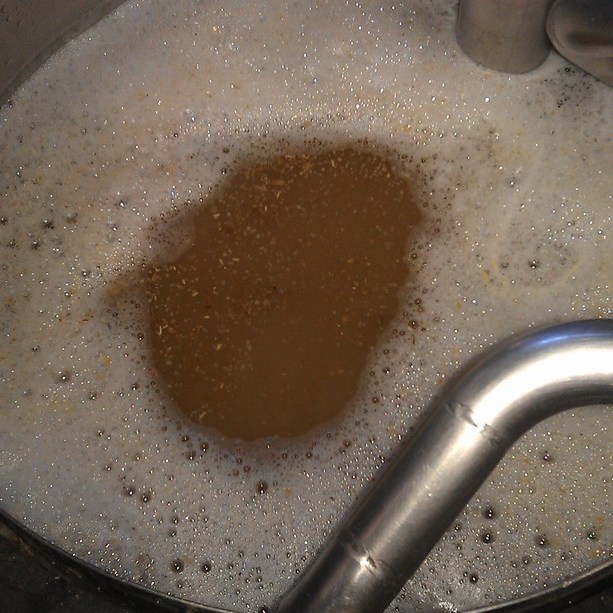
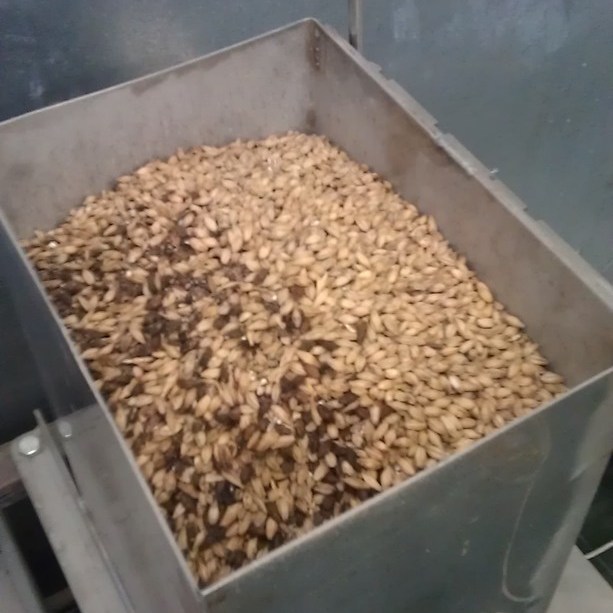
Home and Intervarsity Brewing
While studying, I was heavily involved with the University of Stellenbosch brewing team which instilled in me a deep appreciation for beer and the art of brewing. It was a fantastic learning experience and after graduating I decided I needed a brewery of my own.
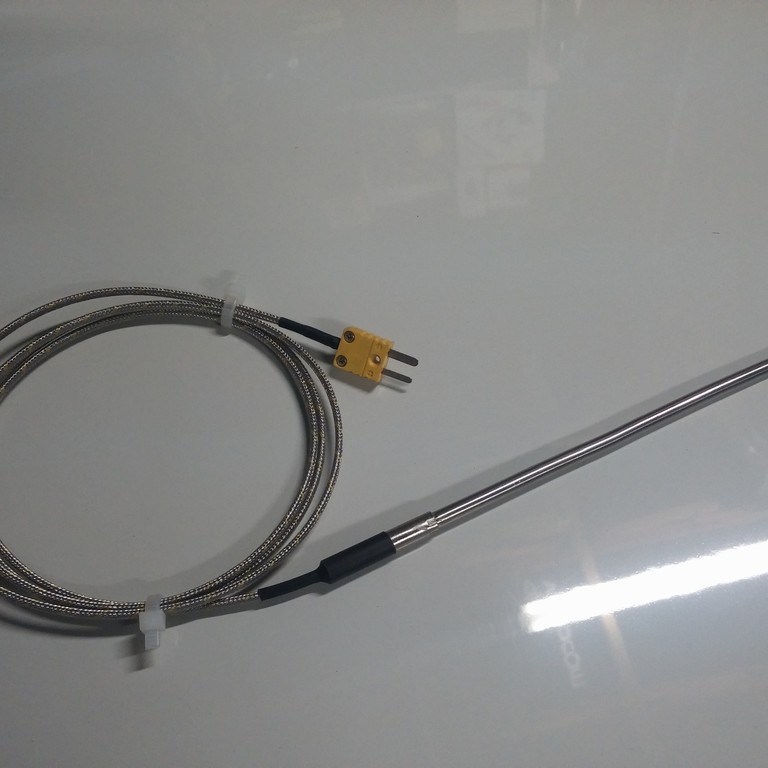
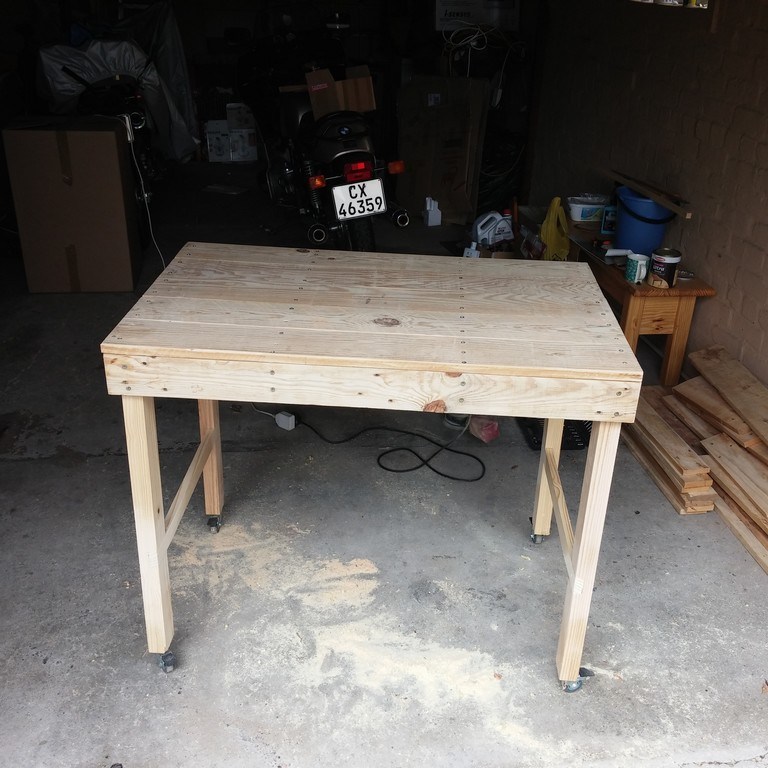
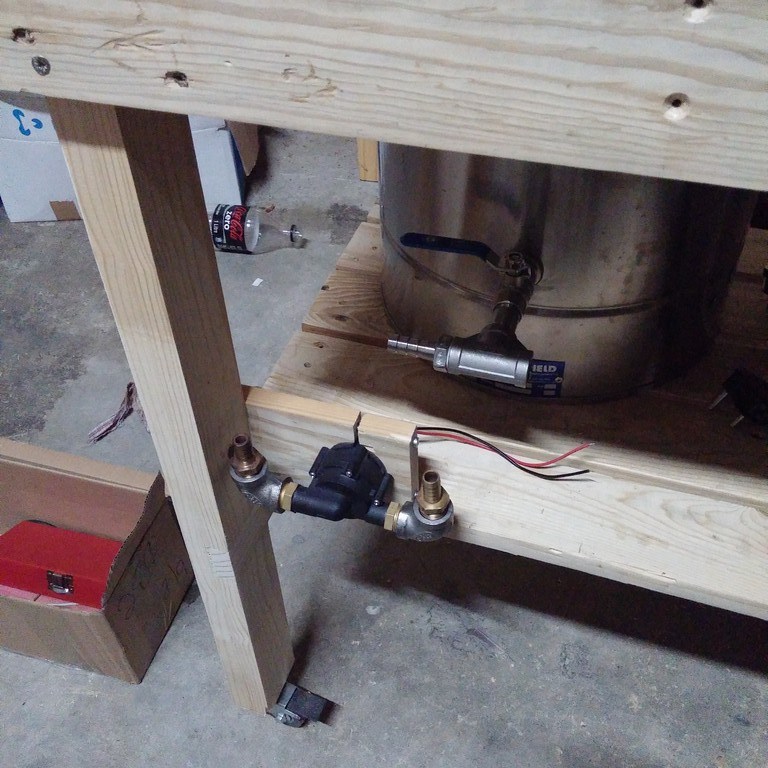
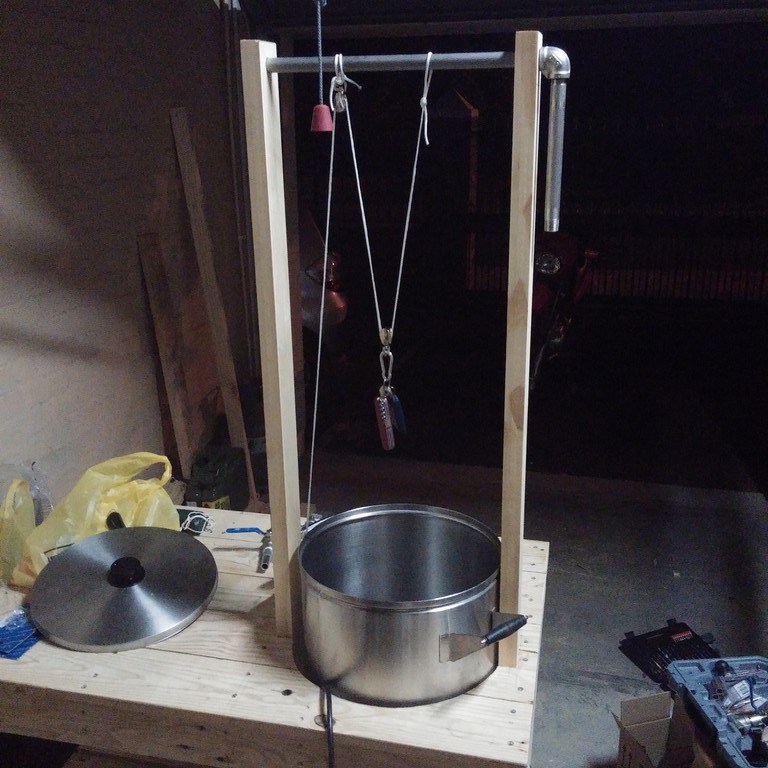
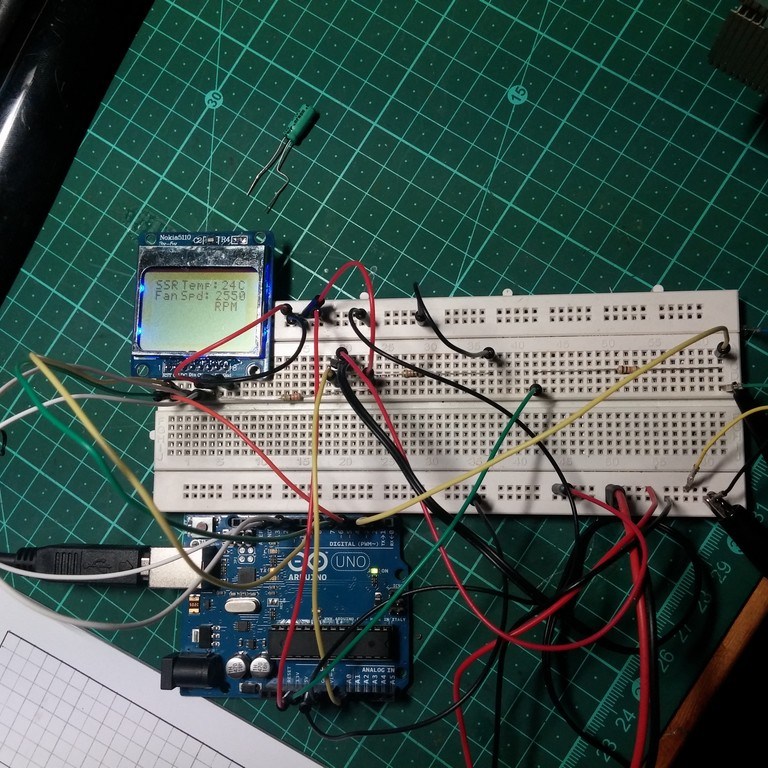
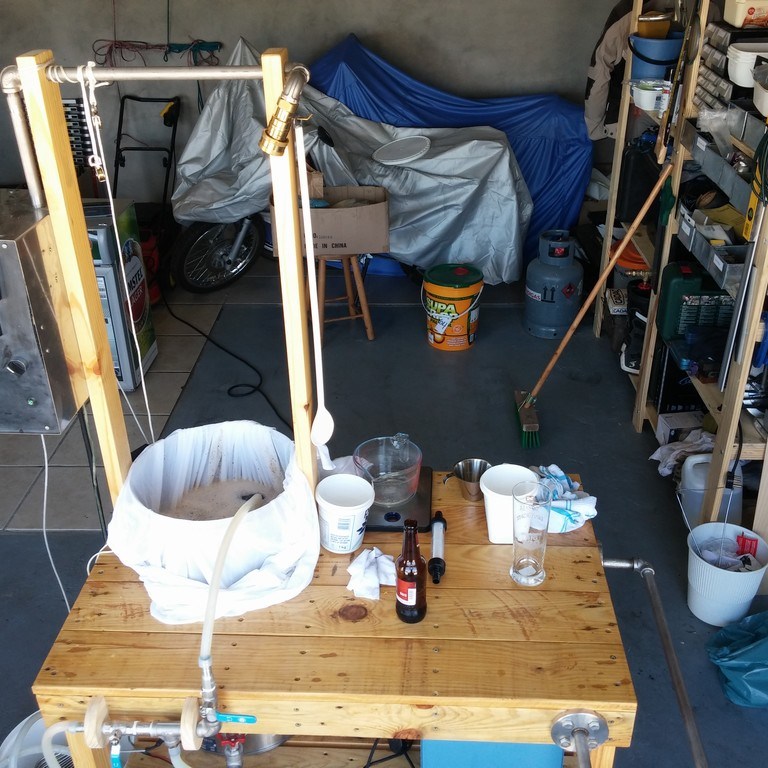
This project started with a basic system known as Brew in a Bag (BIAB) which I chose as being the easiest and most cost effective solution for brewing at home. The central part of the system was a 50 litre kettle, with a 2kW element. I modified this to include two additional thermocouples (one at the bottom and one at half height), and to move the vessel drain to the bottom instead of the side to improve recovery.
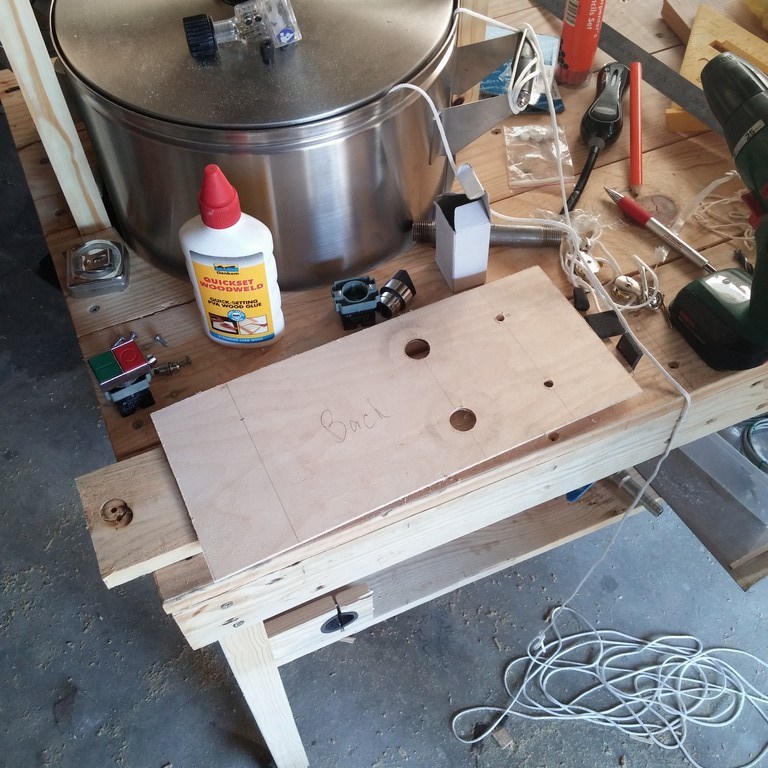
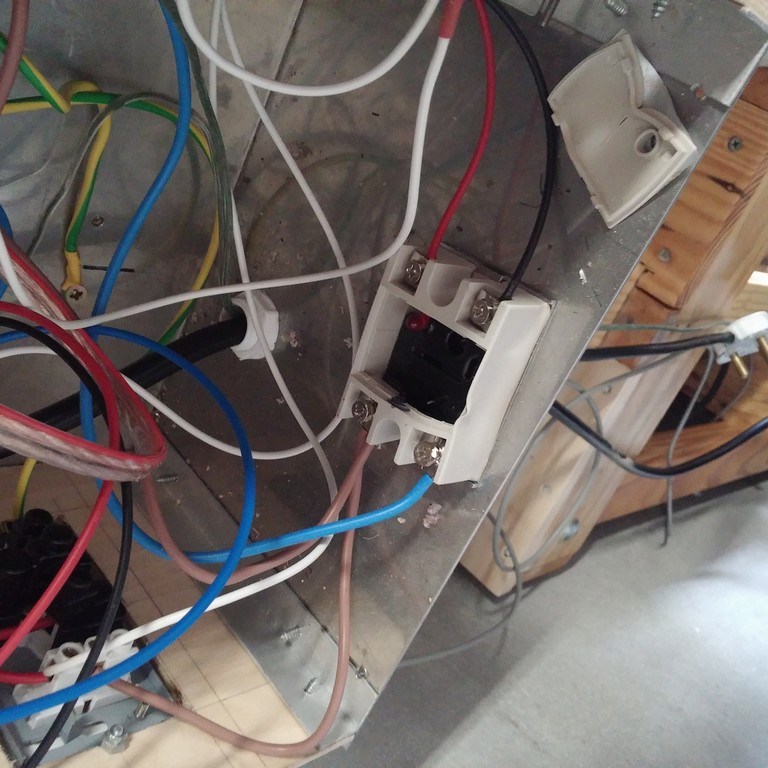
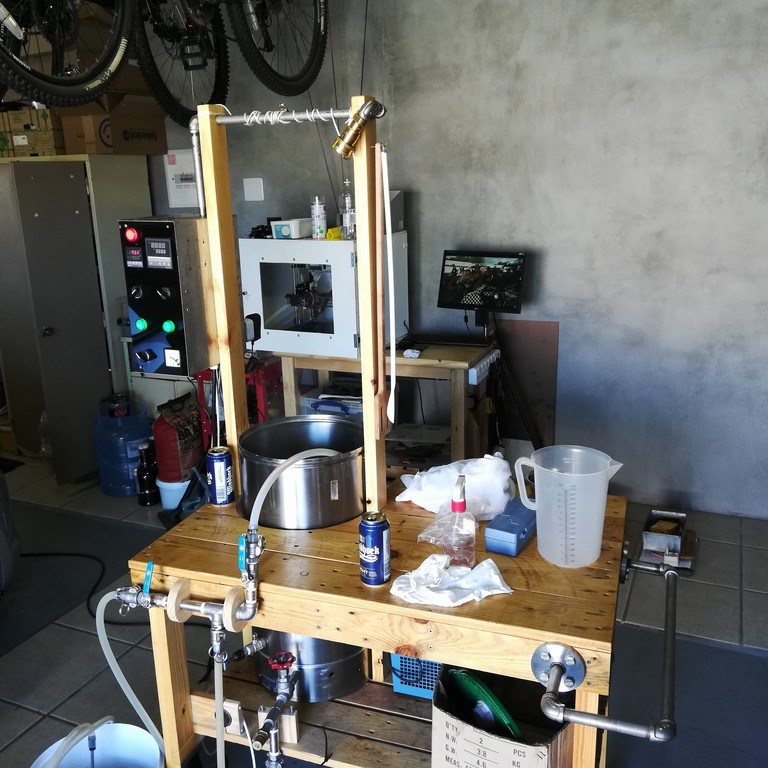
I then wired the element to be controlled by a PID controller via a solid state relay, and tuned the controller. This gave exceptionally stable and reliable temperature control, which is important for repeatable brewing. Finally, I added a 12v hot water recirculation pump to improve sugar extraction during the brewing process.
The project was extremely successful, culminating in many batches of beer. The brewery was a constantly evolving entity, always being upgraded and improved.
I highly recommend all beer enthusiasts build their own brewery!


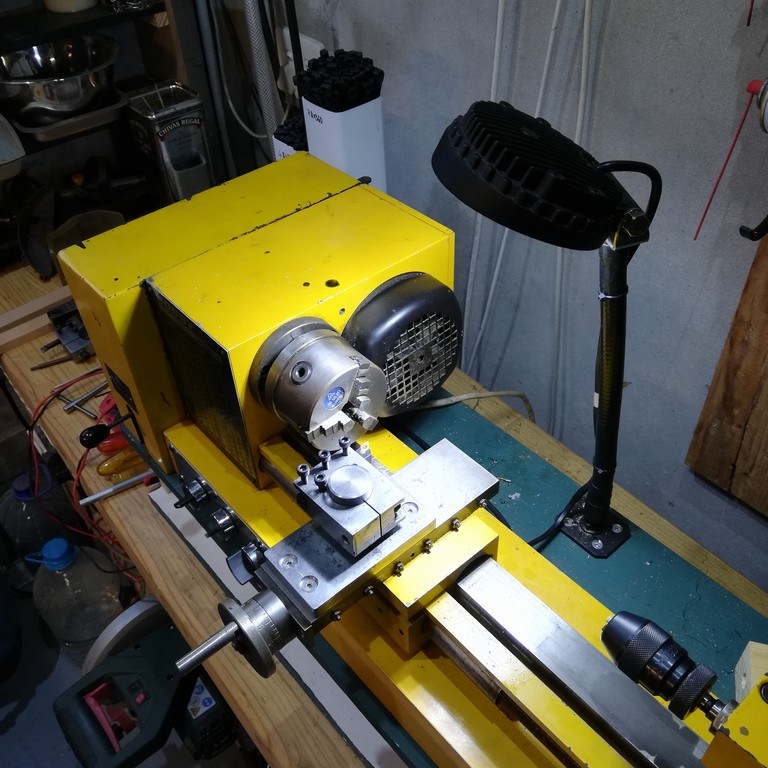
Lathe Restoration and Upgrade
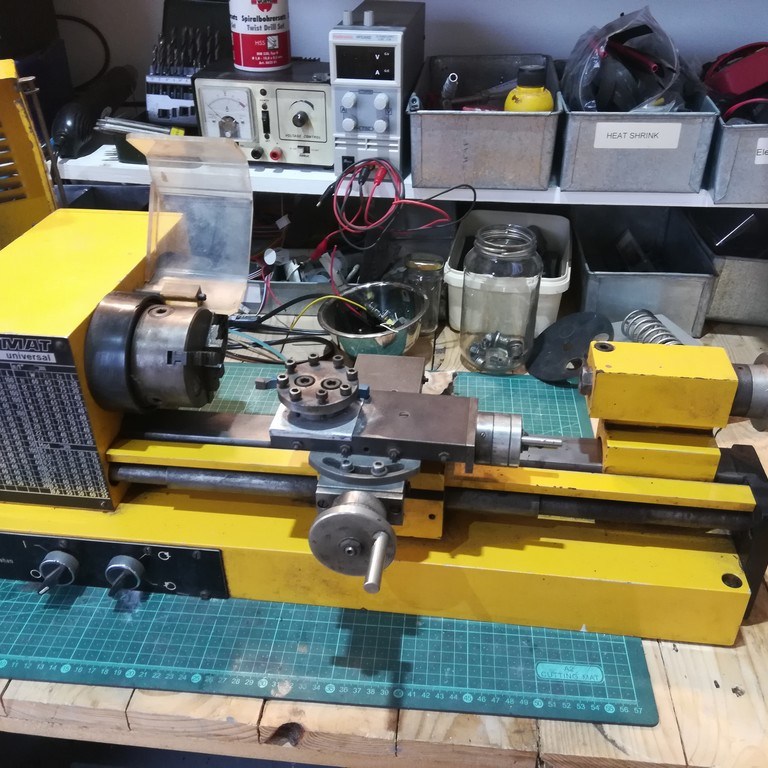
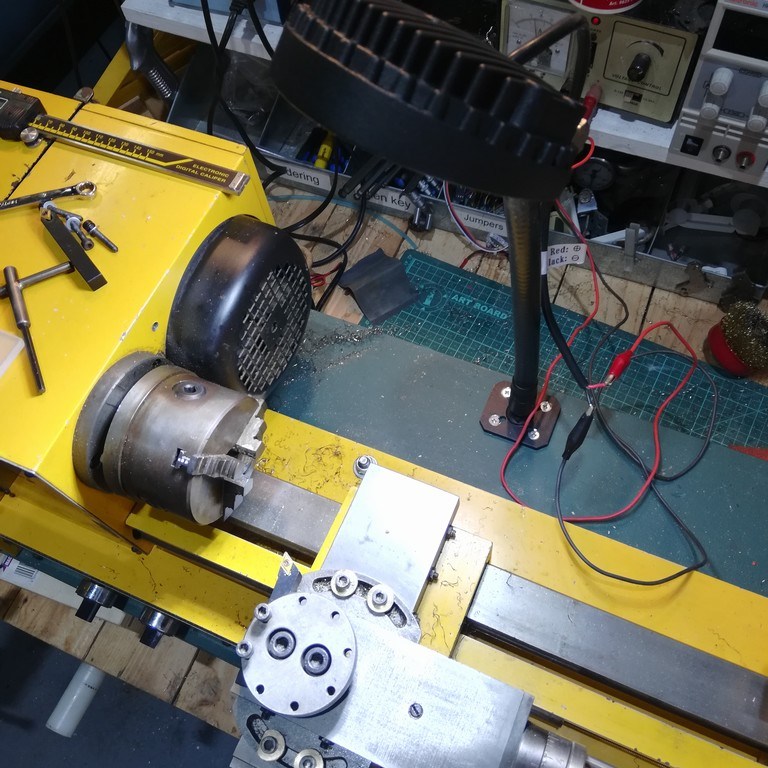
For me, a lathe is a vital piece of equipment for any maker. The sheer versatility of a lathe equipped with a few carefully chosen accessories and some imagination really opens up a whole new world of project ability and accuracy. A lathe, even a small benchtop one like mine, means precision components are possible with minimal fuss.
Whether it’s making bushes for shafts, cutting inner or outer threads for custom hardware, or boring holes to exact diameters, I use my lathe on just about every project.
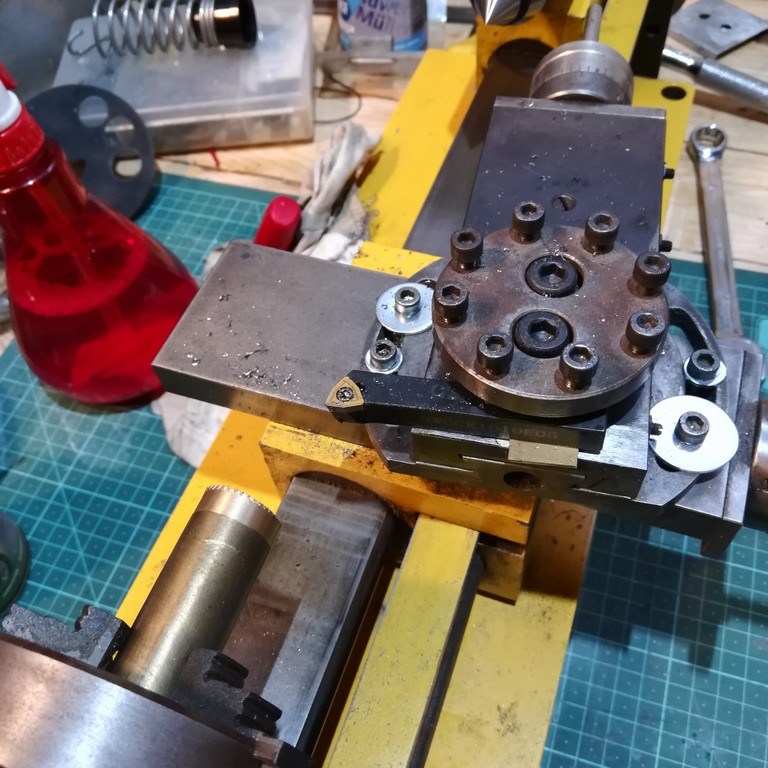
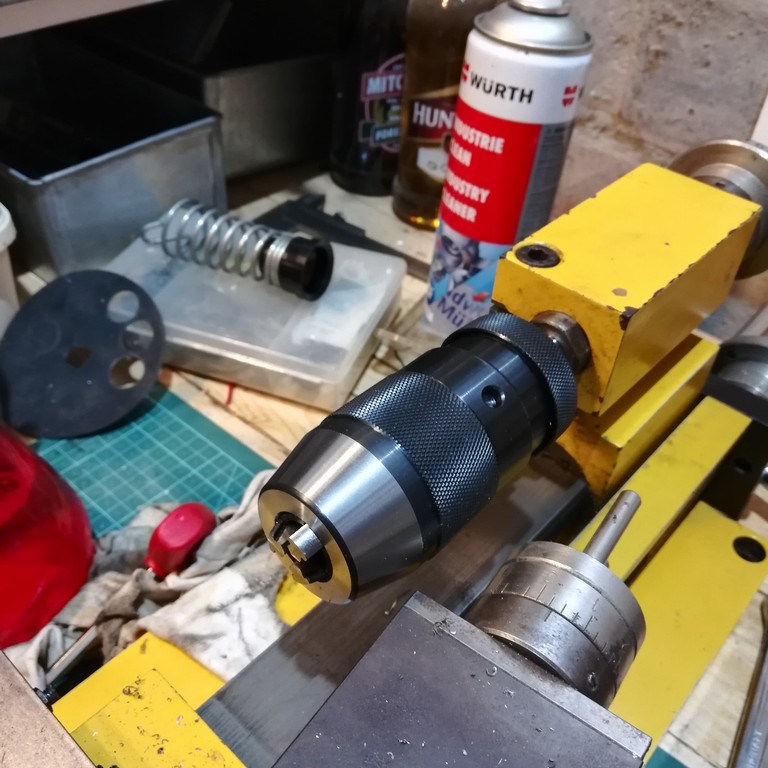
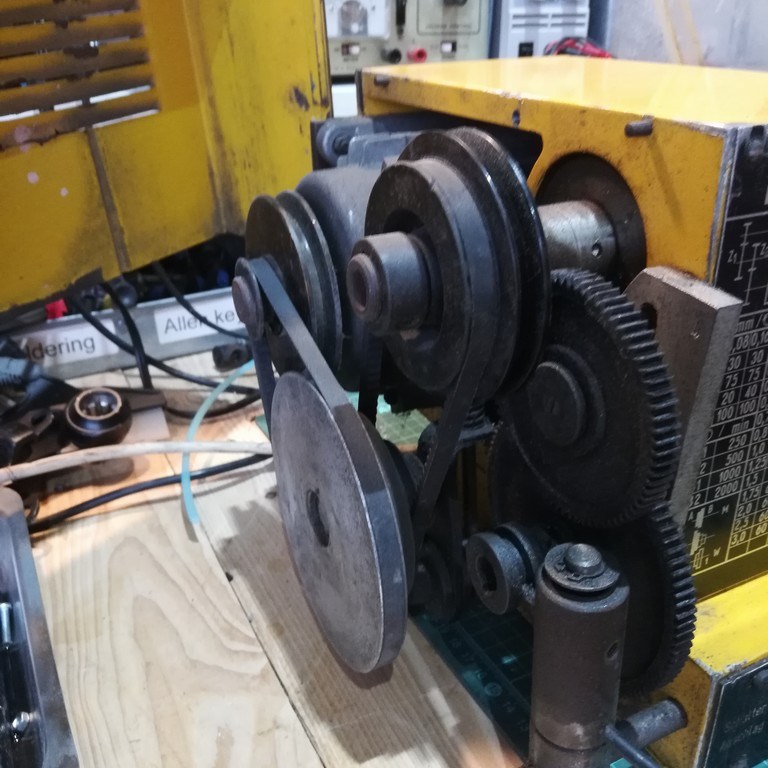
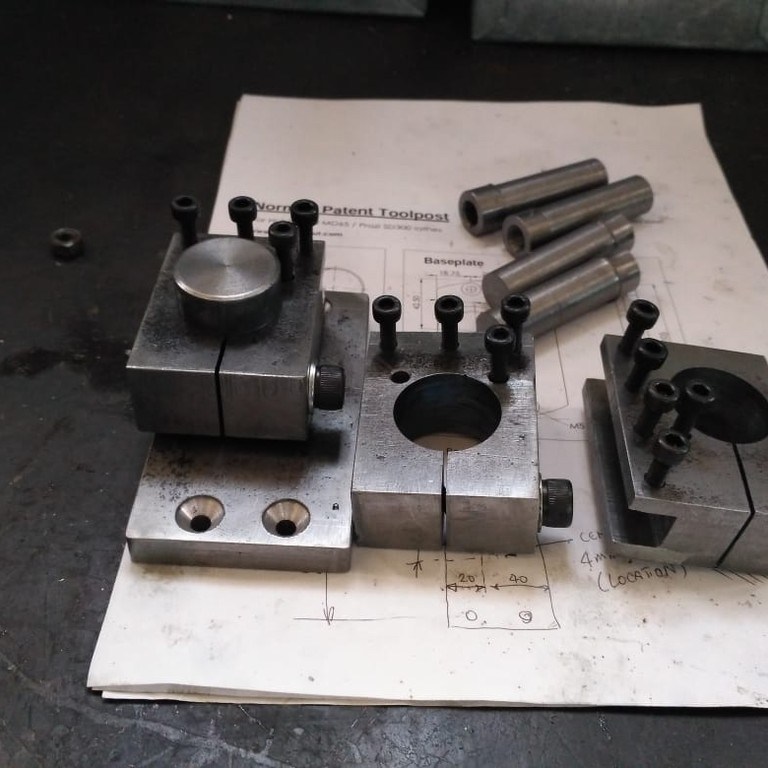
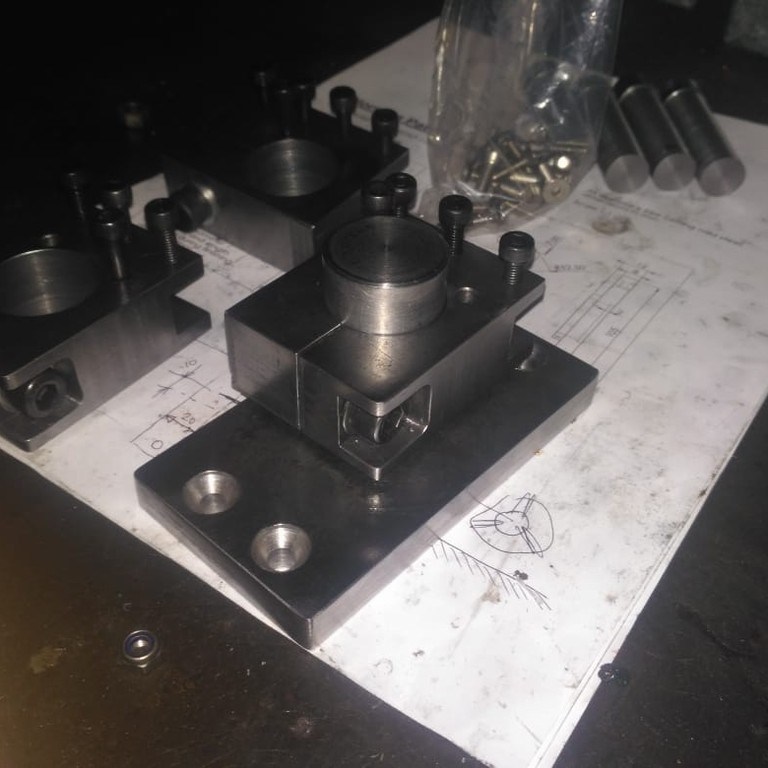
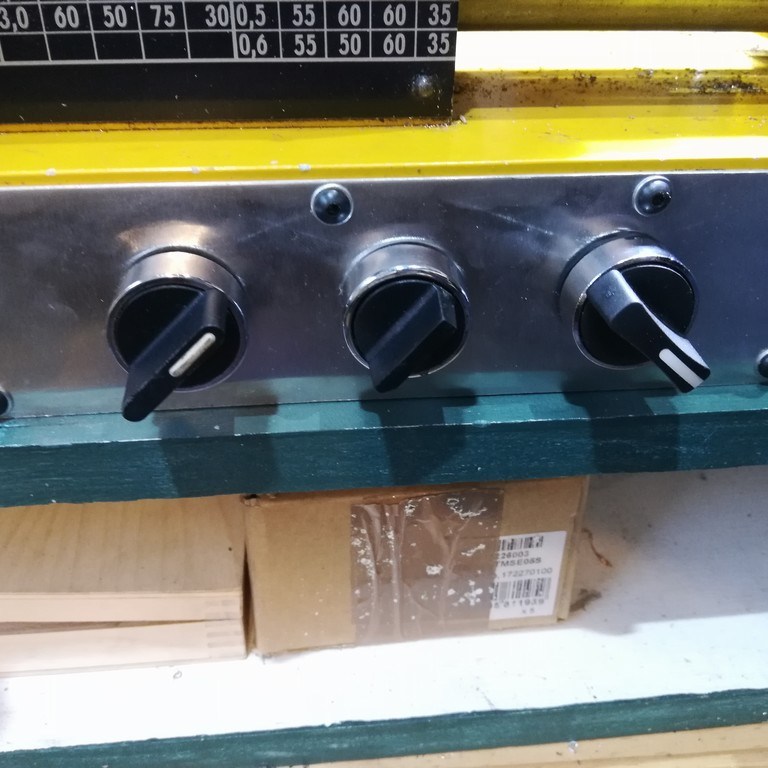
My lathe is a Hobbymat MD65 which I bought cheaply as it came with no accessories. I’ve slowly been buying cutting tools, chucks, reamers and centres for it, with every new project representing a reason to buy another accessory. My biggest upgrades have been a DIY quick change Norman Patent tool post, and making and fitting much larger hand cranks to make it easier to operate.
Future work will be the installation of an XY digital read out (DRO), a set of change gears to enable thread cutting, and even potentially an electronic leadscrew as the first step toward turning it into a CNC lathe.
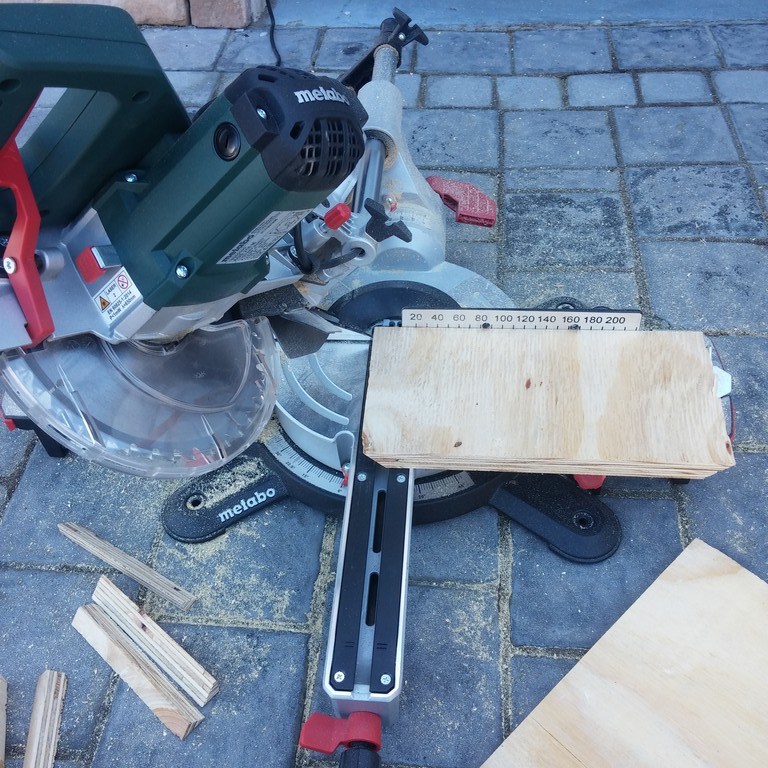
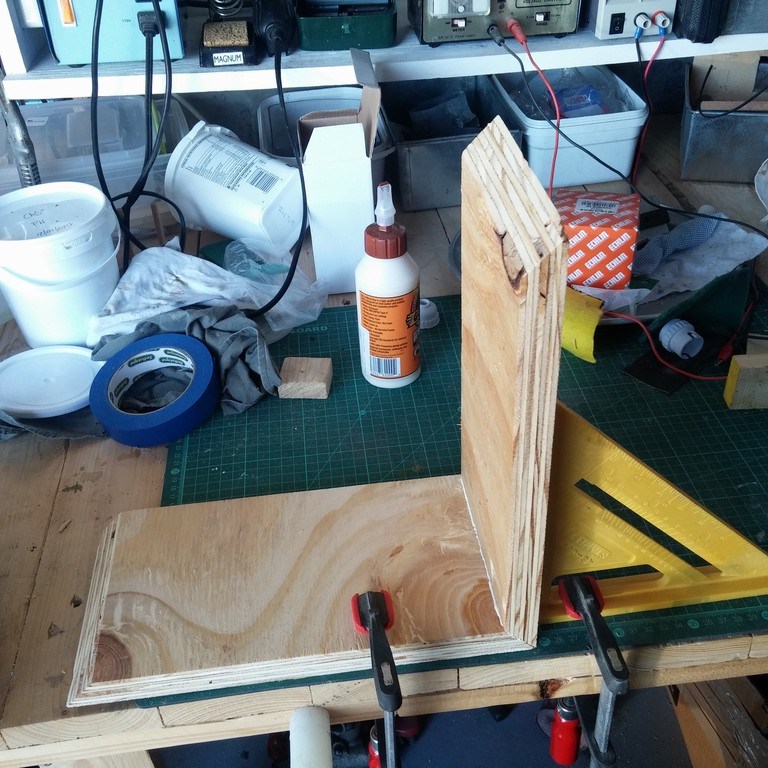
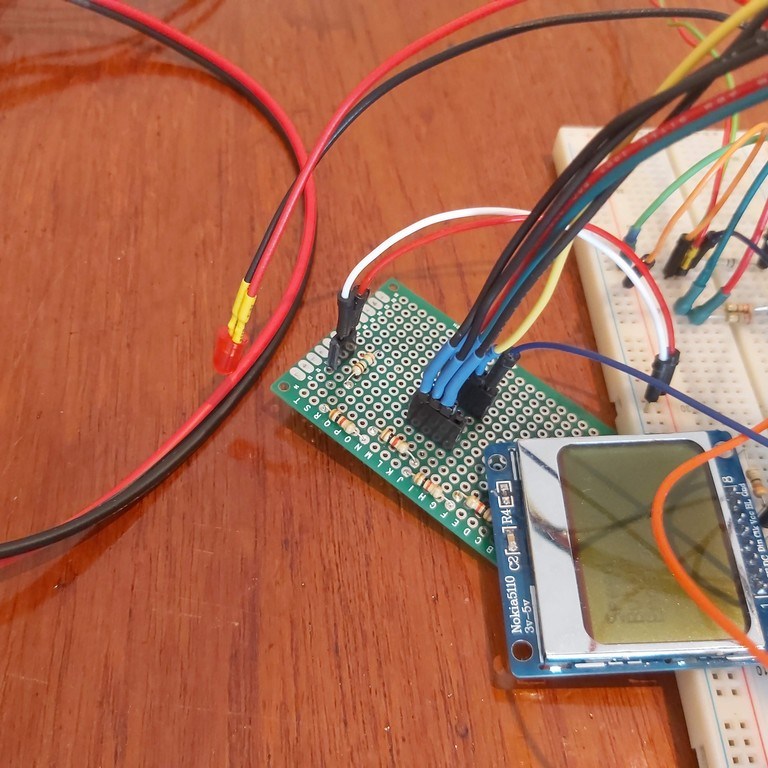
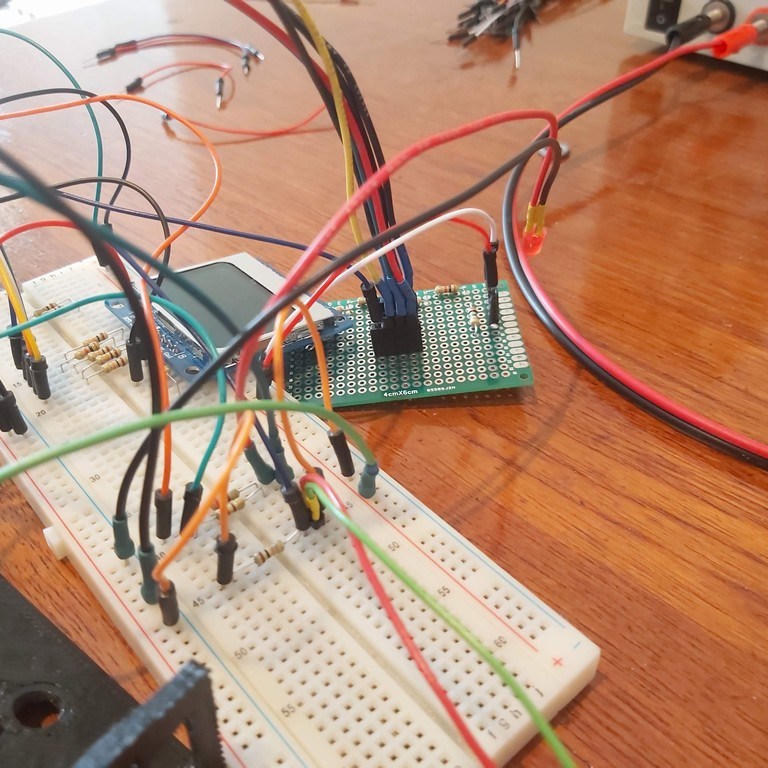
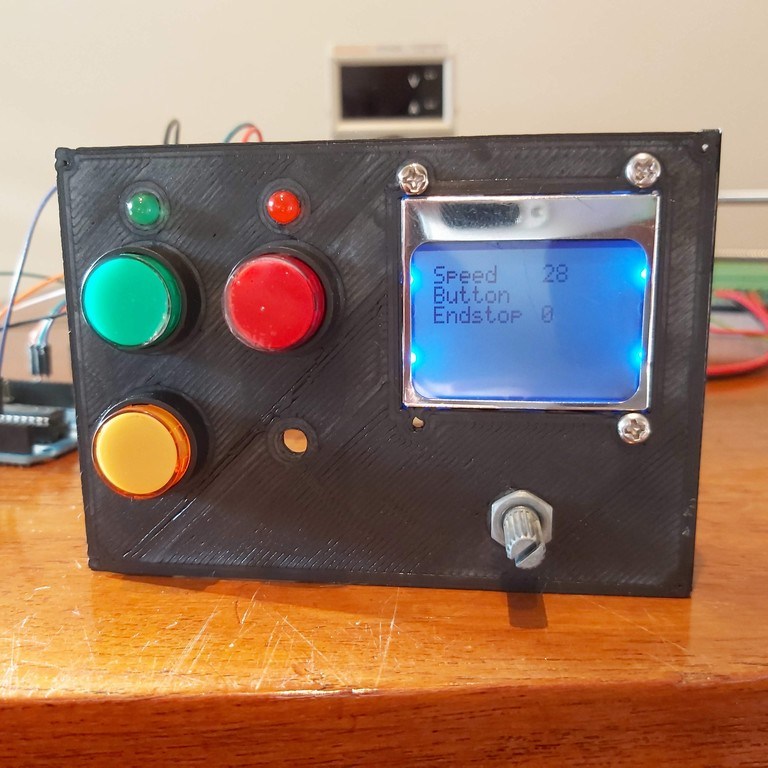
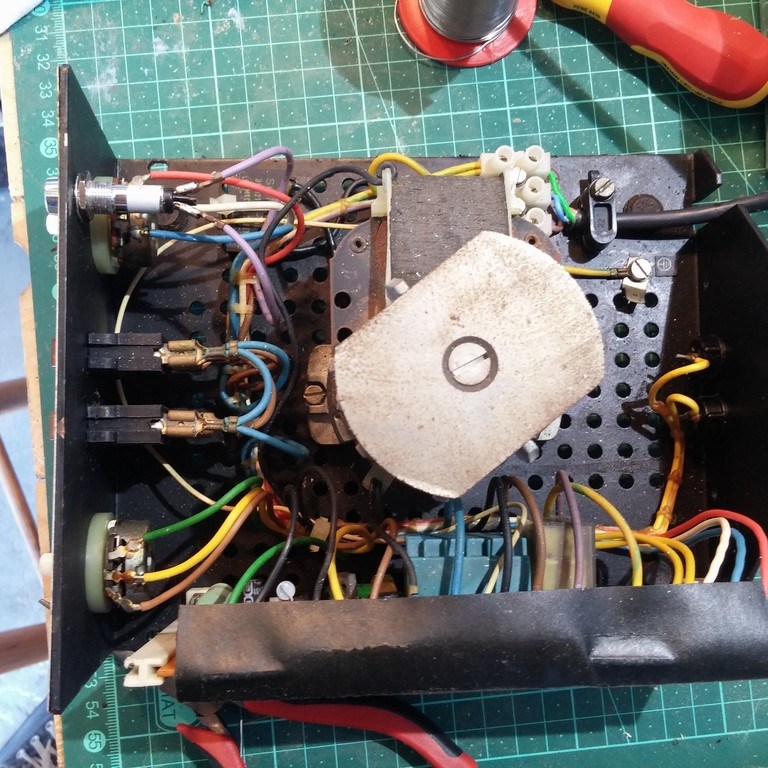
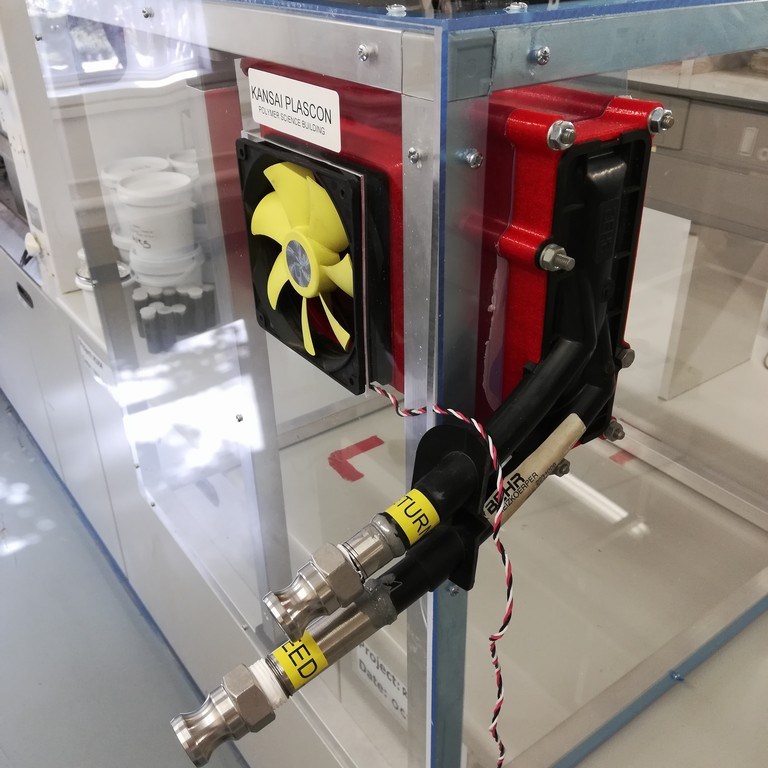
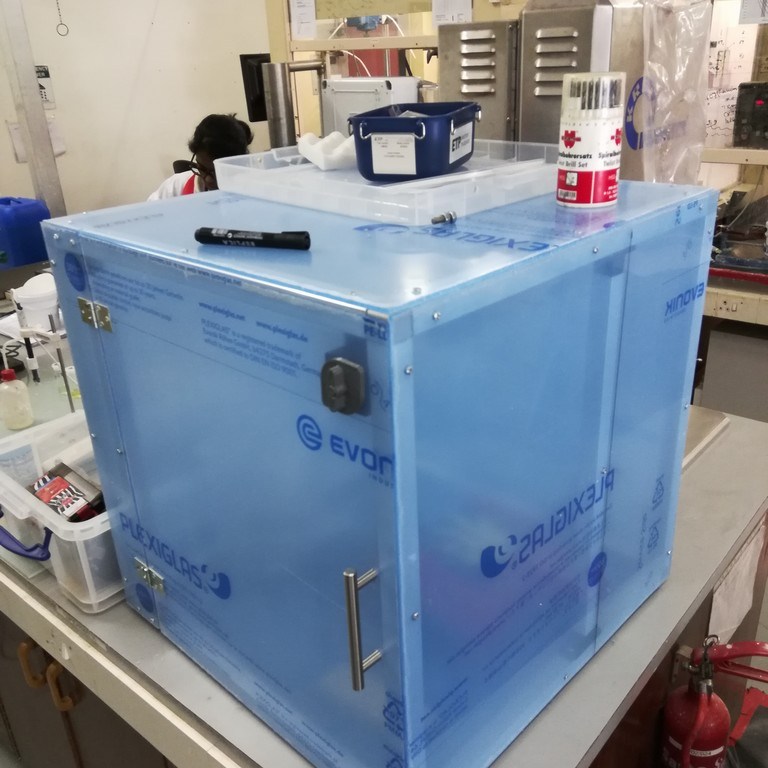
Temperature Controlled Chamber
This was a collaborative project with the University of Stellenbosch, where a low-cost temperature controlled chamber was required to ensure consistent sampling.
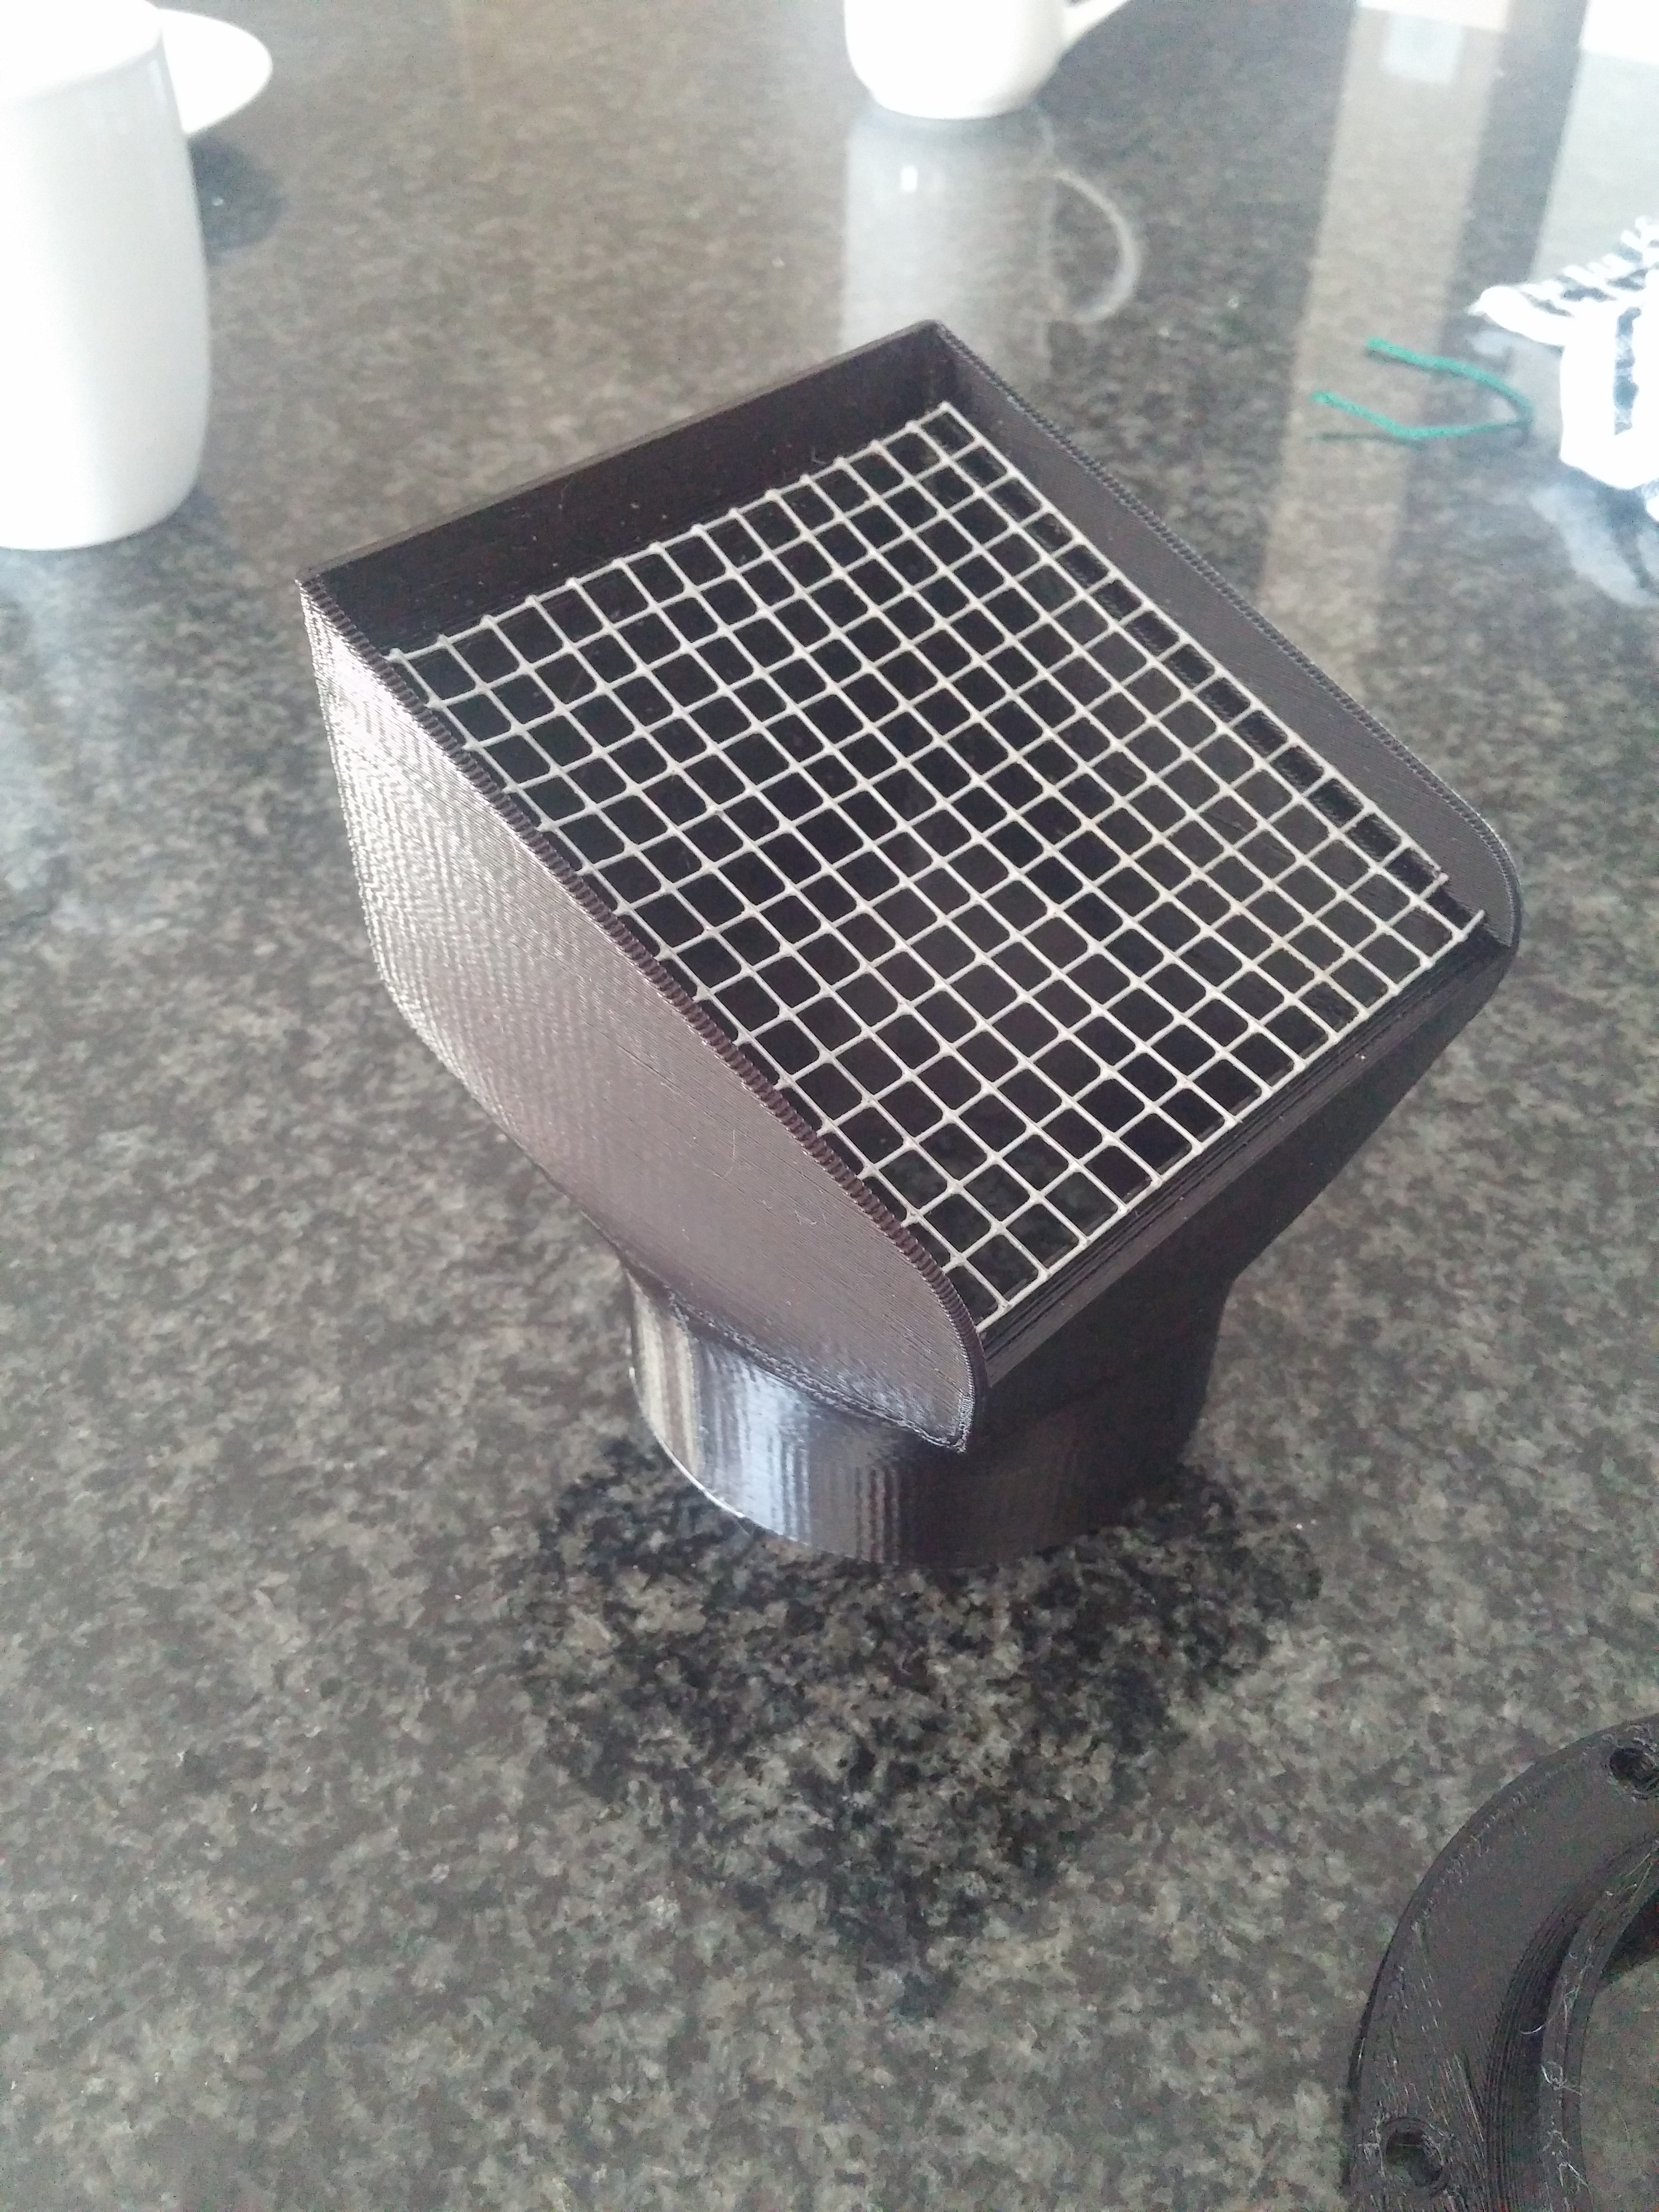
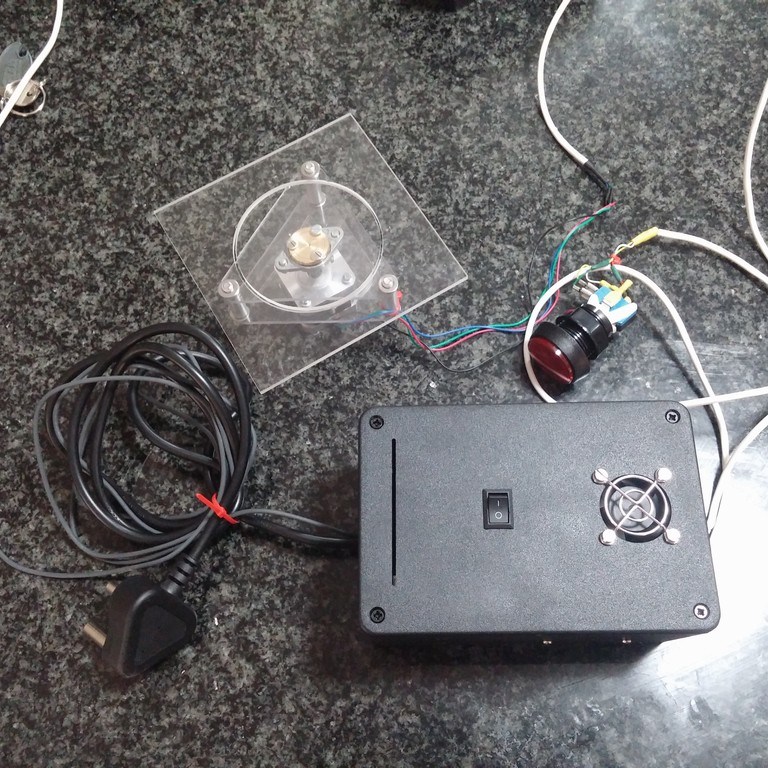
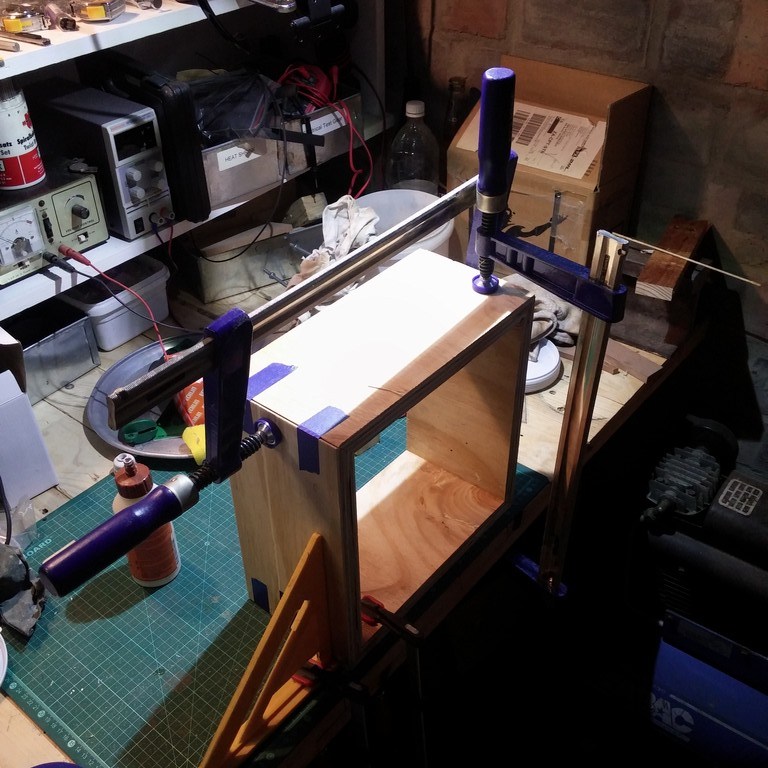
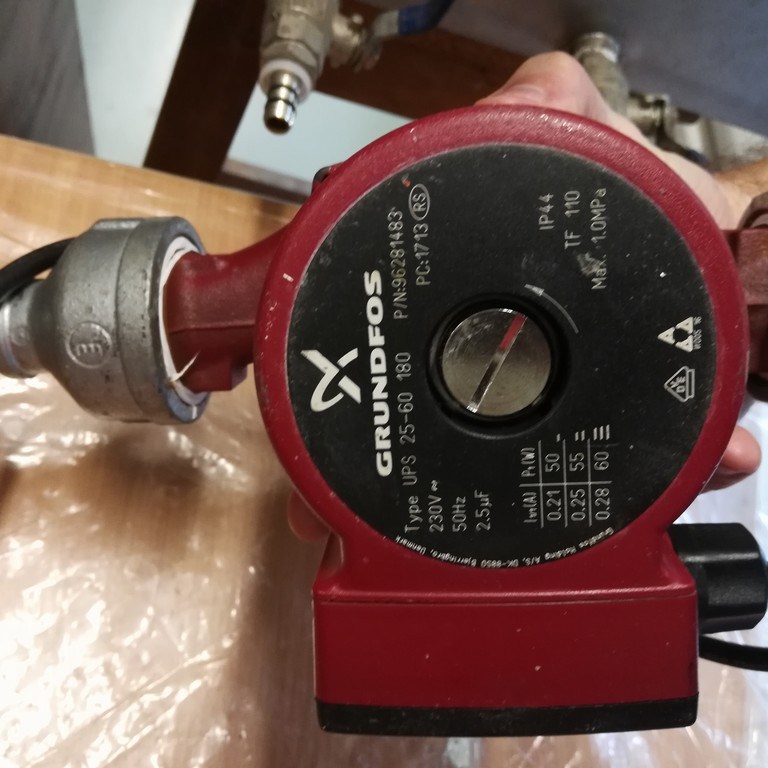
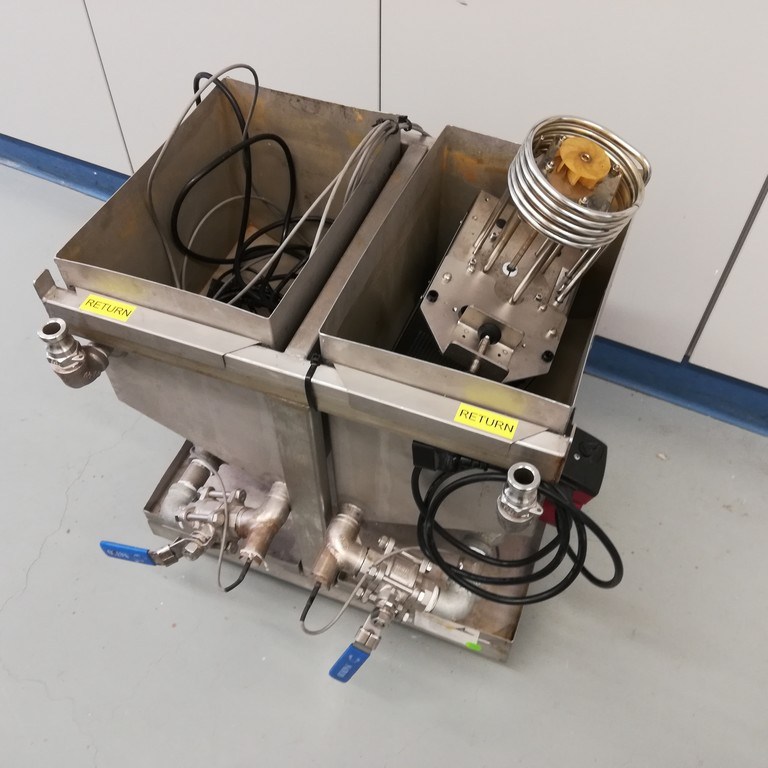
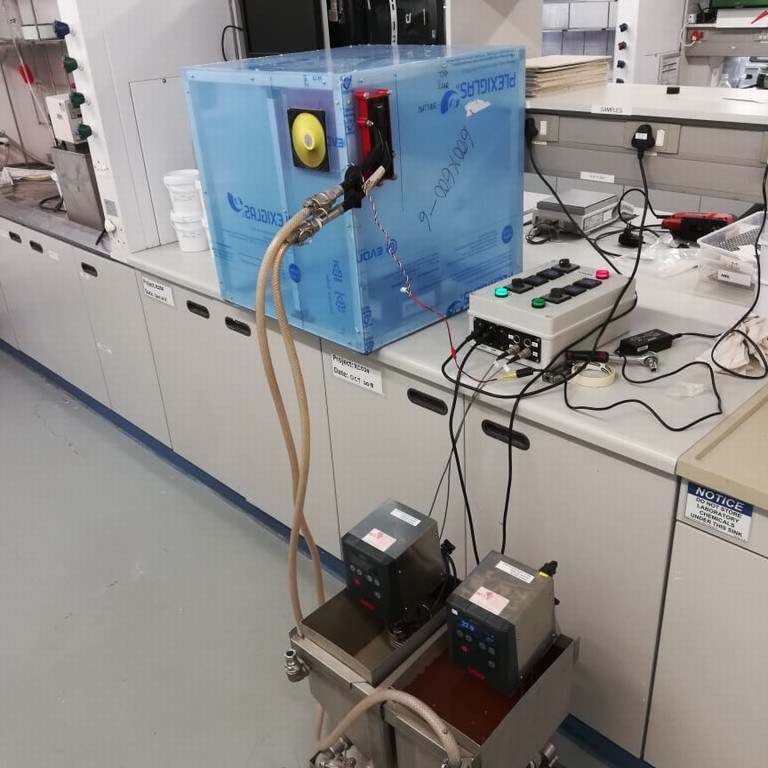
I designed the enclosure to be large enough for all the glassware, and minimise any drafts once closed. For safety, the heating was done by recirculating a thermofluid through a heater matrix, and passing air over the heater core. Fresh air was pulled in from outside the chamber, so as not to recirculate. The study was examining the emission of volatile organic compounds (VOCs) so recirculating could potentially falsely inflate the readings by creating a build up.
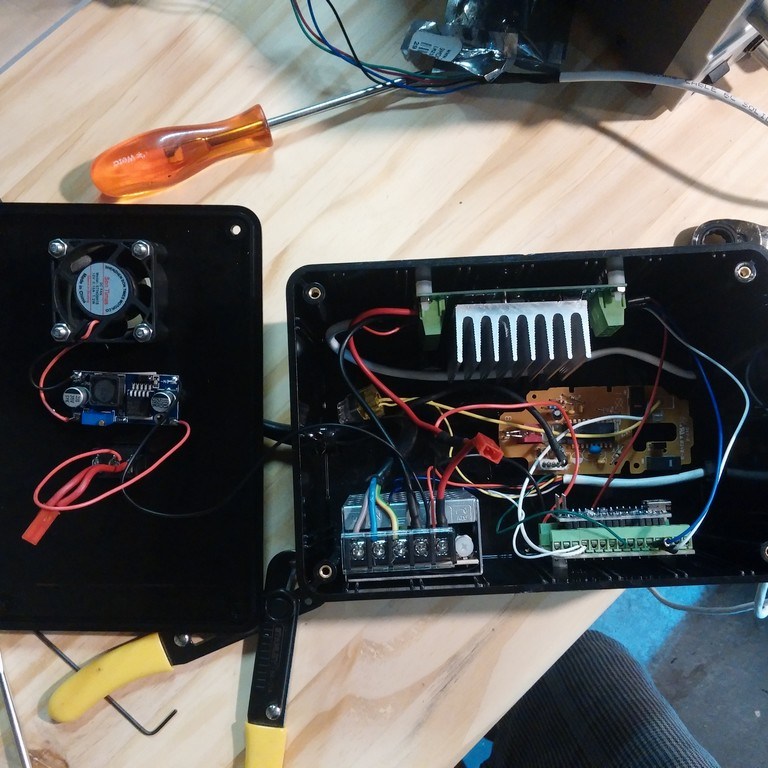
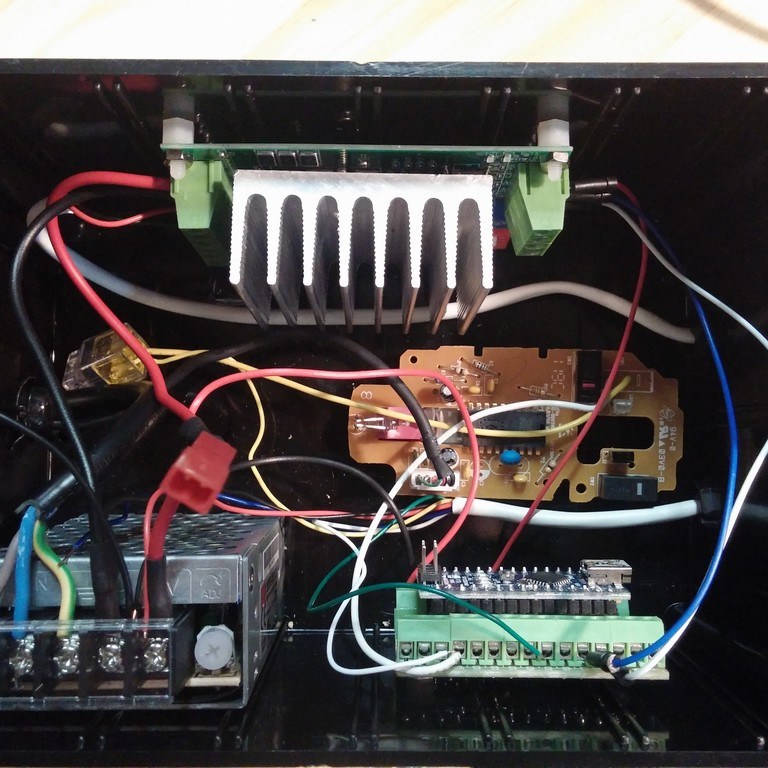
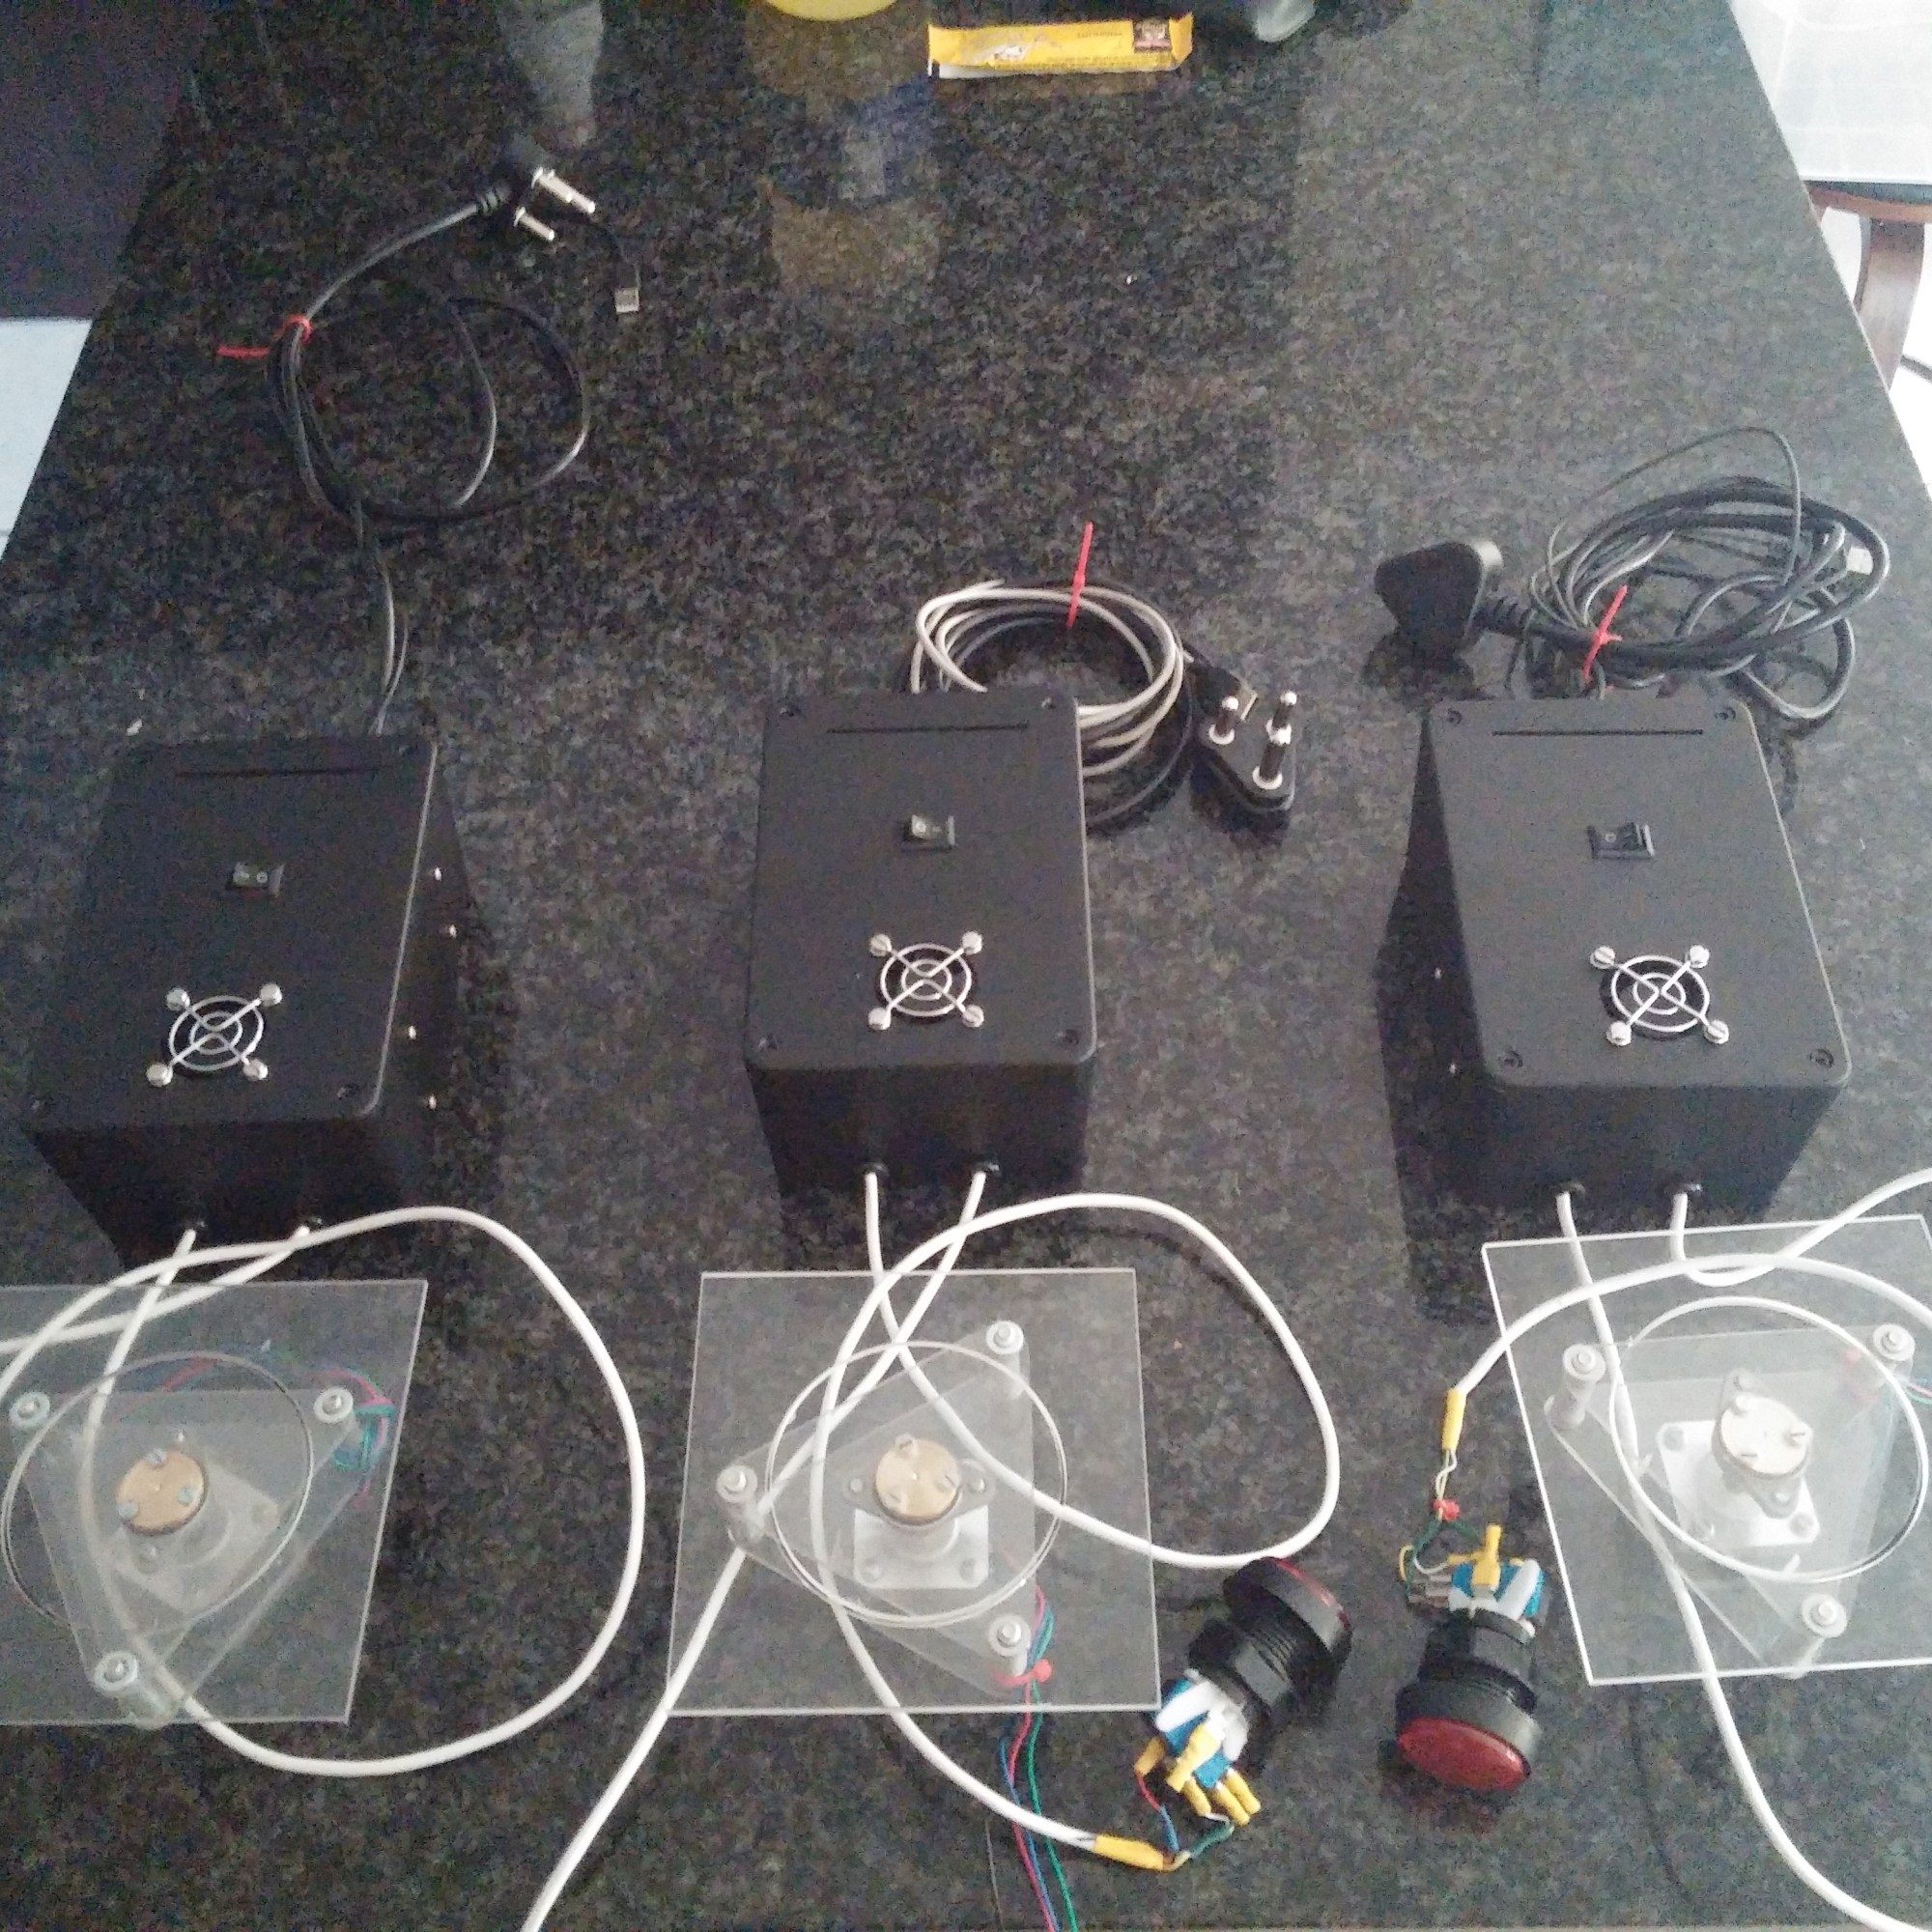
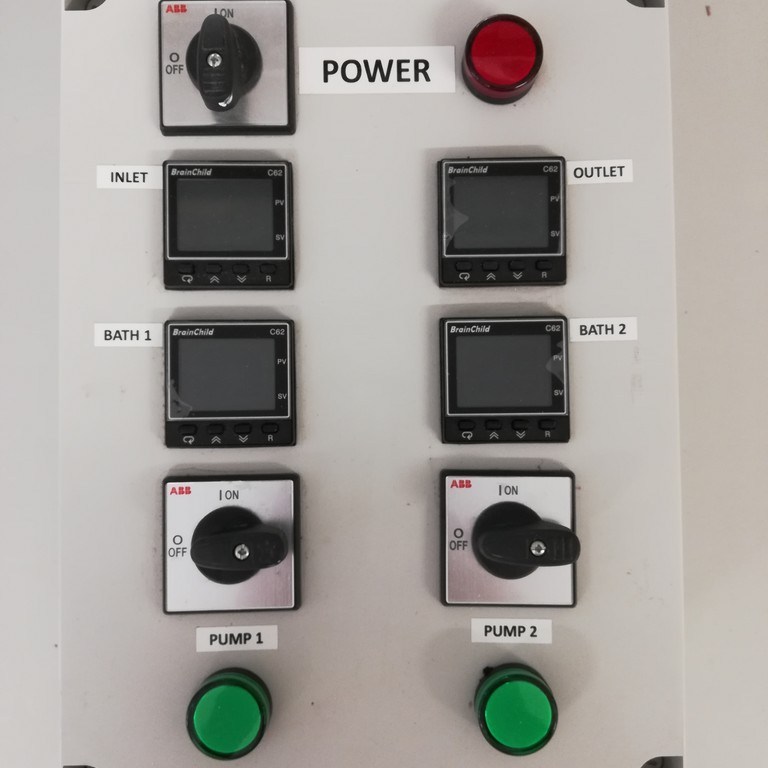
The project also required a control box, with two PID controllers, and two process temperature indicators to monitor all the aspects of the system. I fabricated this, along with control for two recirculation pump.
The chamber was a complete success, able to maintain 30°c, to within 0.5°c.
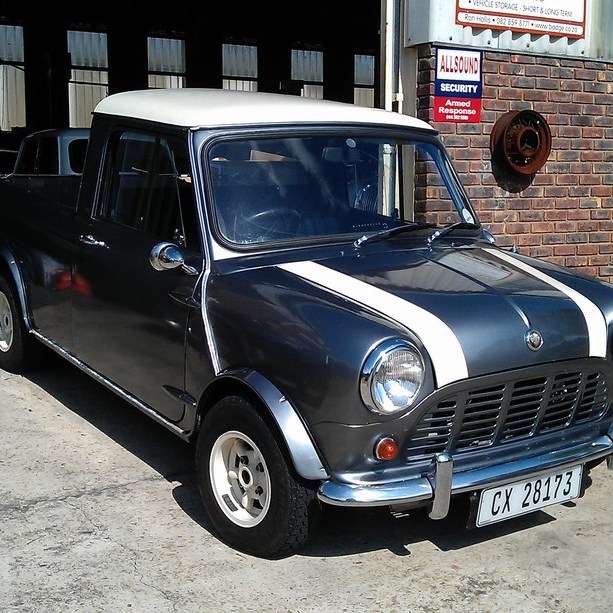
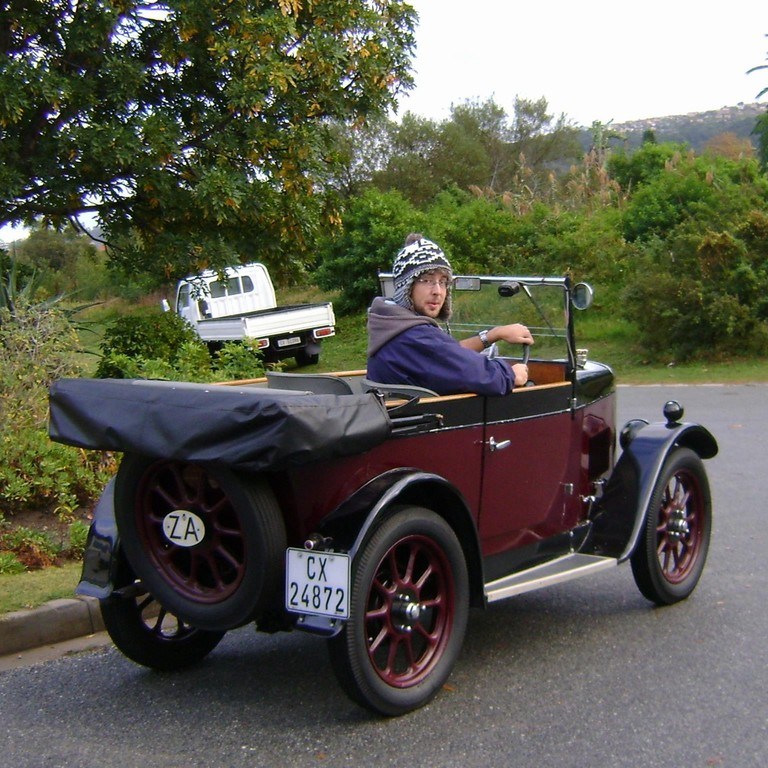
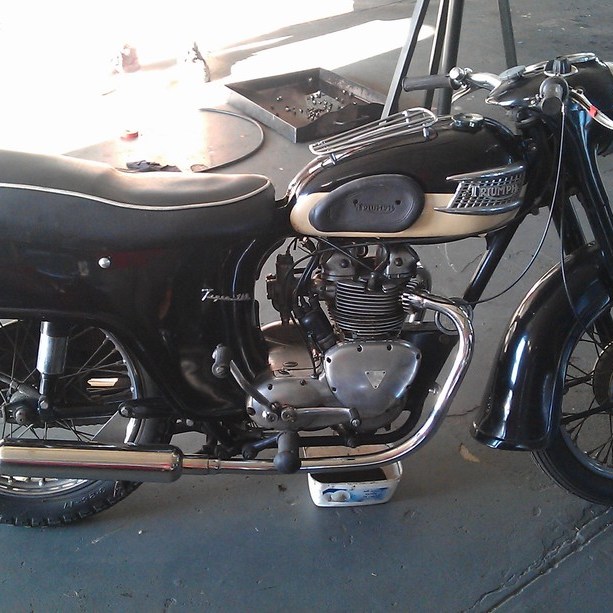
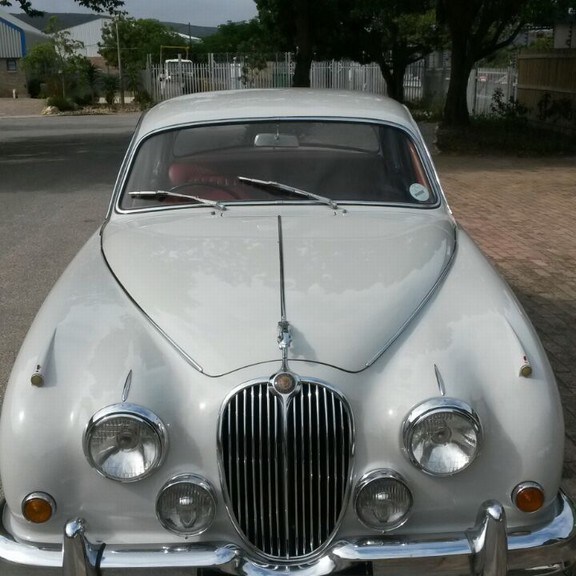
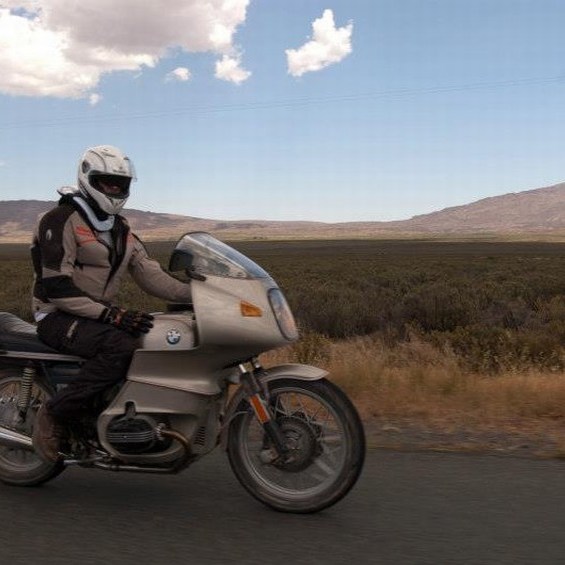
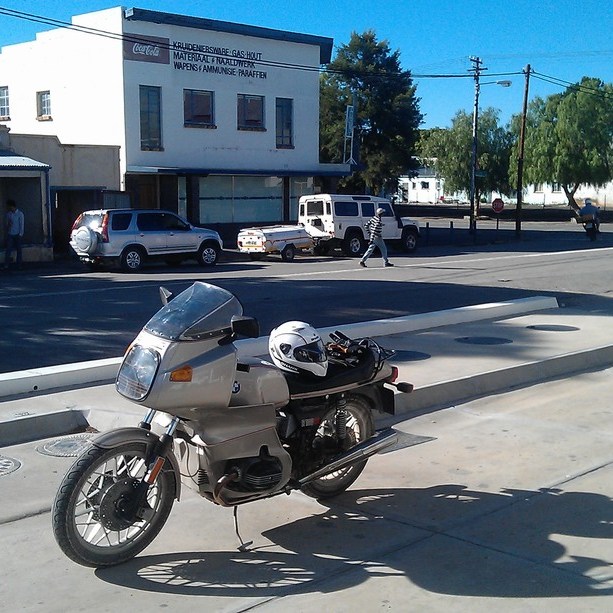
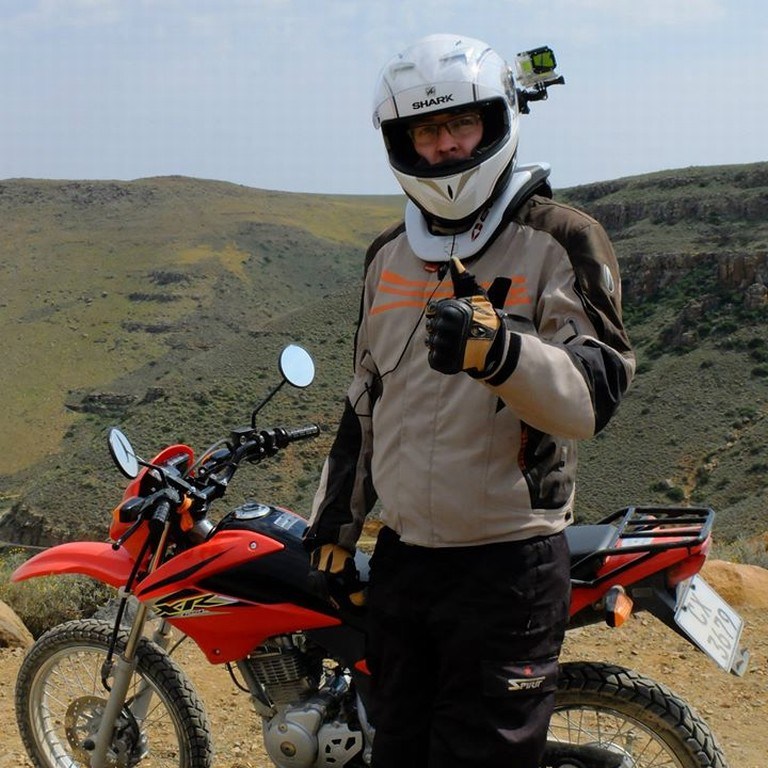
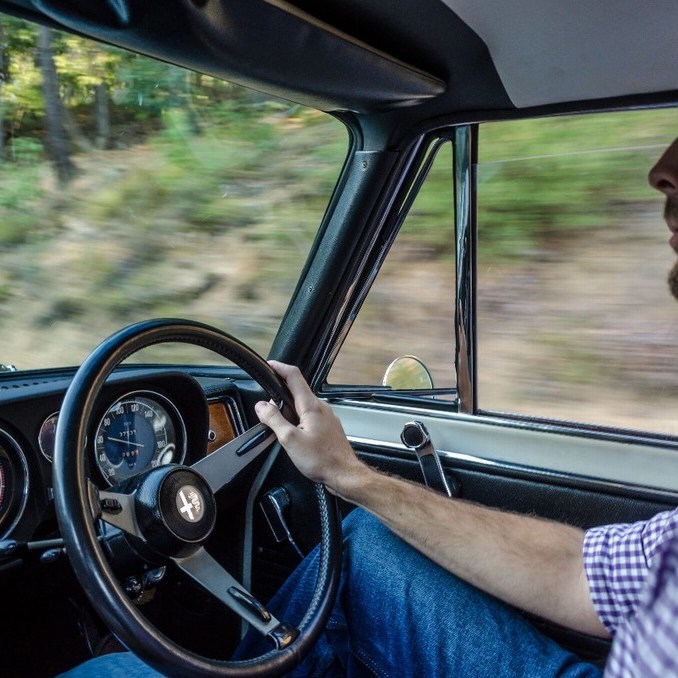
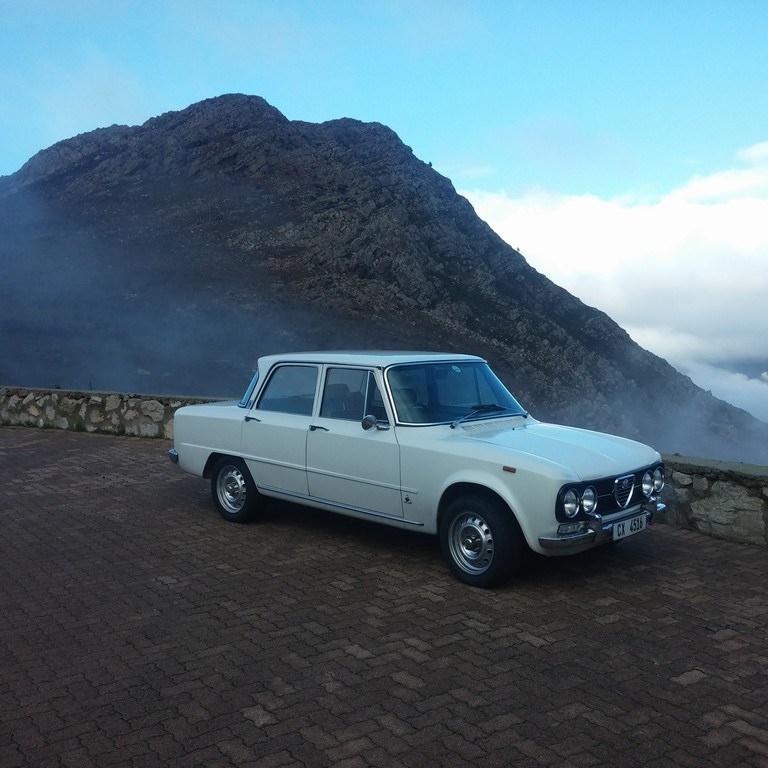
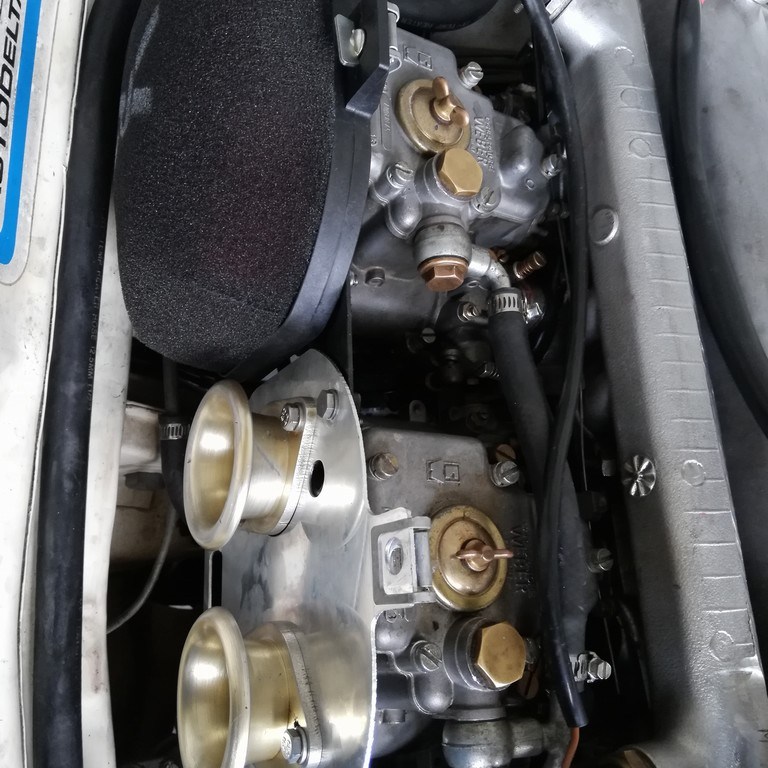
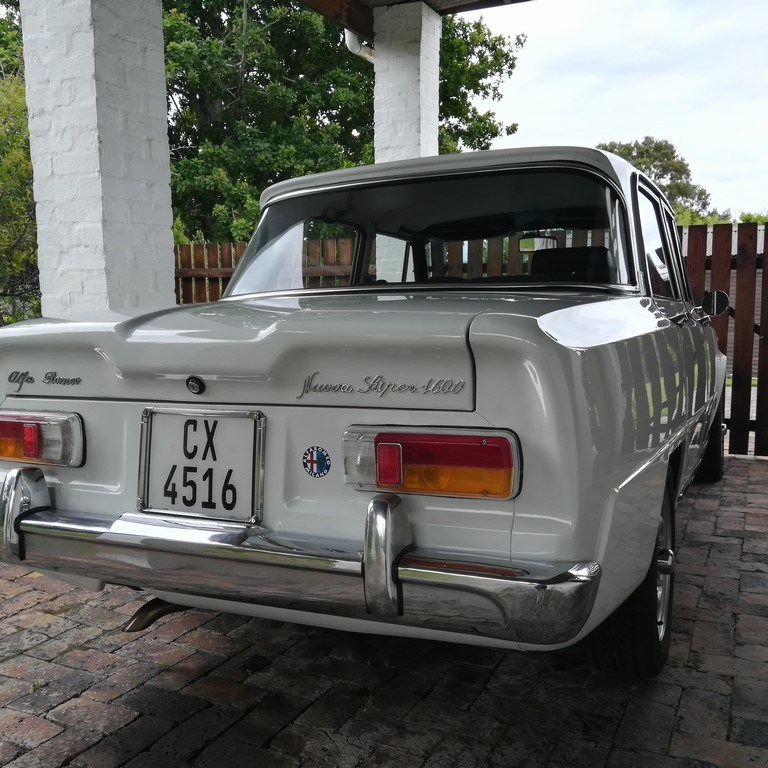
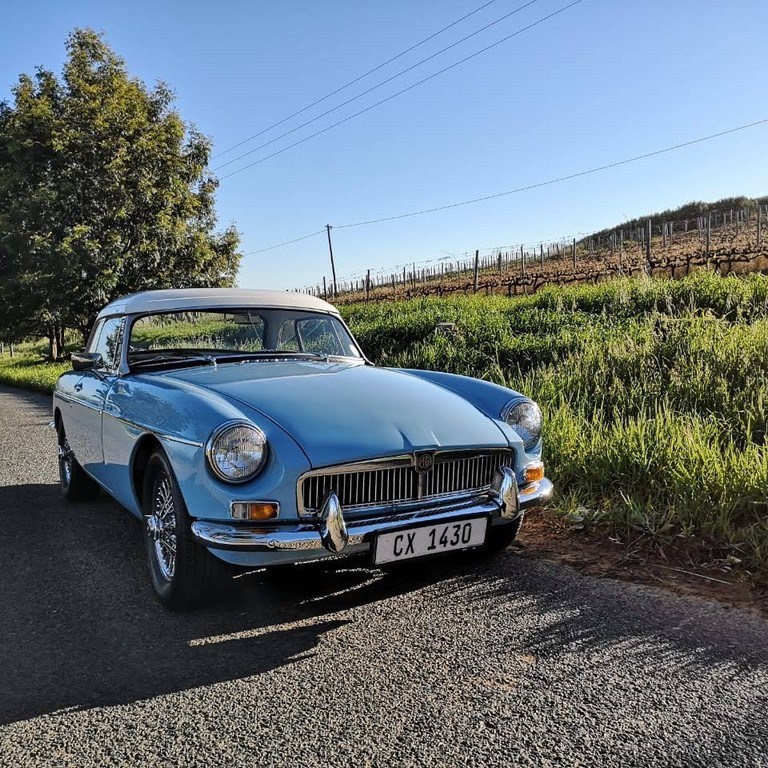
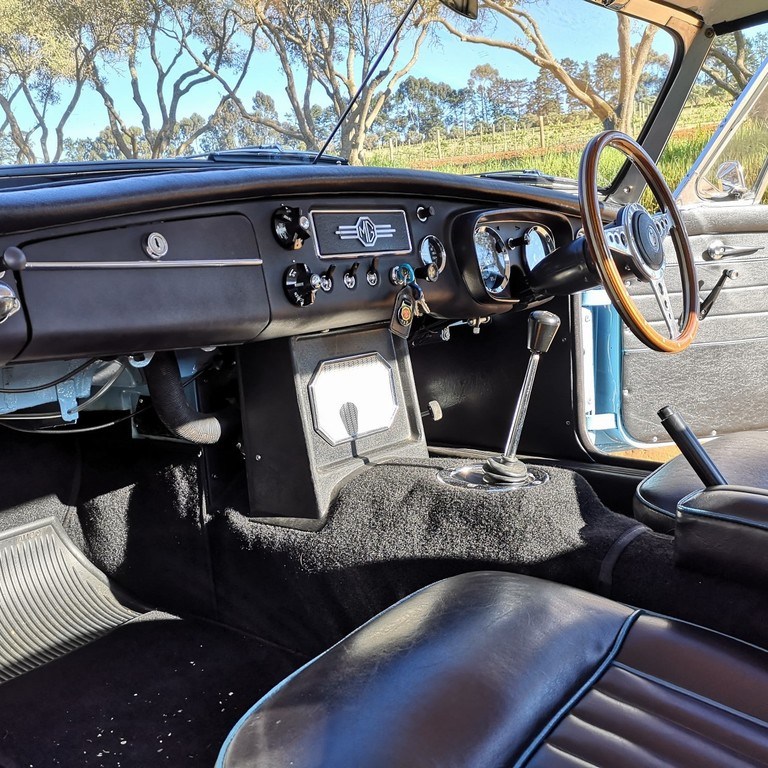
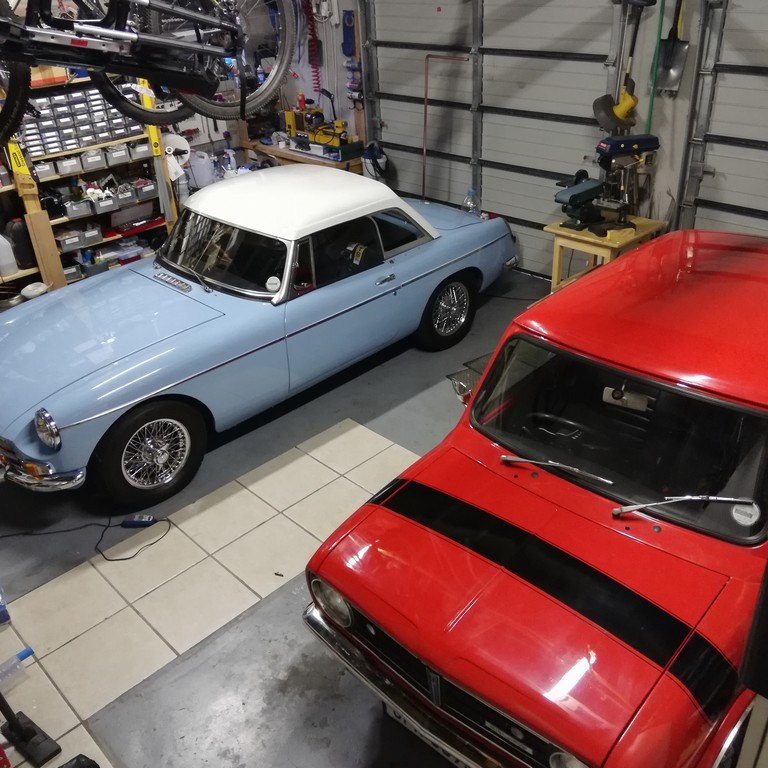
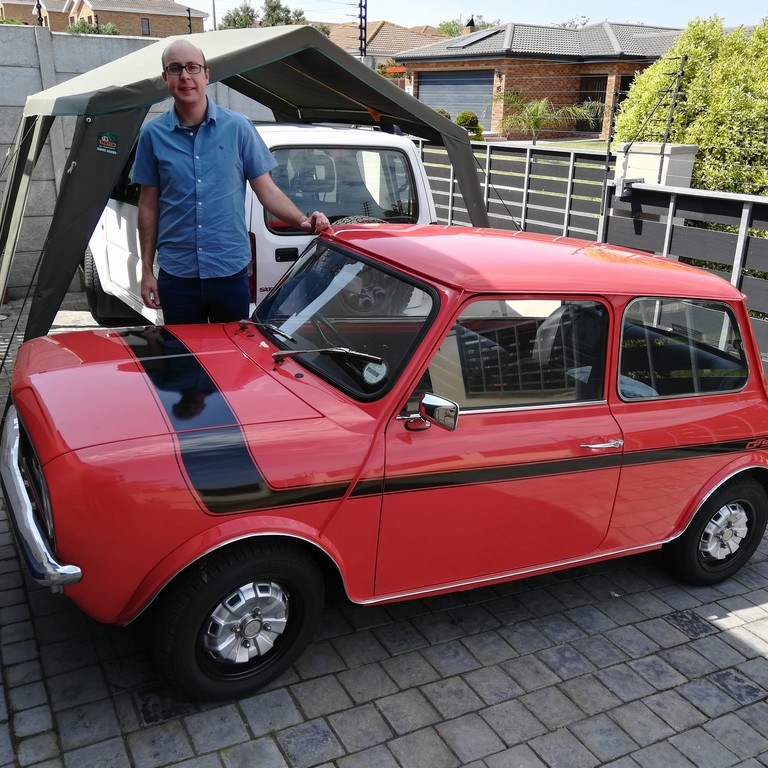
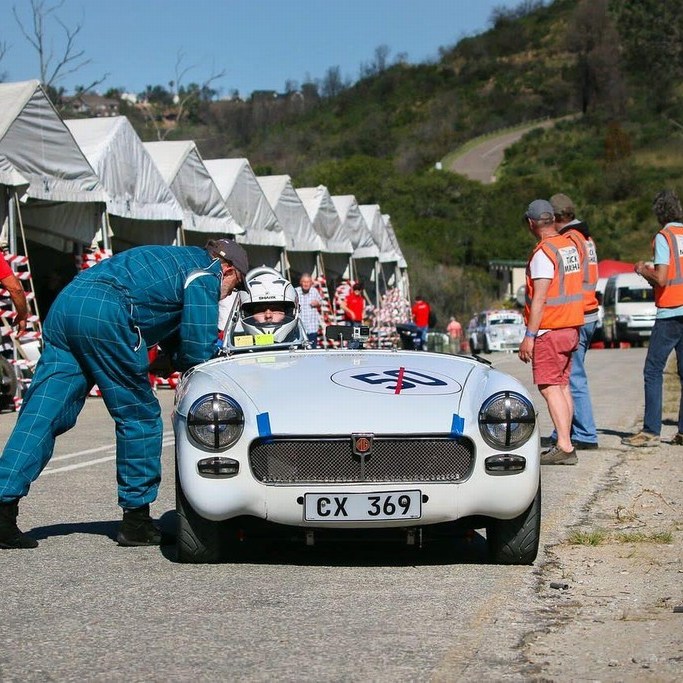
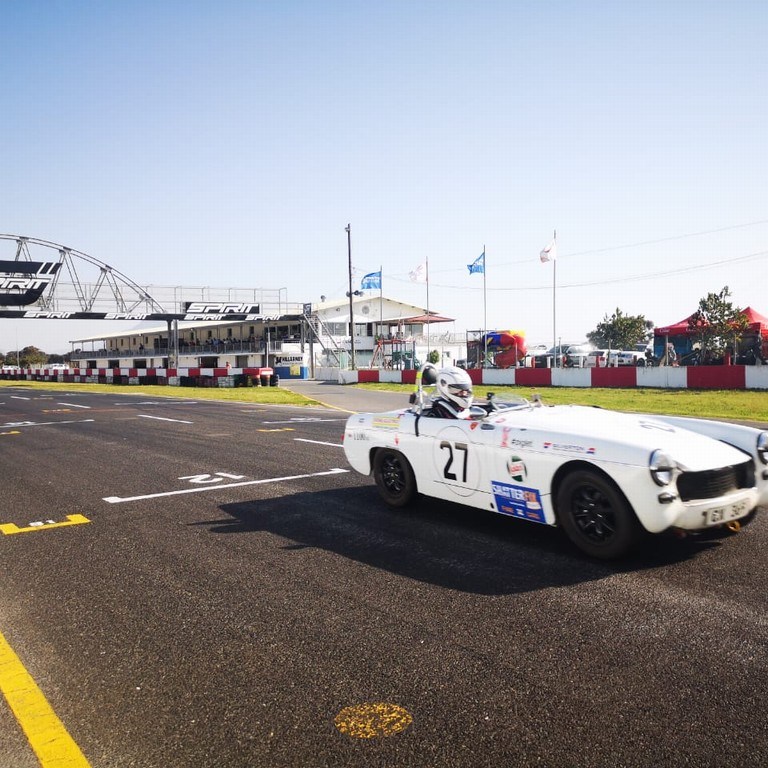
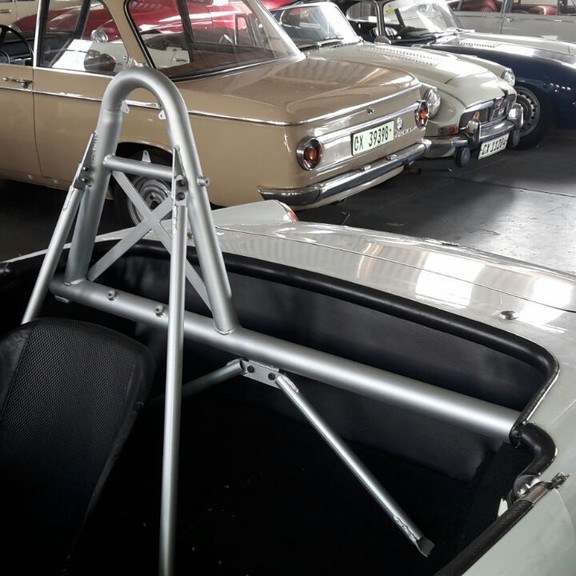
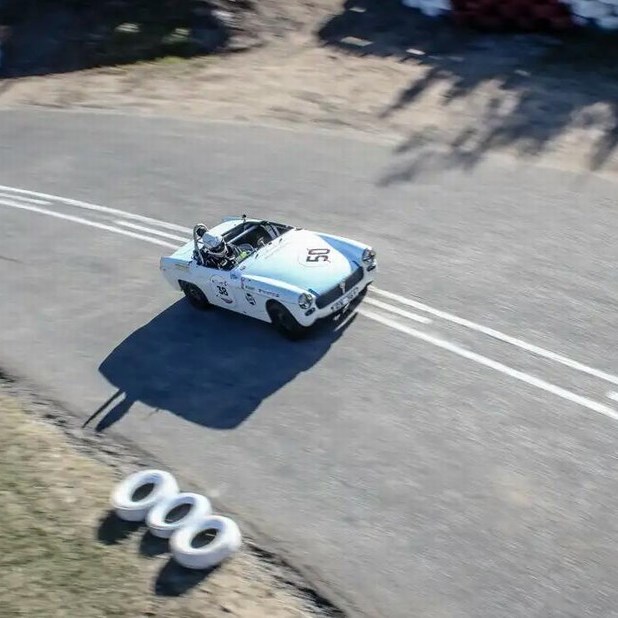
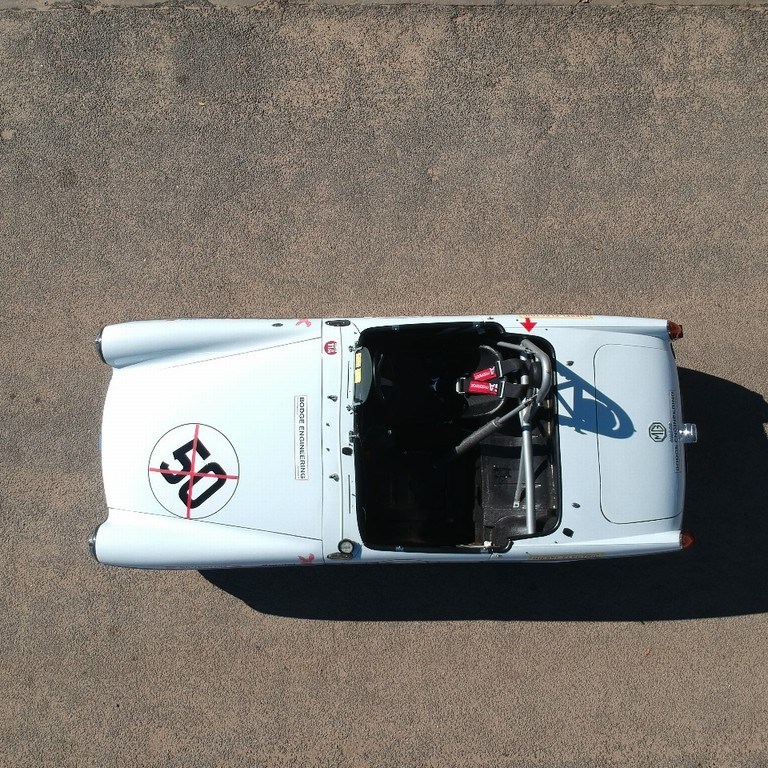
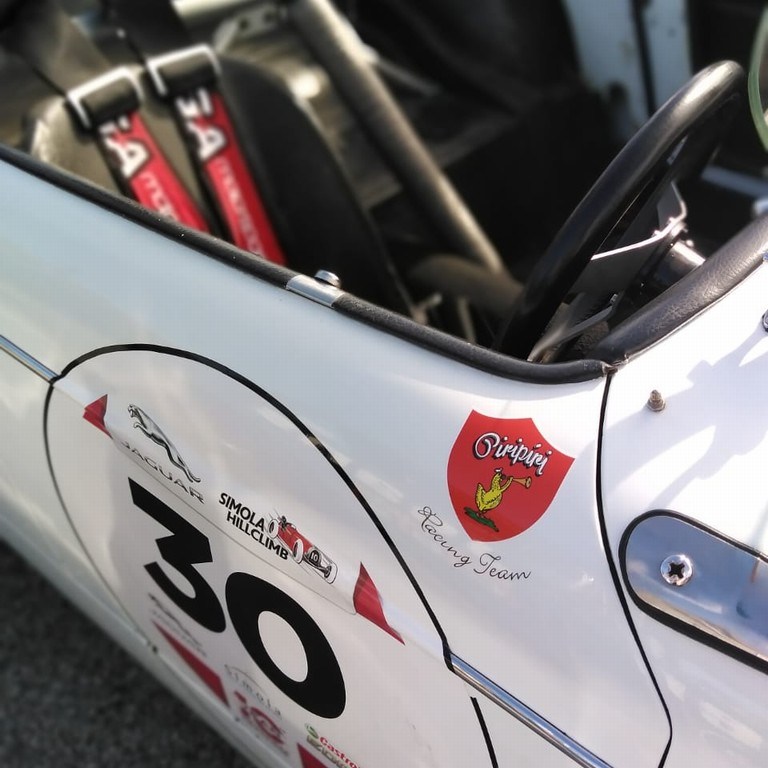
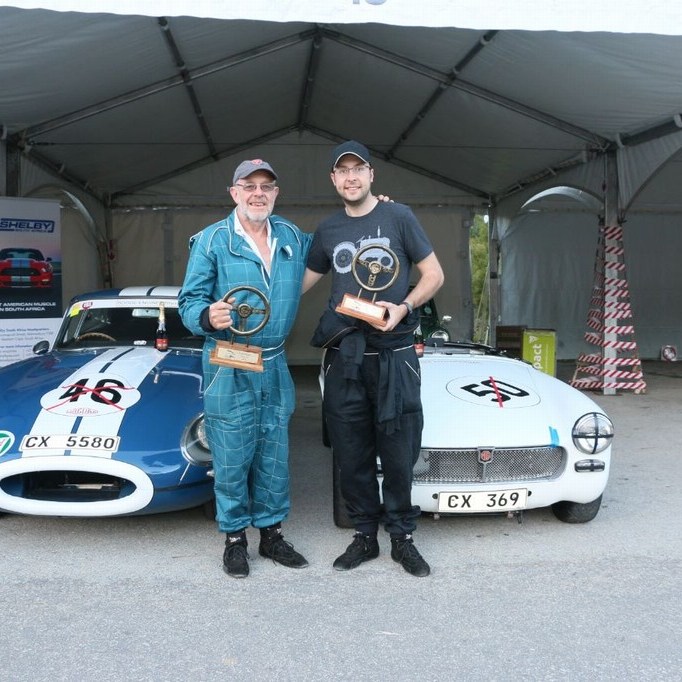
Classic Cars and Bikes
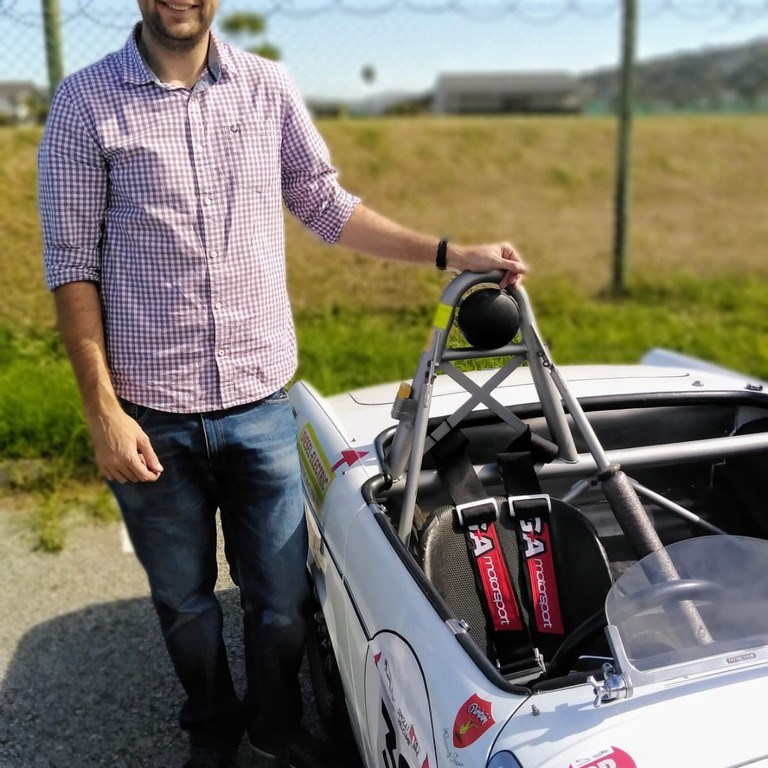
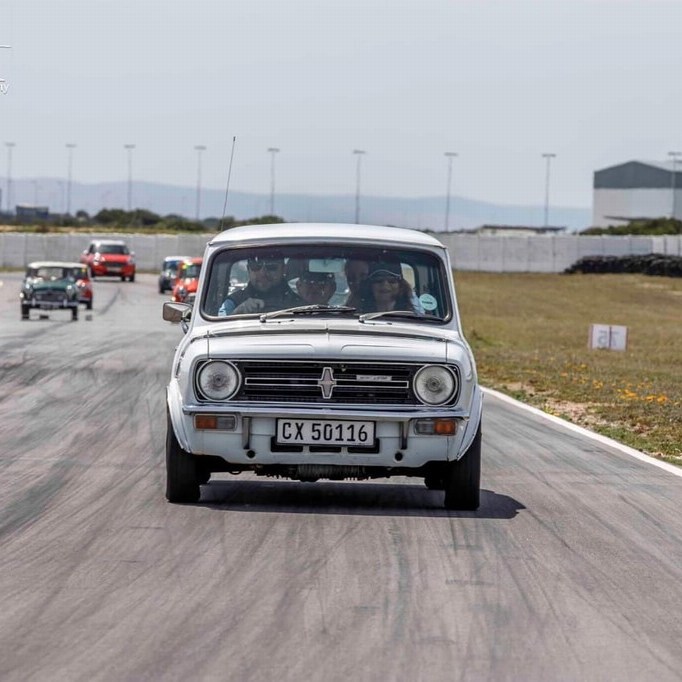
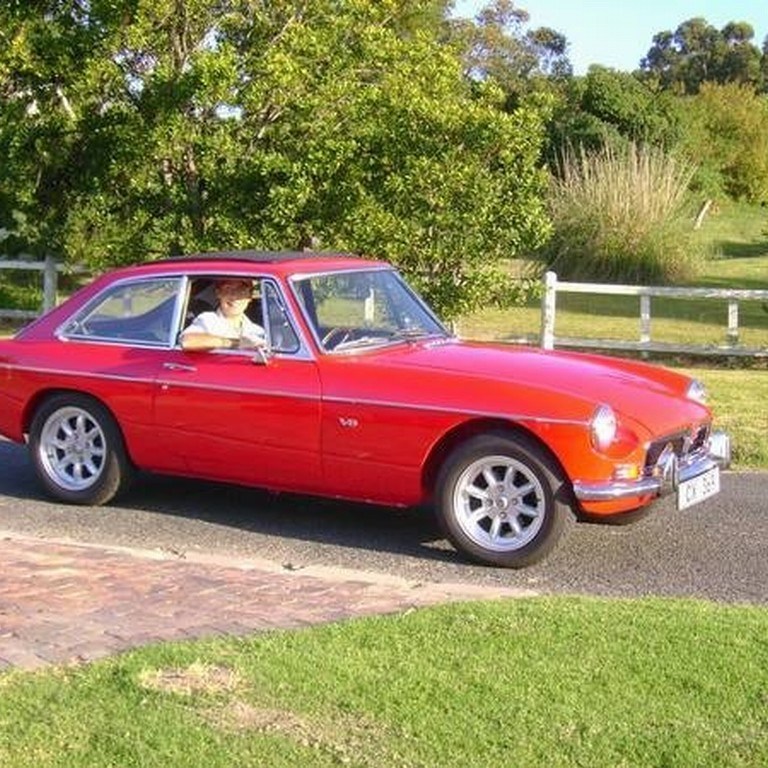
Over and above all my other hobbies, classic cars have always been my underlying passion. They represent a means to express yourself, learn skills you would otherwise never have contemplated, and bring people together like nothing else.
I have been in the fortunate position to own a number of classic cars and bikes over the past 18 years. Some I regret selling, some I would never sell. They have all been special to me, and taught me something.
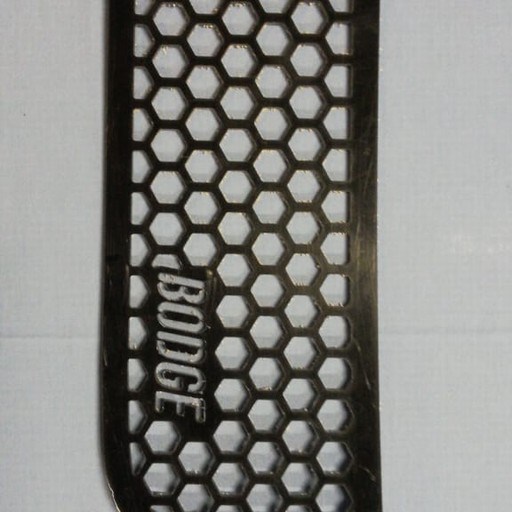
My father owns and runs a small classic car workshop in South Africa, called Bodge Engineering. In addition to all the skills I have picked up over the years helping him and working on my own cars, the two biggest take-aways for me have been:
- Always take pride in your work. Be proud of what you’ve done, no matter how small.
- If something is worth doing, do it properly. There is always the time to understand how it works, and what it needs to work properly.
I try to implement these principles in all that I do, both professionally and privately. I think it’s paid off.